A Spot Instance is a virtual machine that runs on spare EC2 capacity that is offered at a lower price than the On-Demand price. Spot Instances allow you to request unused EC2 instances at great discounts, allowing you to dramatically reduce your Amazon EC2 expenditures. A Spot Instance’s hourly pricing is known as a Spot price. Amazon EC2 sets the Spot pricing for each instance type in each Availability Zone, which is modified over time depending on long-term supply and demand for Spot Instances.
Your Spot Instance will run whenever capacity becomes available and your request’s maximum price per hour exceeds the Spot pricing. If you can be flexible about when your applications run and if your applications may be interrupted, Spot Instances are a cost-effective option. When spare capacity is no longer available, EC2 Spot Instances can be halted with a two-minute notification.
Spare capacity on Amazon EC2 Spot Instances is offered at substantial savings compared to the EC2 On-Demand pricing, generally between 70% and 90% off. Amazon EC2 Auto Scaling enables the formation of Amazon EC2 Auto Scaling groups (ASGs), which will maintain, scale up, or scale down the number of instances required based on scaling policies that are set based on the application’s demands.
In this blog, we will see how to create a stateless, fault-tolerant workload using Amazon EC2 Auto Scaling with launch templates to request Amazon EC2 Spot Instances.
Refer to part 1 of the blog here.
Amazon EC2 Spot Instances – Recap
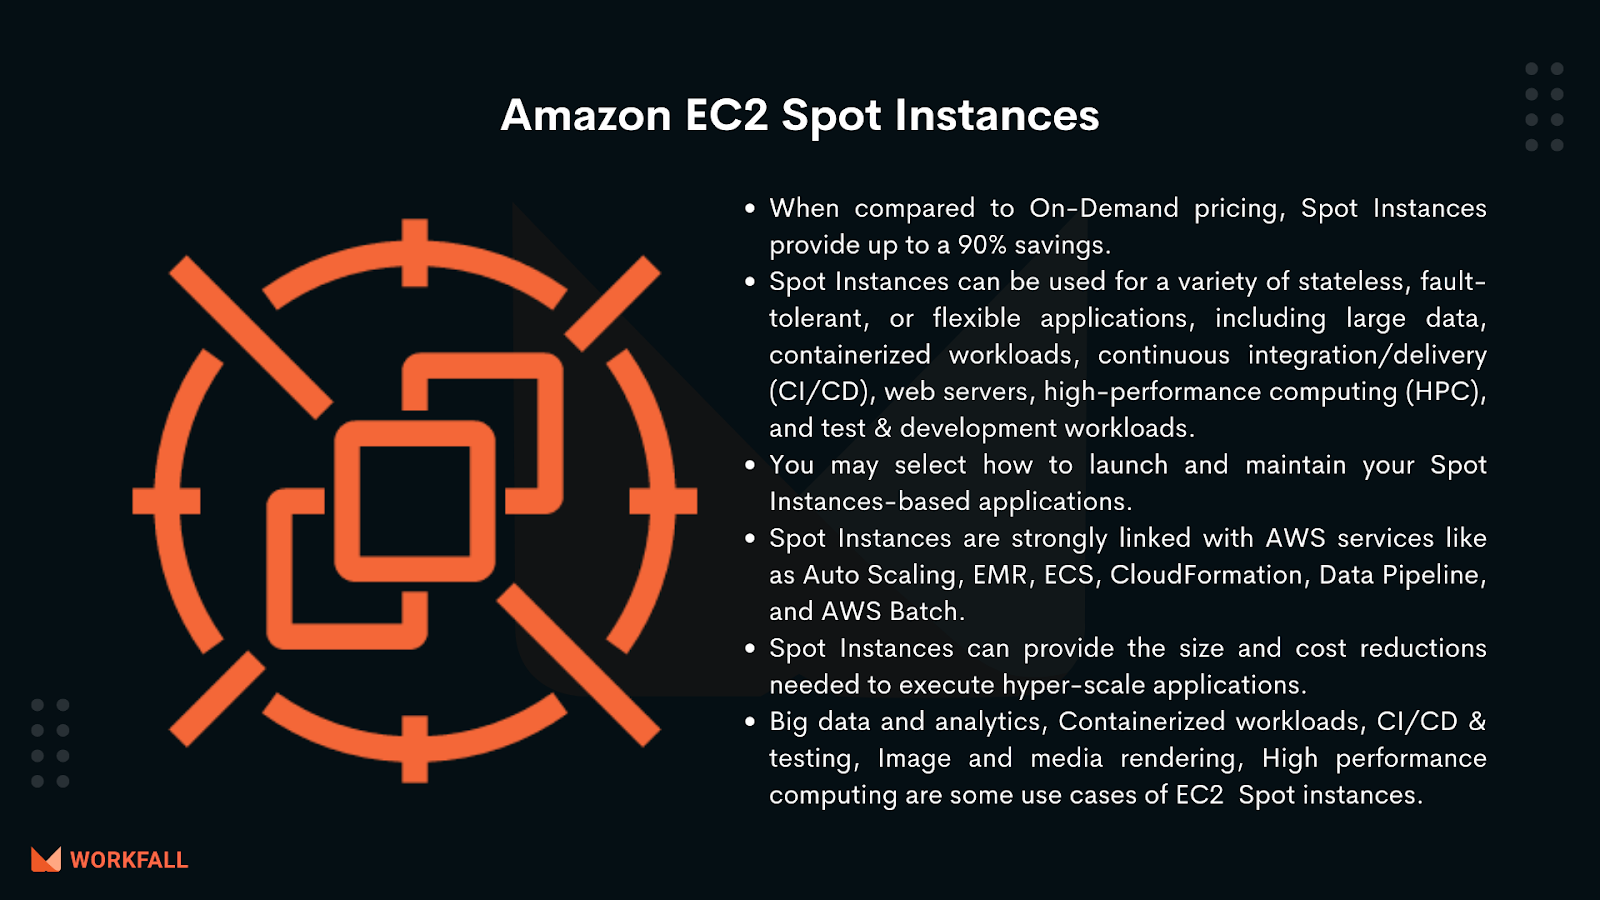
Amazon EC2 Spot Instances take advantage of unused AWS EC2 capacity. When compared to On-Demand rates, Spot Instances offer up to a 90% reduction. Spot Instances can be used for a variety of stateless, fault-tolerant, or flexible applications, including large data, containerized workloads, CI/CD, web servers, HPC, and test & development workloads. One can select how to launch and maintain your Spot Instances-based applications because Spot Instances are intimately connected with AWS services such as Auto Scaling, EMR, ECS, CloudFormation, Data Pipeline, and AWS Batch.
To further optimize workload cost and performance, Spot Instances can be easily paired with On-Demand, RIs, and Savings Plans Instances. Spot Instances can provide the size and cost reductions needed to run hyper-scale applications. When EC2 reclaims capacity, you have the choice to hibernate, pause, or terminate your Spot Instances with two minutes’ notice.
Hands-on

In this hands-on, we will see how we can make use of Amazon EC2 Auto Scaling with launch templates, AWS Application Load Balancer, and Amazon EC2 Spot instances to create a stateless, fault-tolerant workload requesting for Spot Instances on termination of a few instances. When spare capacity is no longer available, EC2 Spot Instances can be halted with a two-minute notification. Applications that use EC2 Spot Instances must be stateless, fault-tolerant, and loosely linked. Ephemeral instances should be able to be readily changed and removed as needed.
The following hands-on will be accomplished by creating an AWS Application Load Balancer and using it in concert with Amazon EC2 Auto Scaling to add and remove spot instances as needed. The hands-on will also use launch templates and the capacity-optimized allocation strategy which will automatically provision EC2 Spot Instances from the most-available Spot Instance pools by analyzing capacity metrics. We will not be transmitting any sensitive data during this implementation. Load balancing will distribute HTTP requests to the fleet of Amazon EC2 Spot Instances that you will create later in the hand. This hands-on makes use of the VPC of our AWS account. You can use your own VPC if your account doesn’t have a default VPC. If you use your own VPC, the AWS Application Load Balancer you create must be configured to use public subnets, and the EC2 instances must be either in the same public subnets as the AWS Application Load Balancer, with public IP addresses assigned automatically, or in private subnets with a NAT Gateway configured to allow outbound internet access. To maximize the number of Spot capacity pools accessible to Amazon EC2 Auto Scaling, it is also suggested that your VPC has a subnet mapped to each Availability Zone of the AWS region you are operating in.
To implement this, we will do the following:
- Login to your AWS console and navigate to the dashboard.
- Navigate to the Load Balancer configuration page in the EC2 dashboard.
- Create a new Application Load Balancer following the steps in the blog.
- Navigate to the Security Group dashboard and create a new Security group.
- Navigate to the Target Group dashboard and create a new Target Group to be attached to the Load Balancer and the Auto Scaling group.
- Navigate to the Auto Scaling configuration page to create a new Auto Scaling group.
- Create a new Launch template to be attached to the newly created Auto Scaling group.
- Add a set of commands in the User Data that is to be executed on all instances on first time creation, select an AMI and a primary instance for the launch template.
- Make the configuration changes for the Auto Scaling group following the steps in the blog.
- Review all the settings and create an Auto Scaling group.
- Traverse through the Auto Scaling group dashboard and look at the history for the newly created spot instances.
- Manage your spot instances under the Instance Management tab.
- Navigate to the EC2 dashboard and test the creation of Spot Instances on demand by the Auto Scaling group by terminating a few instances on the EC2 dashboard.
- Navigate back to the Activity History to have a look at the Spot Instance termination and Creation logs.
Log in to the AWS console and navigate to the dashboard.

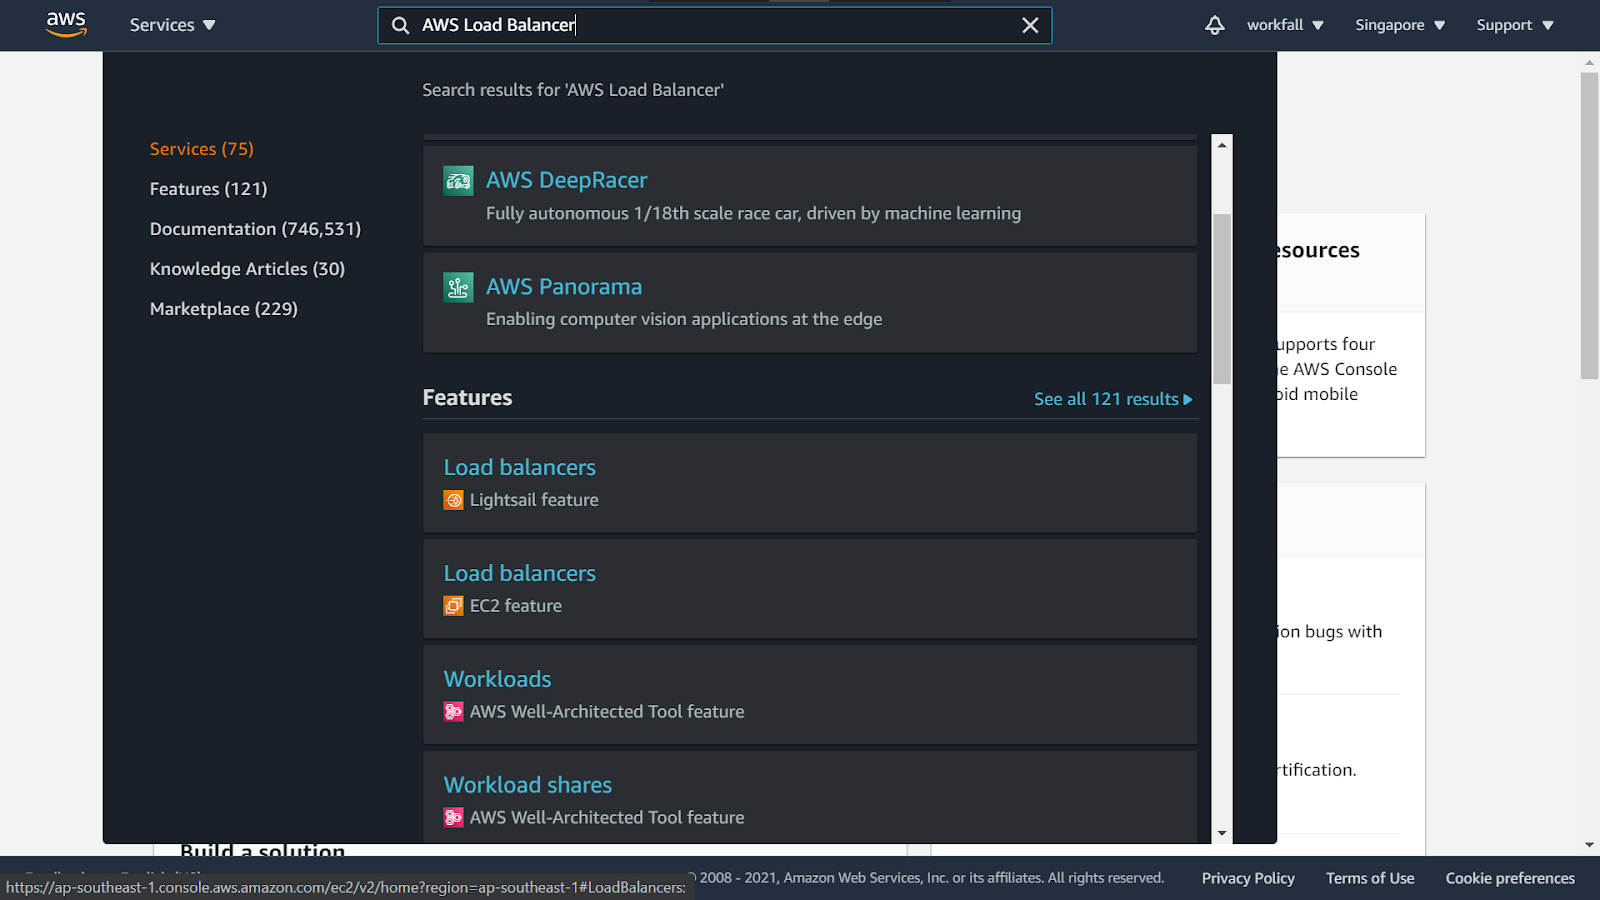
Search for Load Balancer and open the service by clicking on it.
Click on Create Load Balancer.

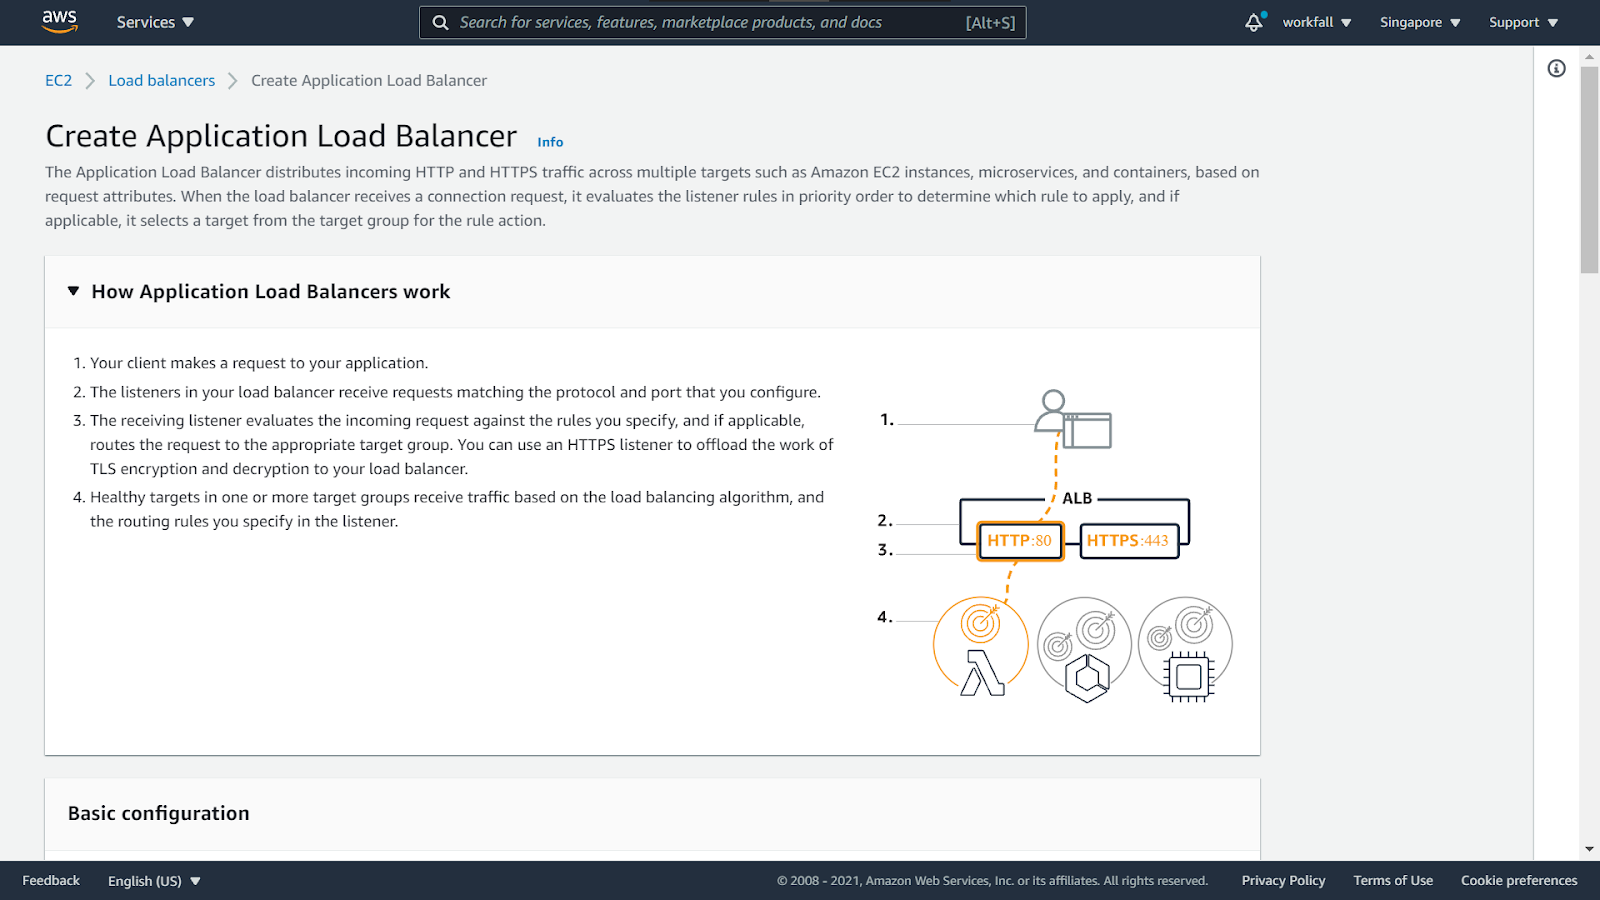
Click on Create under the Application Load Balancer.

You can check out the working of the Application load balancer by expanding the modal.
Enter a name for the load balancer and select the other options as shown in the image below.

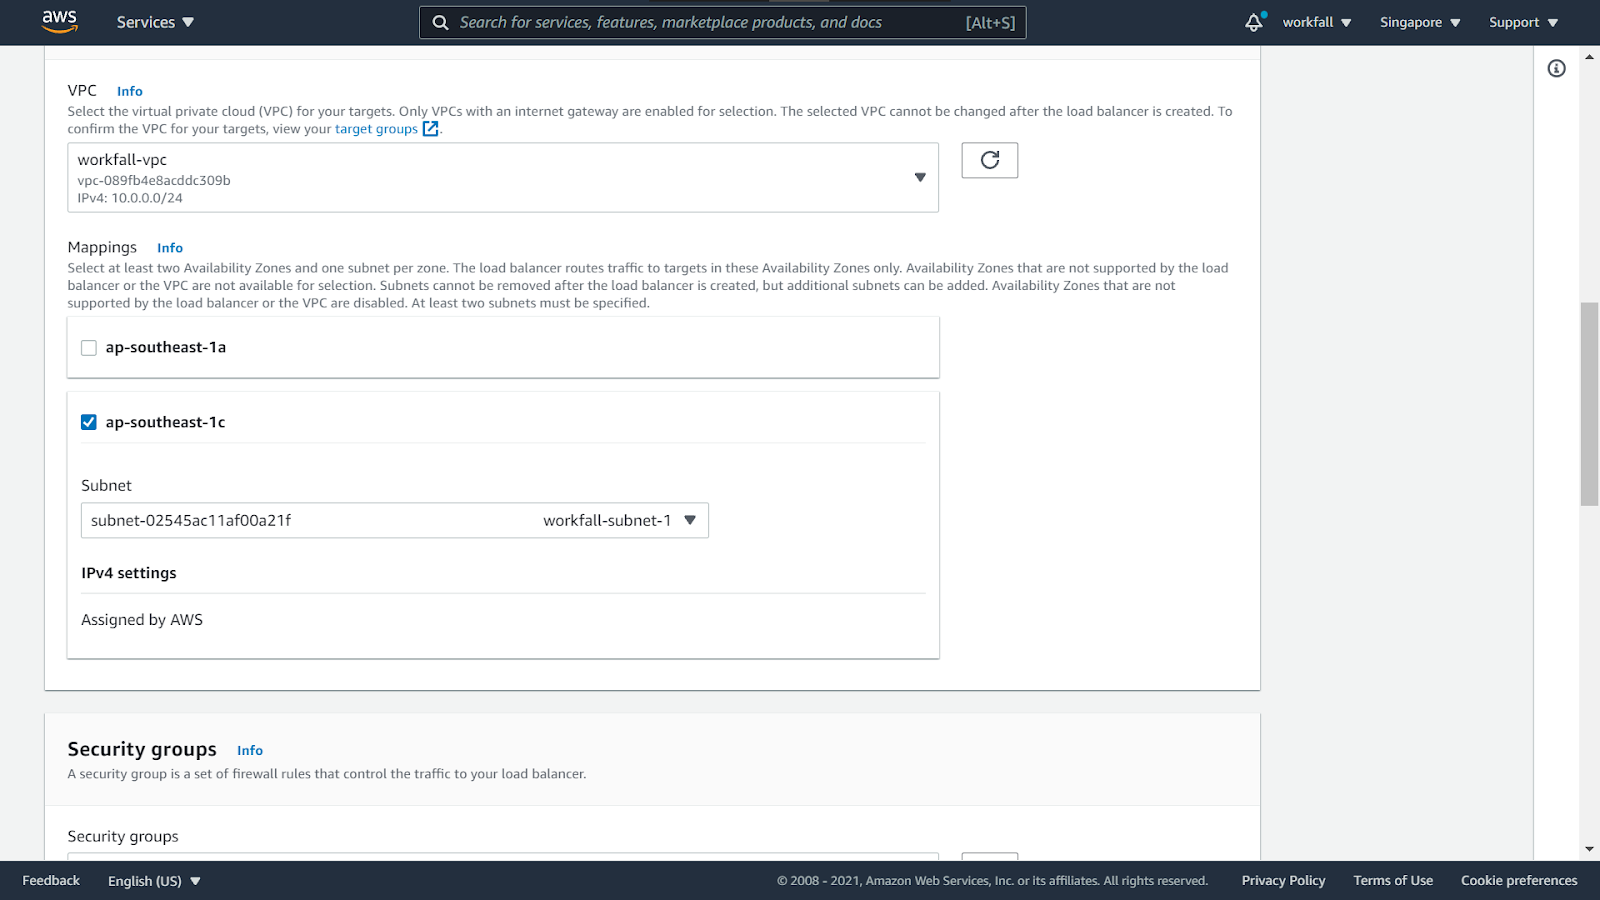
Select a VPC from the dropdown and select both the regions along with the corresponding subnets inside the region.
Click on Create new security group.

Enter a name and a description for the security group and select the VPC from the dropdown. In the inbound rule, add a new rule and allow TCP on Port 80 with the source shown below. You can change the source as per your requirements.

Leave the outbound rule as default and click on Create security group.

On success, you will see the message as shown in the image below.

Navigate back to the Load Balancer dashboard. Hit refresh and select the newly created Security group. Click on Create target group.

Select Instances for a target type.

Enter a target group name and select the other options as shown in the image below.

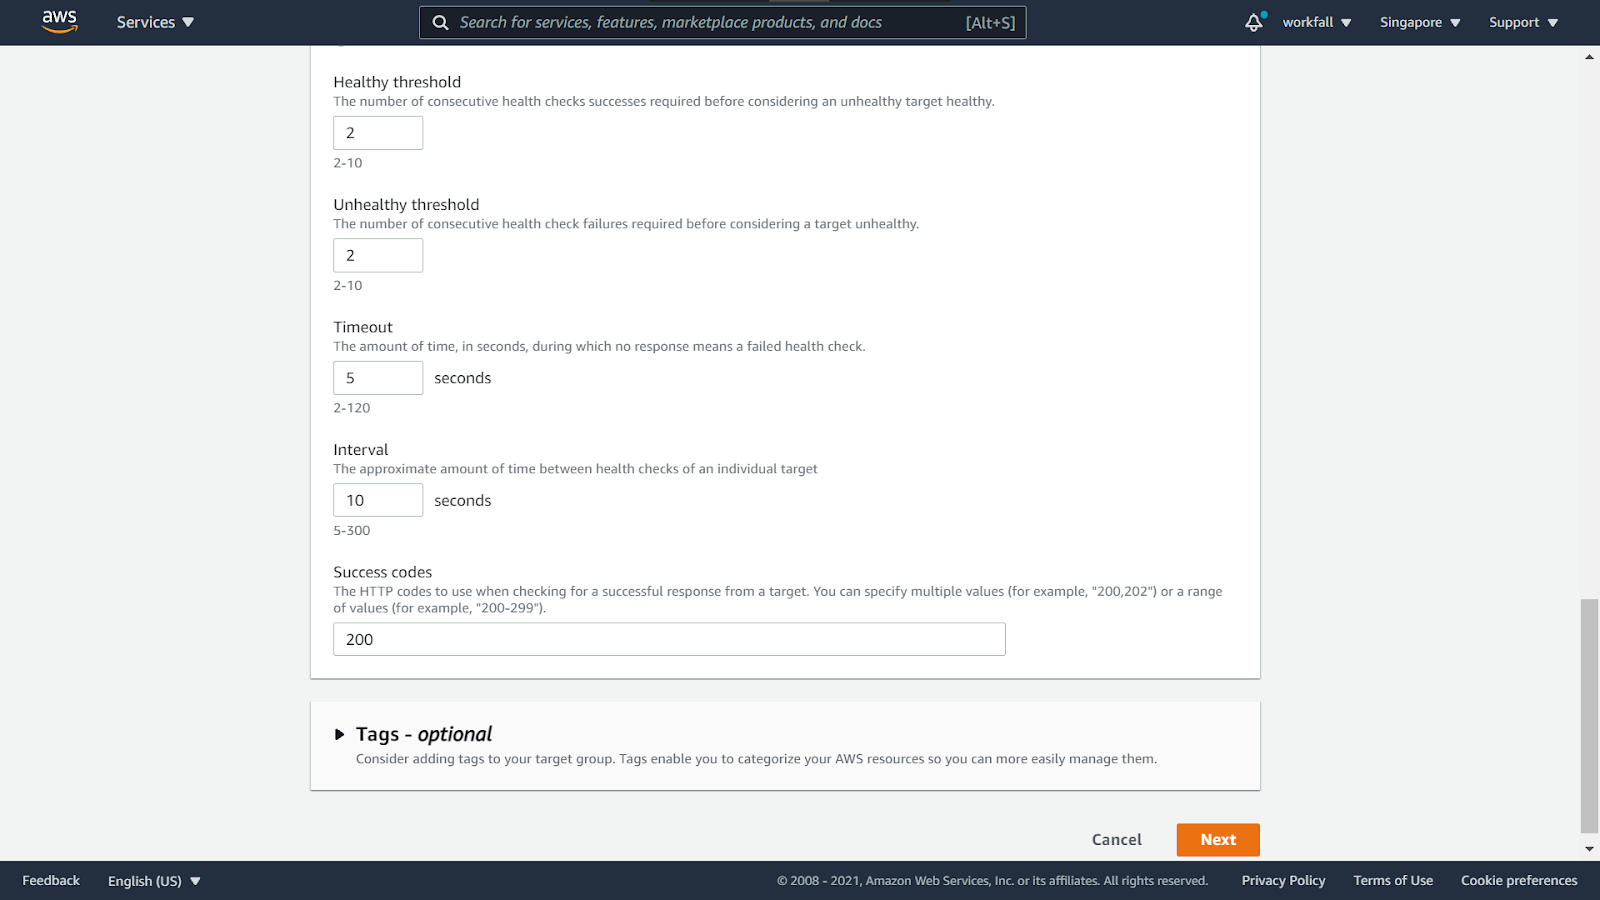
Expand health check settings and choose the options as shown in the image below.

Scroll down making the changes for the configuration and click on Next.
In Step 2, keep the default settings and scroll down to the bottom.

Click on Create target group.

On success, you will see the message as shown below.

Navigate back to the Load Balancer configuration page, click on refresh and select the target group from the dropdown.
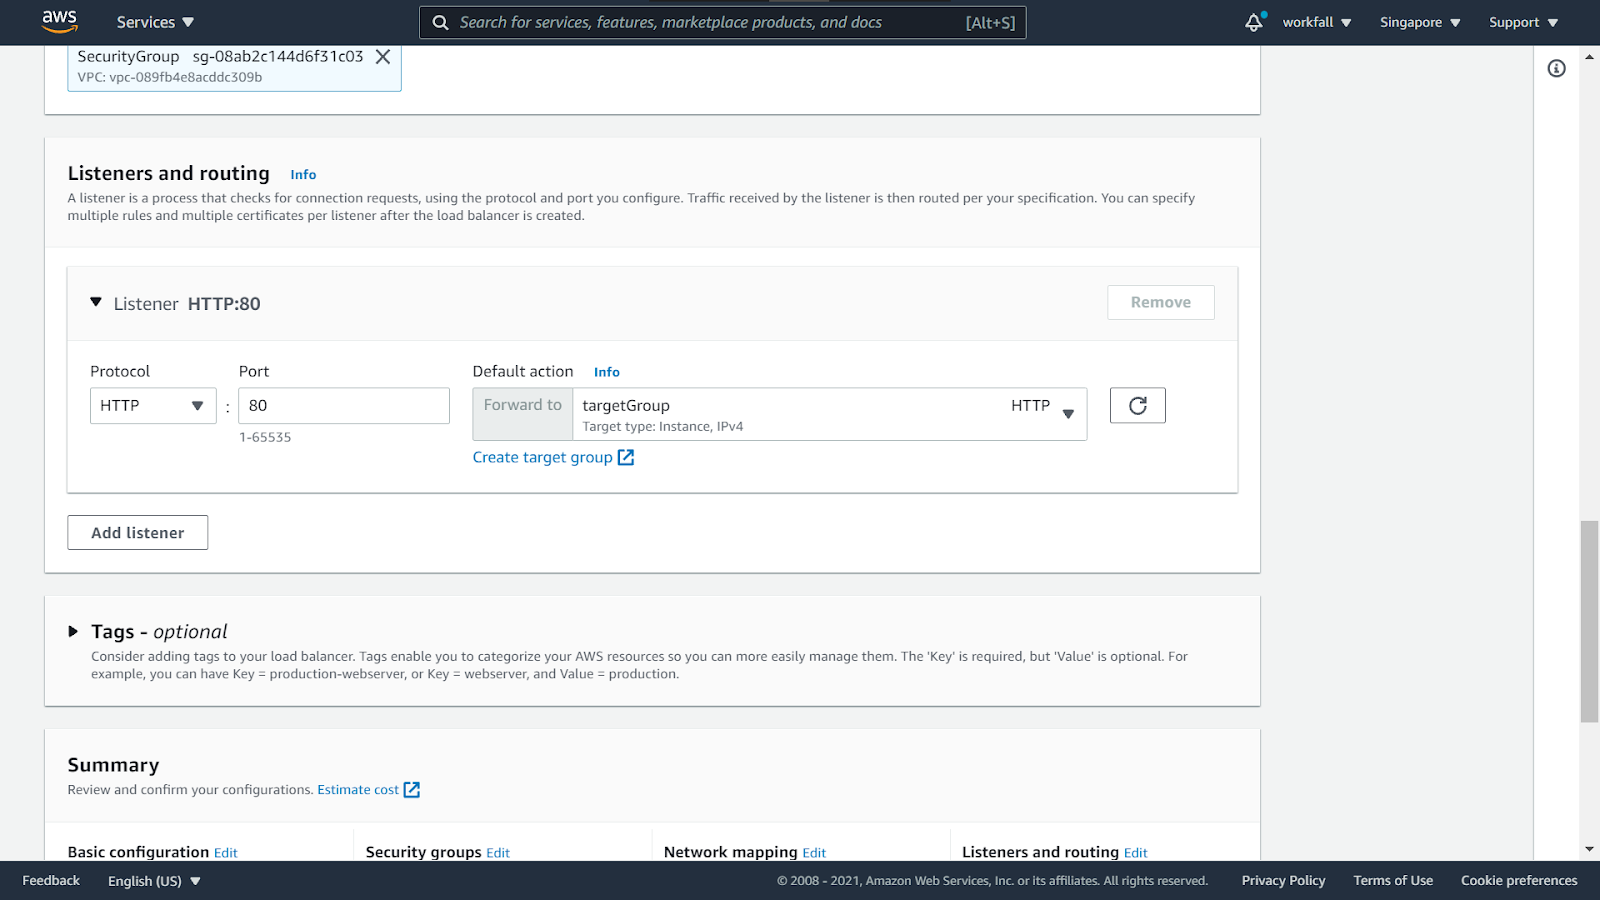
Scroll down to the bottom and click on Create load balancer.

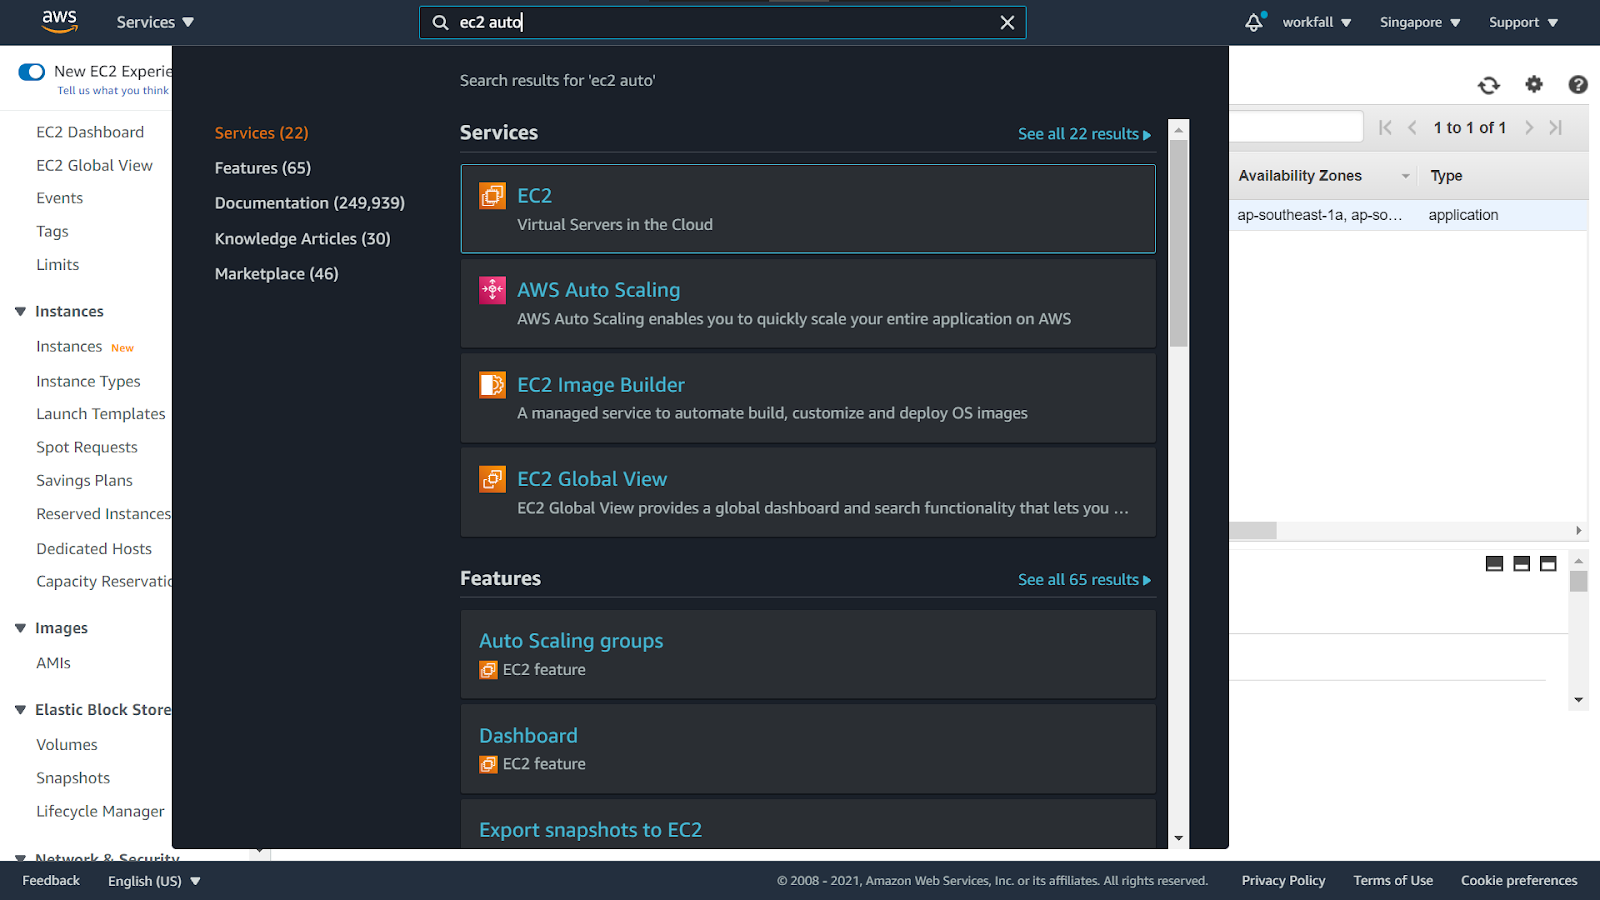
Once done, you will see the newly created load balancer. Now search for the AutoScaling group and navigate to the dashboard for the same and click on Create Auto Scaling group.
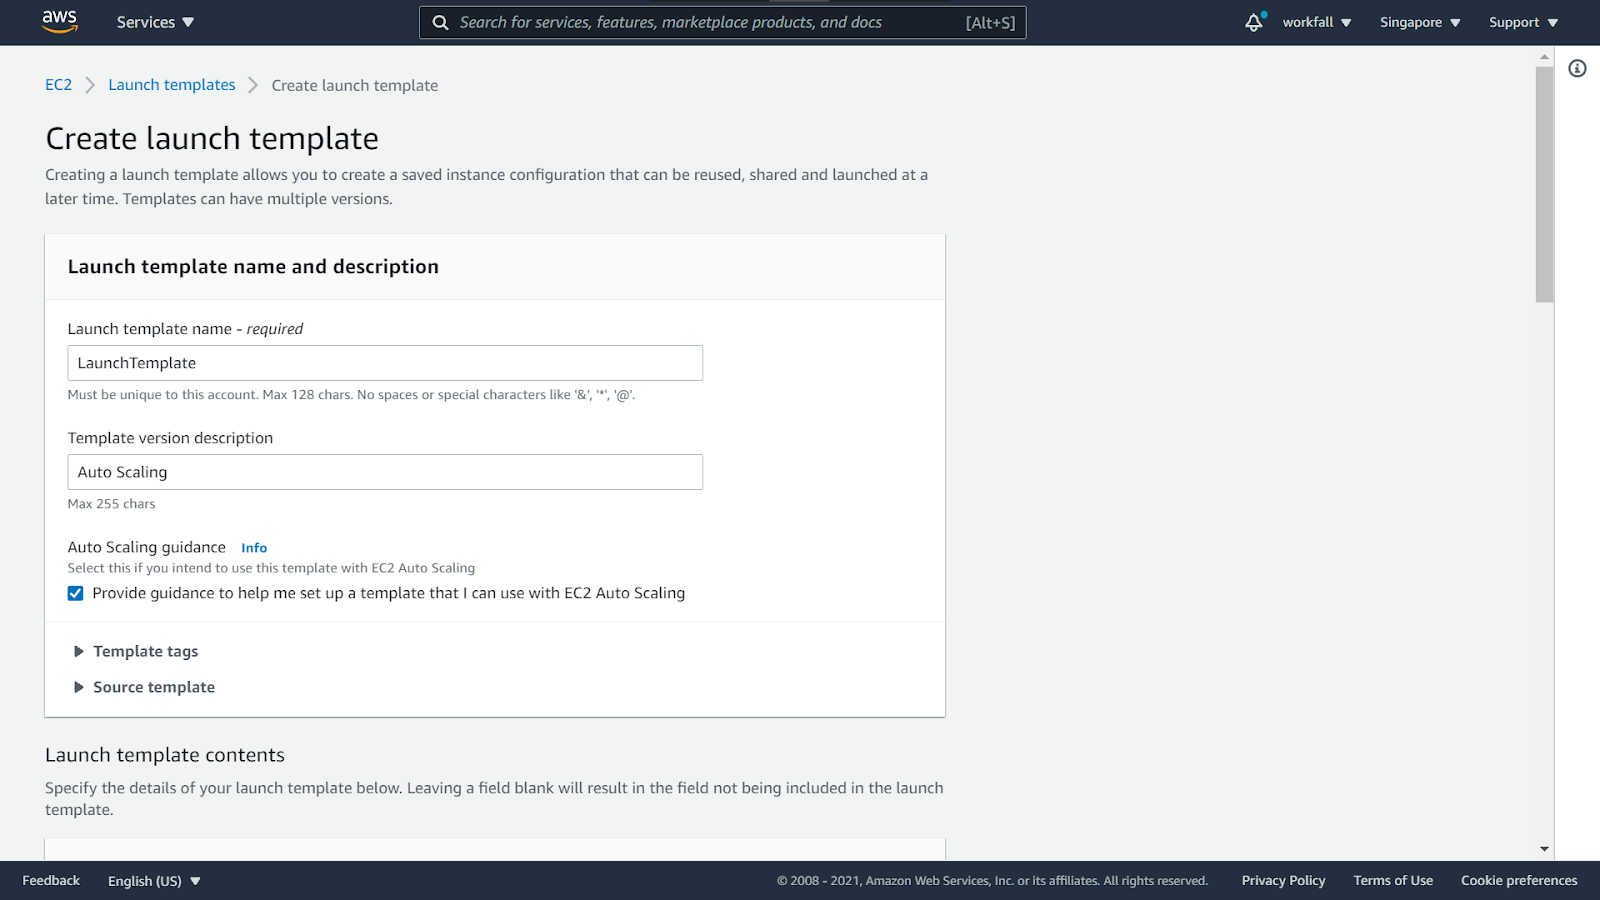
Enter a name for the group. Click on Create a Launch template.

Enter a name for the Launch Template. Scroll down to the Network settings.
Select VPC and the security group that you created above.

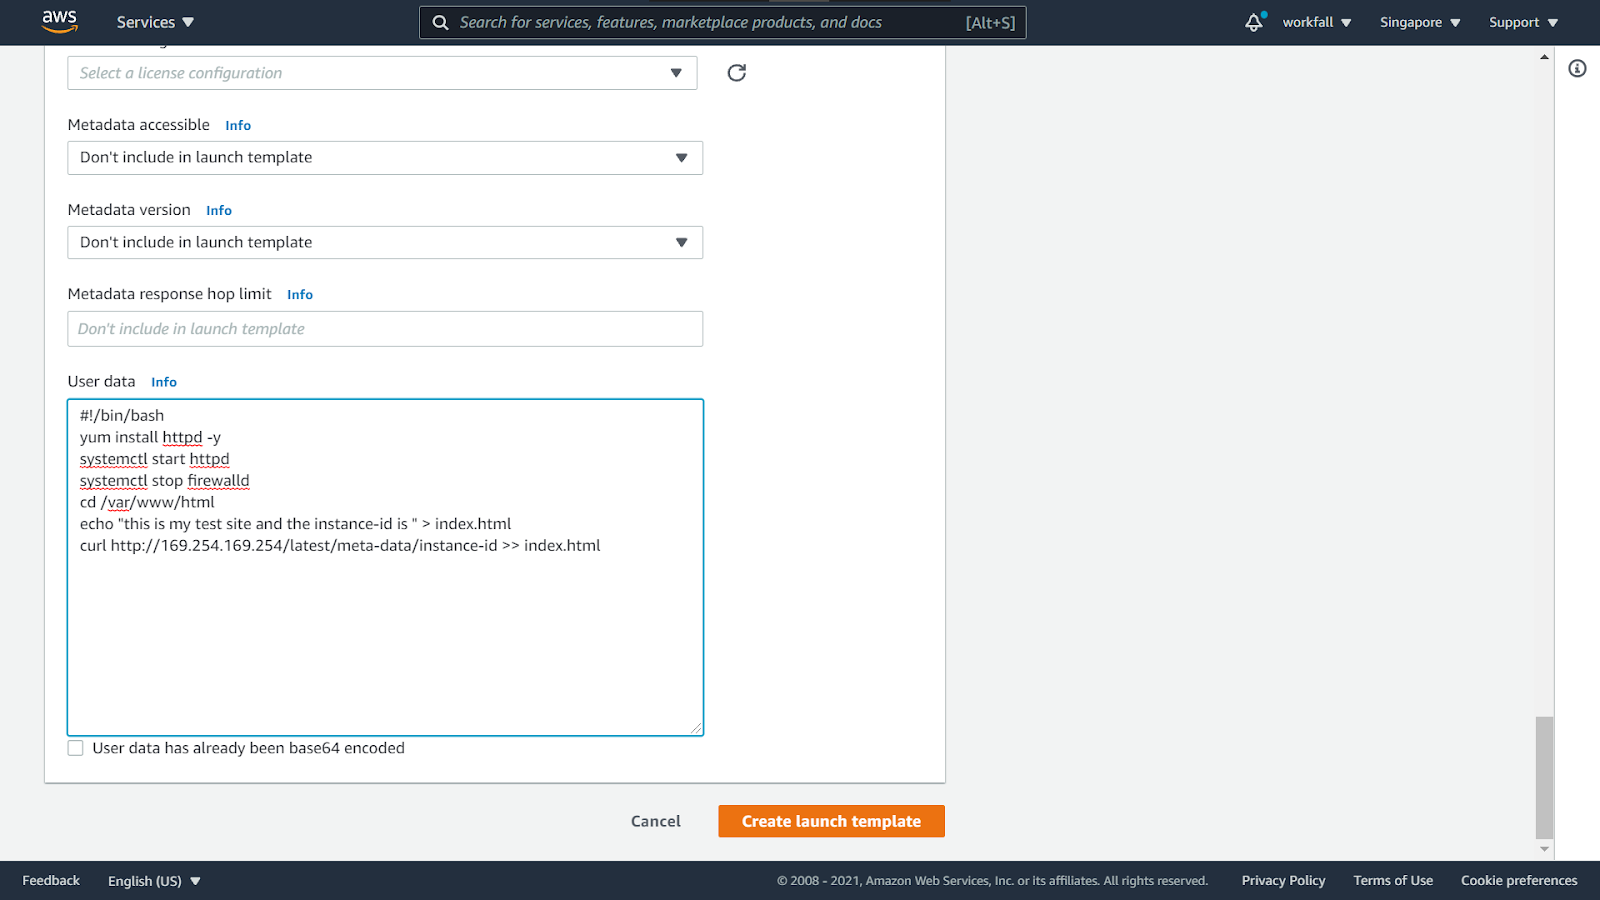
Scroll down to the User data input box and add the following code in it.
#!/bin/bash
yum install httpd -y
systemctl start httpd
systemctl stop firewalld
cd /var/www/html
echo "this is my test site and the instance-id is " > index.html
curl http://169.254.169.254/latest/meta-data/instance-id >> index.html
Once done, click on Create launch template.
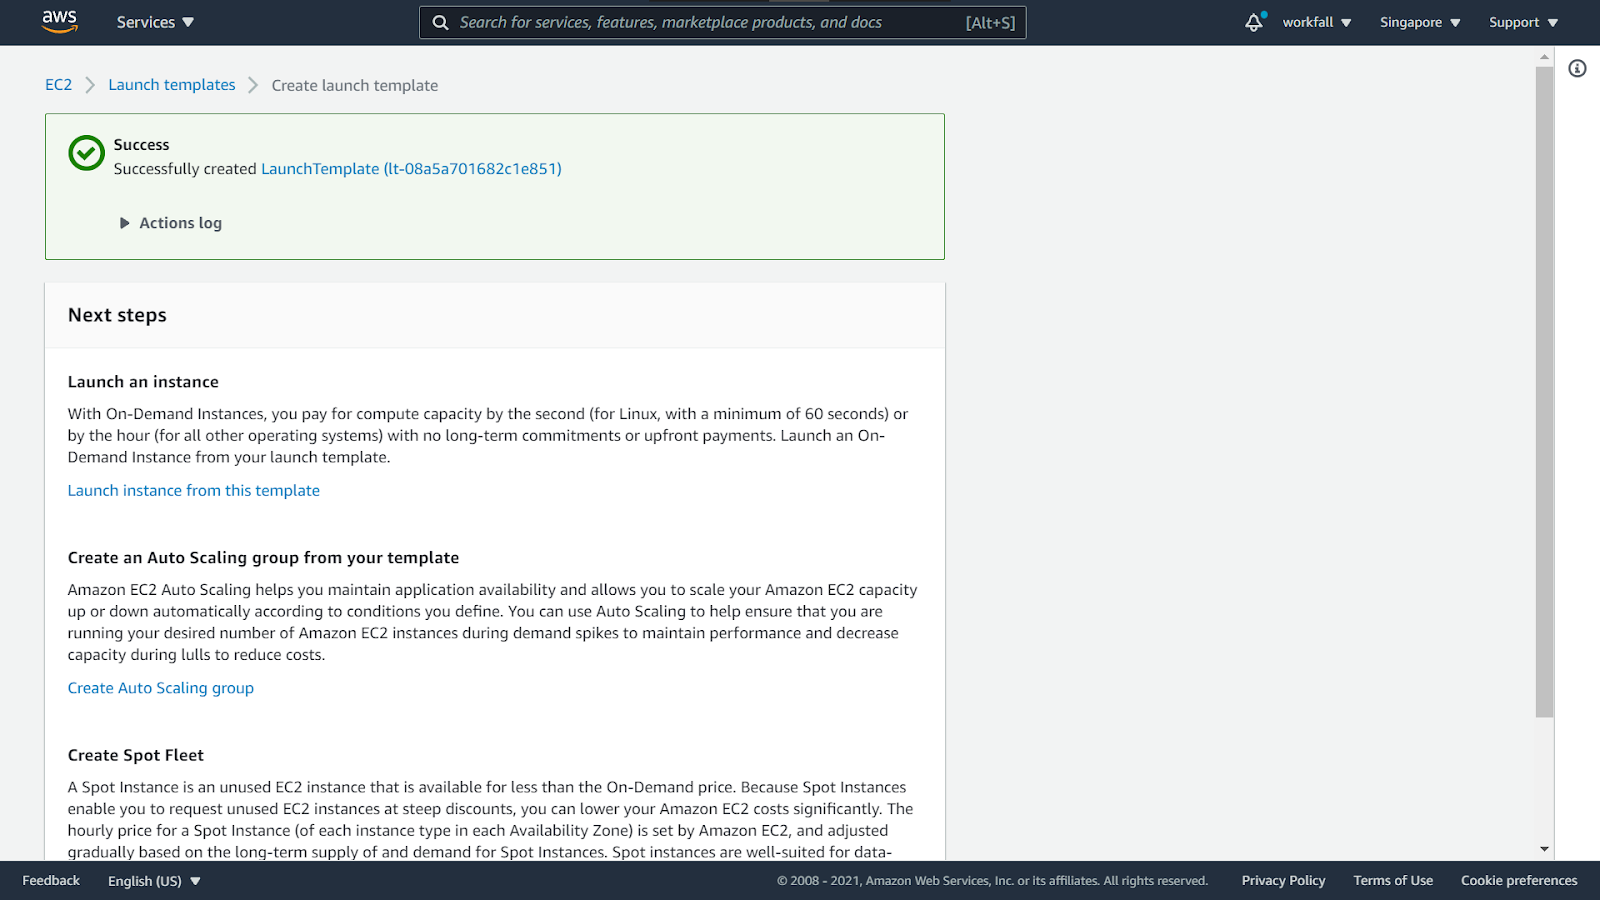
On success, you will see a message as shown in the image below.
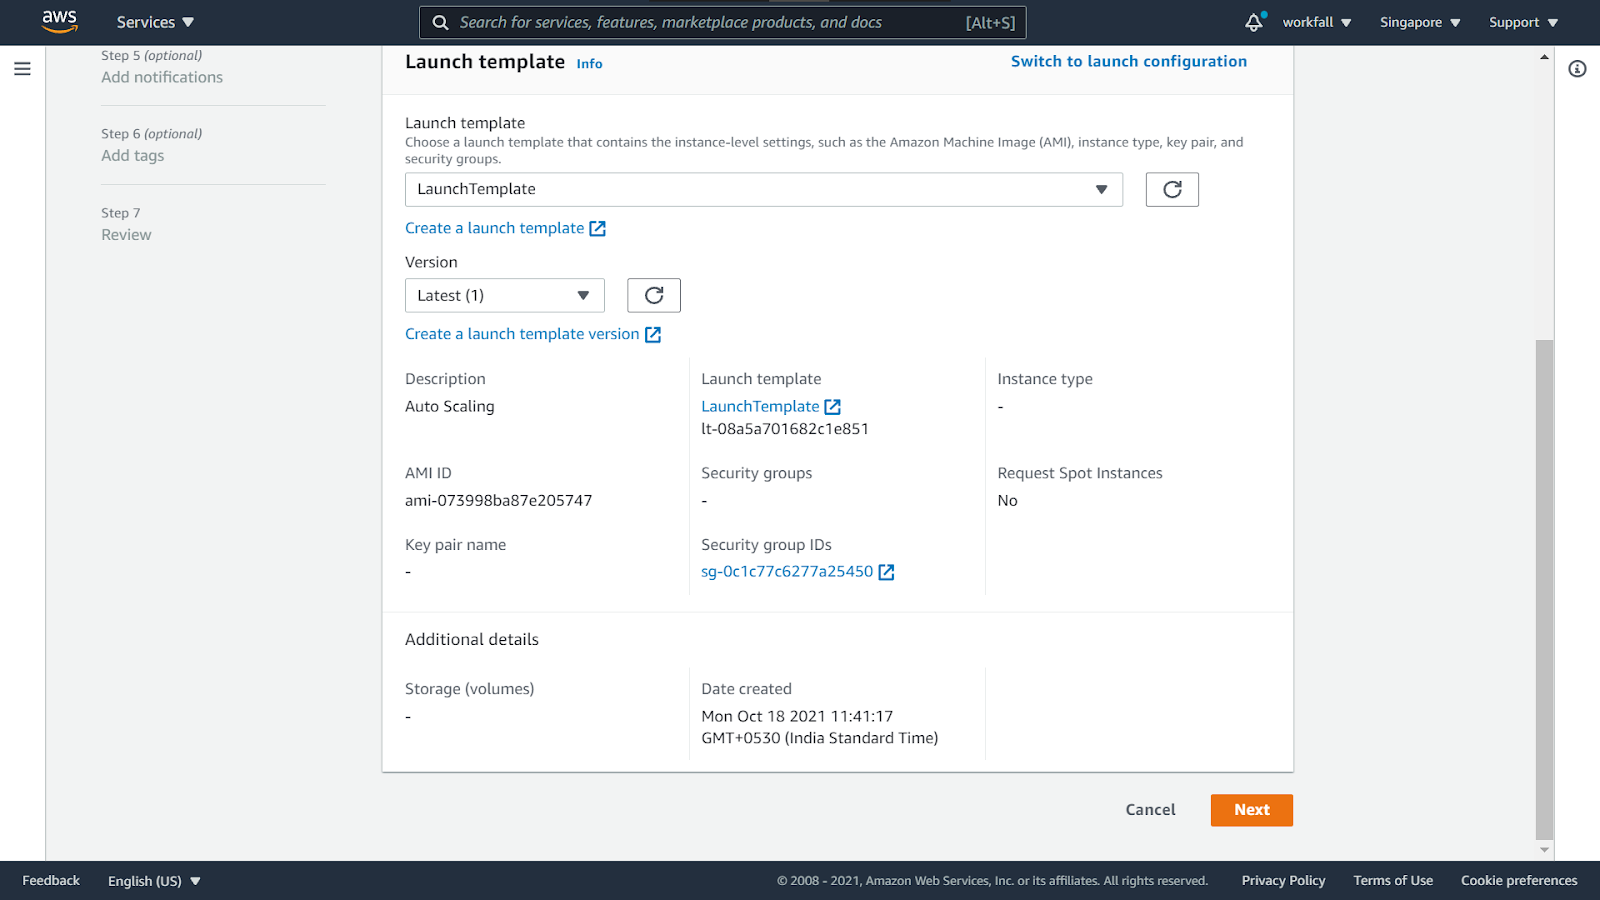
Hit refresh and from the dropdown, select the newly created template.
For the version, select Latest (1) from the dropdown. Click on Next.
Make the changes in Step 2 as shown in the image below.

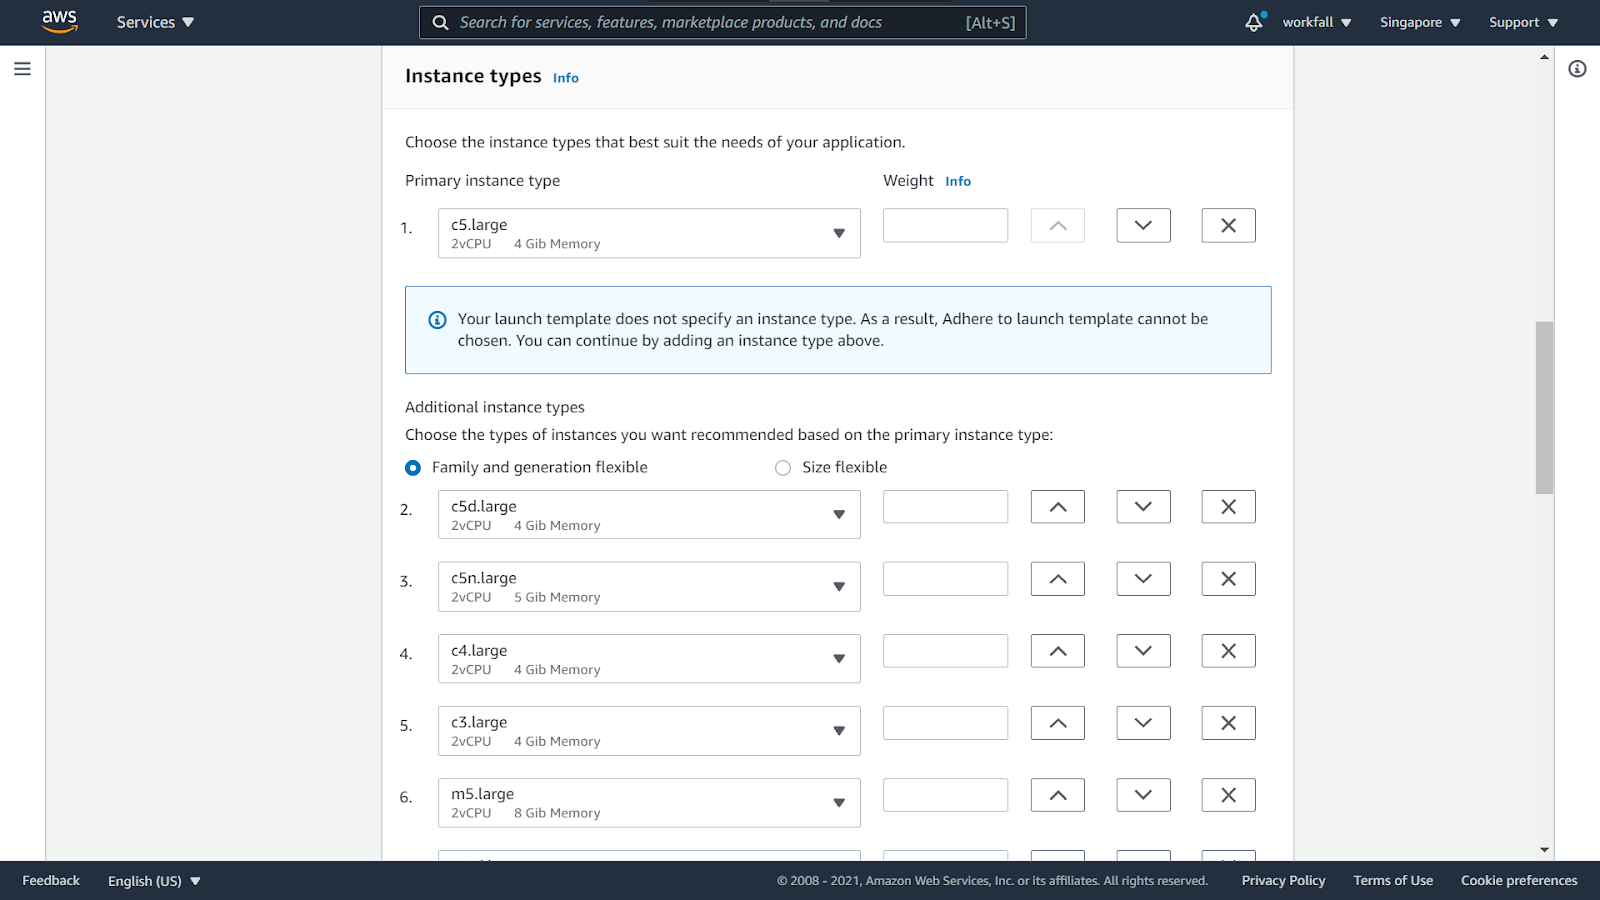
Under Instance Types, select a primary instance type.
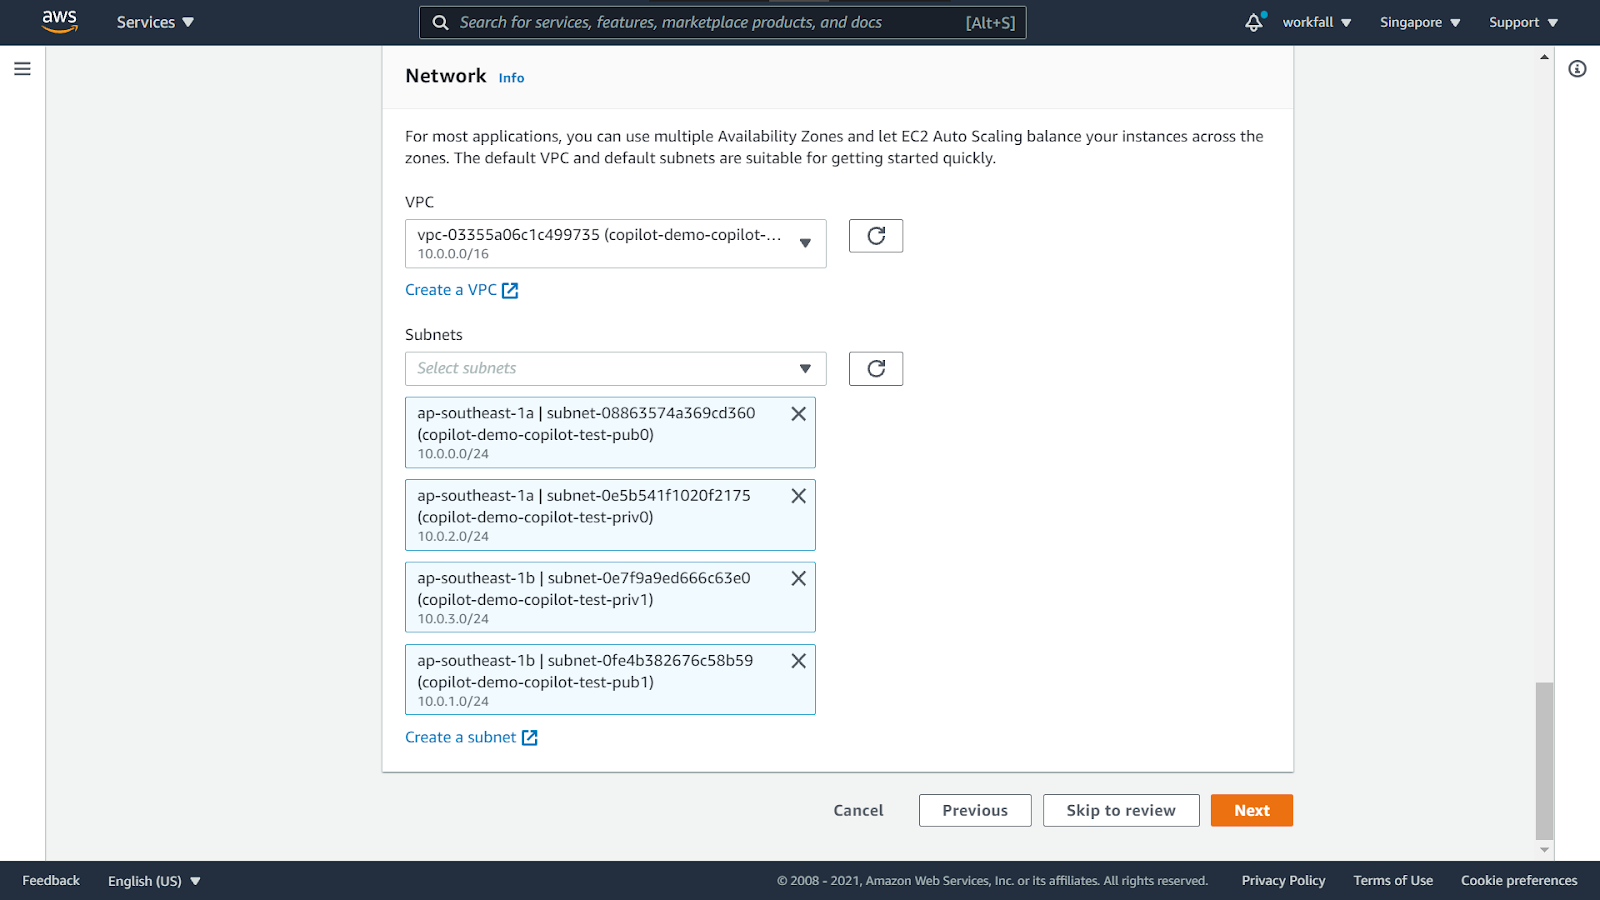
Under the Network section, select the VPC and all the subnets inside the VPC. Click on Next.
In the next step, select Attach to an existing load balancer and select the newly created target group from the dropdown.

Under Health checks, make the changes as shown in the image below and click on Next.

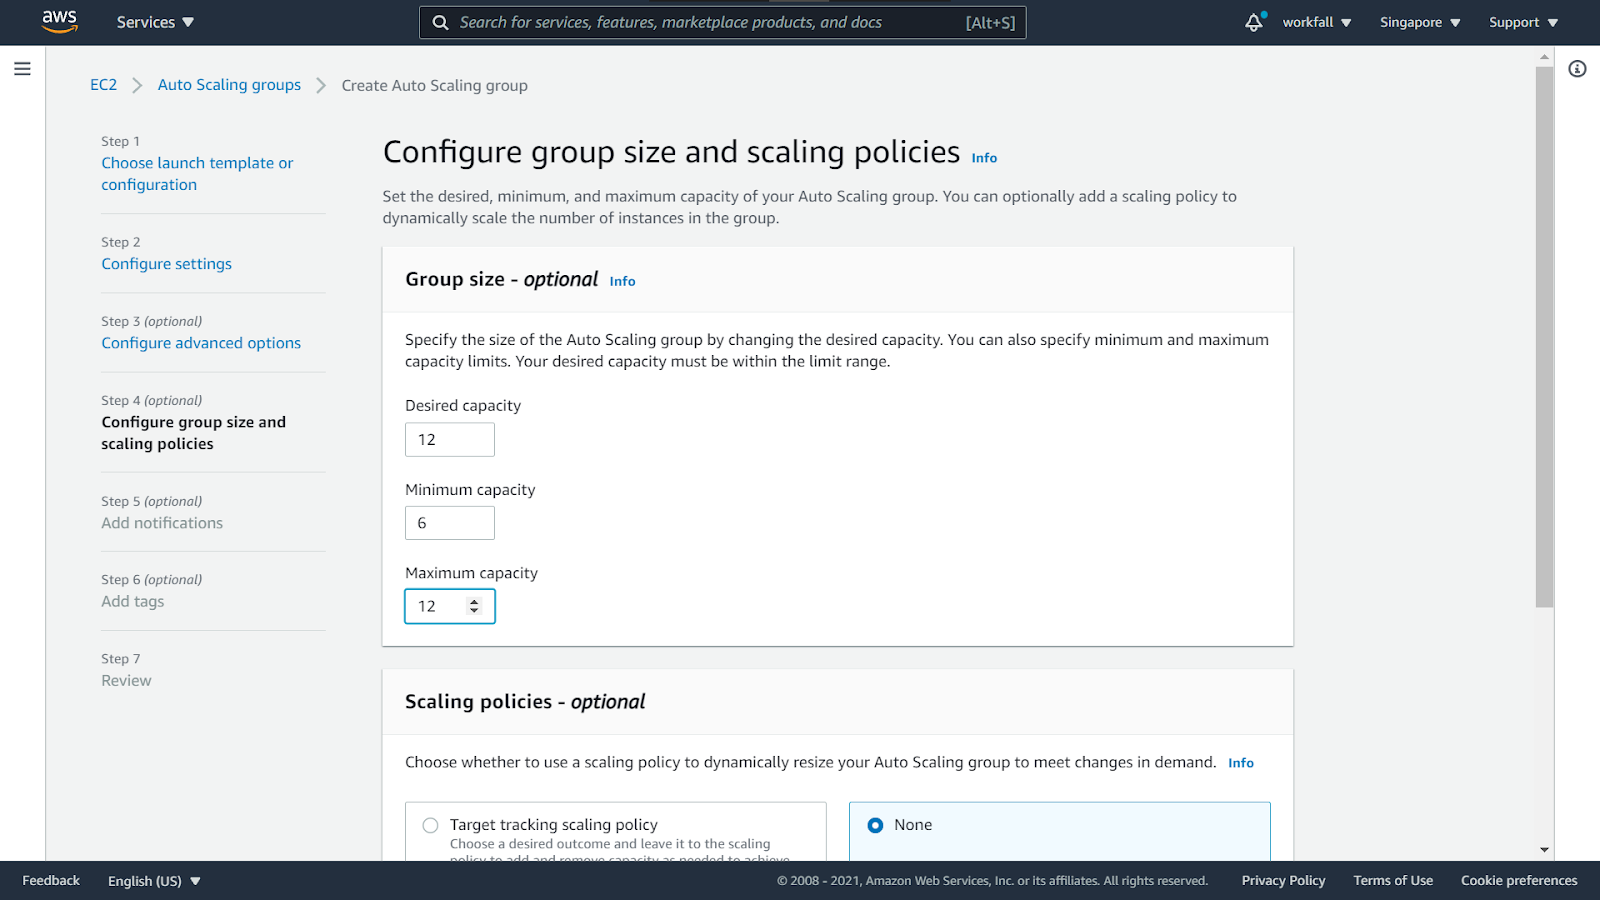
Change the group size configurations as per your requirements.
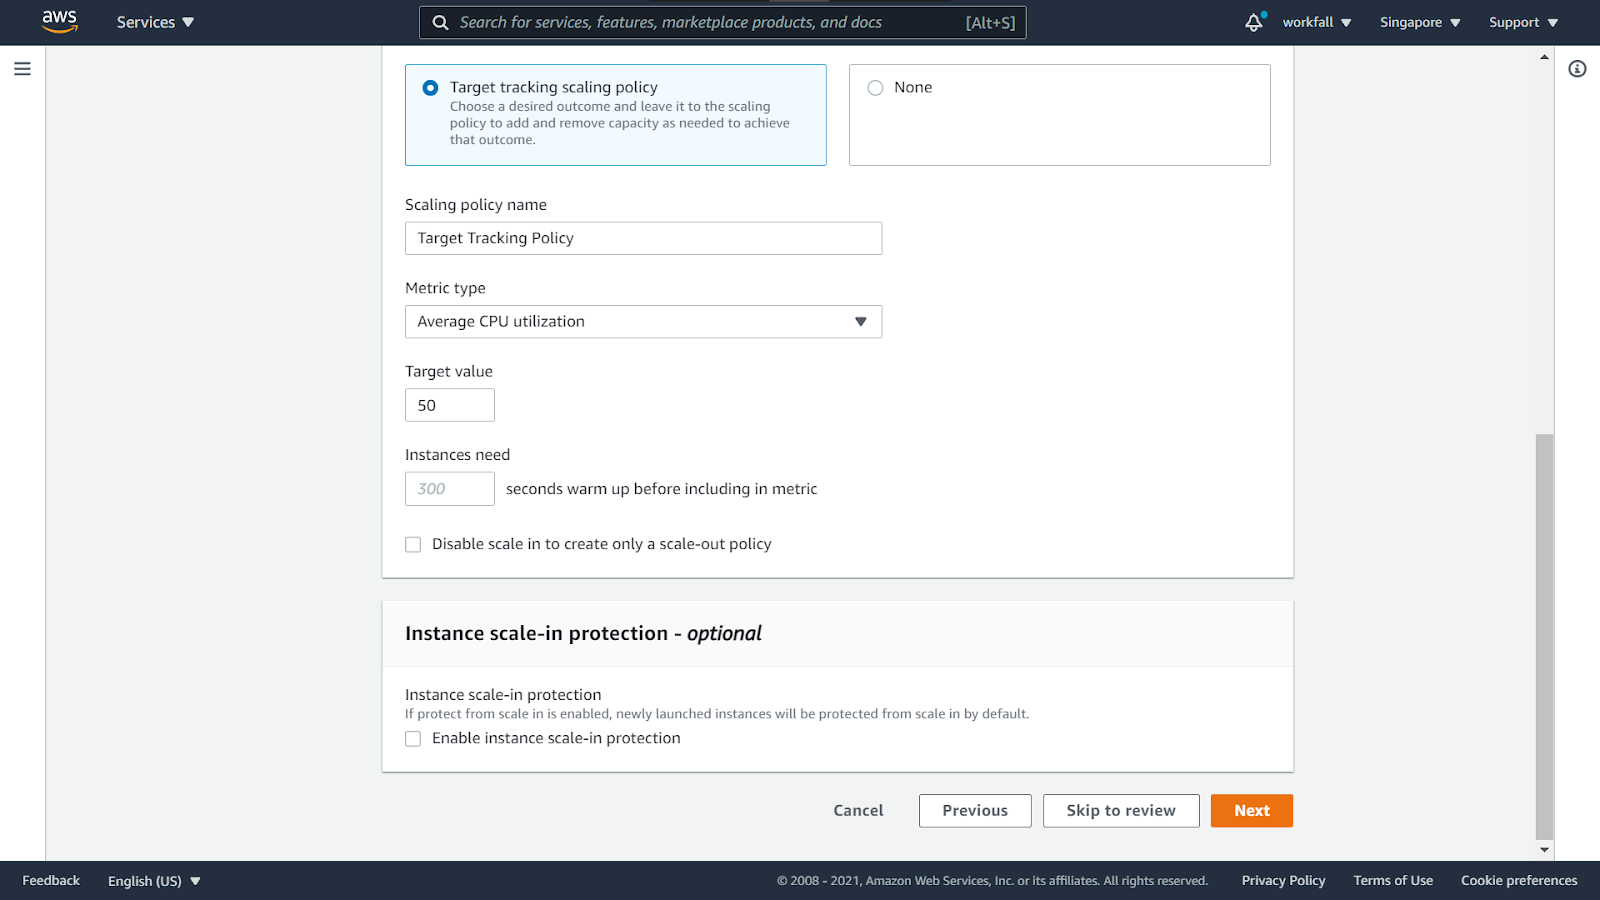
For Scaling Policies, select Target tracking scaling policy and leave the other settings as it is.

Scroll to the bottom and click on Skip to review.
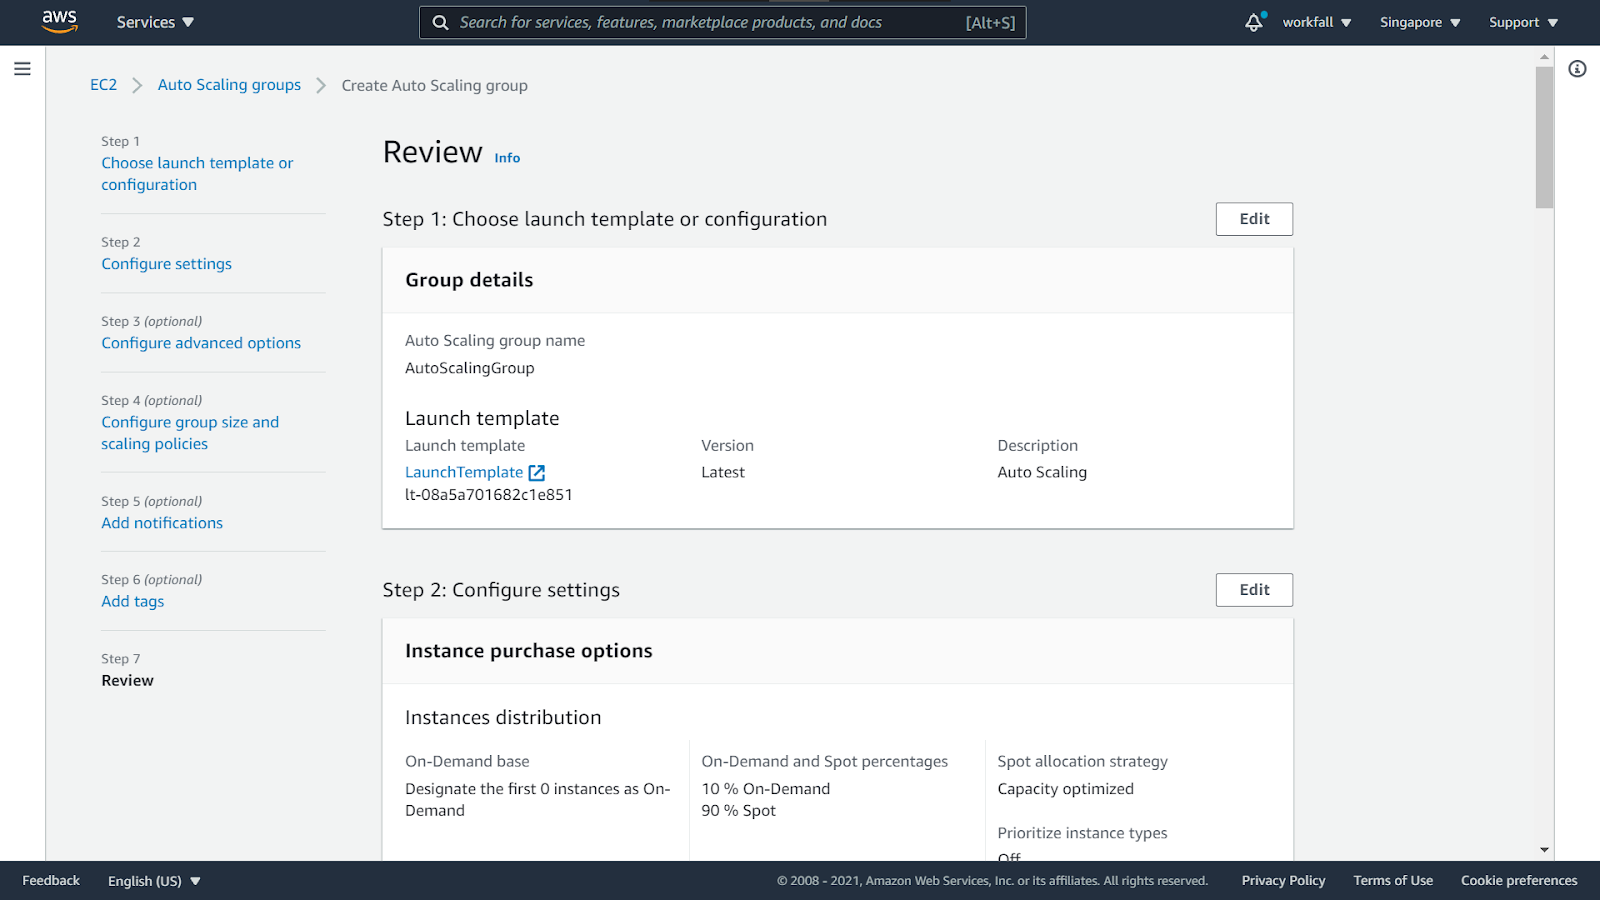
Review all the configuration settings and scroll to the bottom and click on Create Auto Scaling group.
On success, you will see the message as shown in the image below. Click on the newly created AutoScalingGroup.
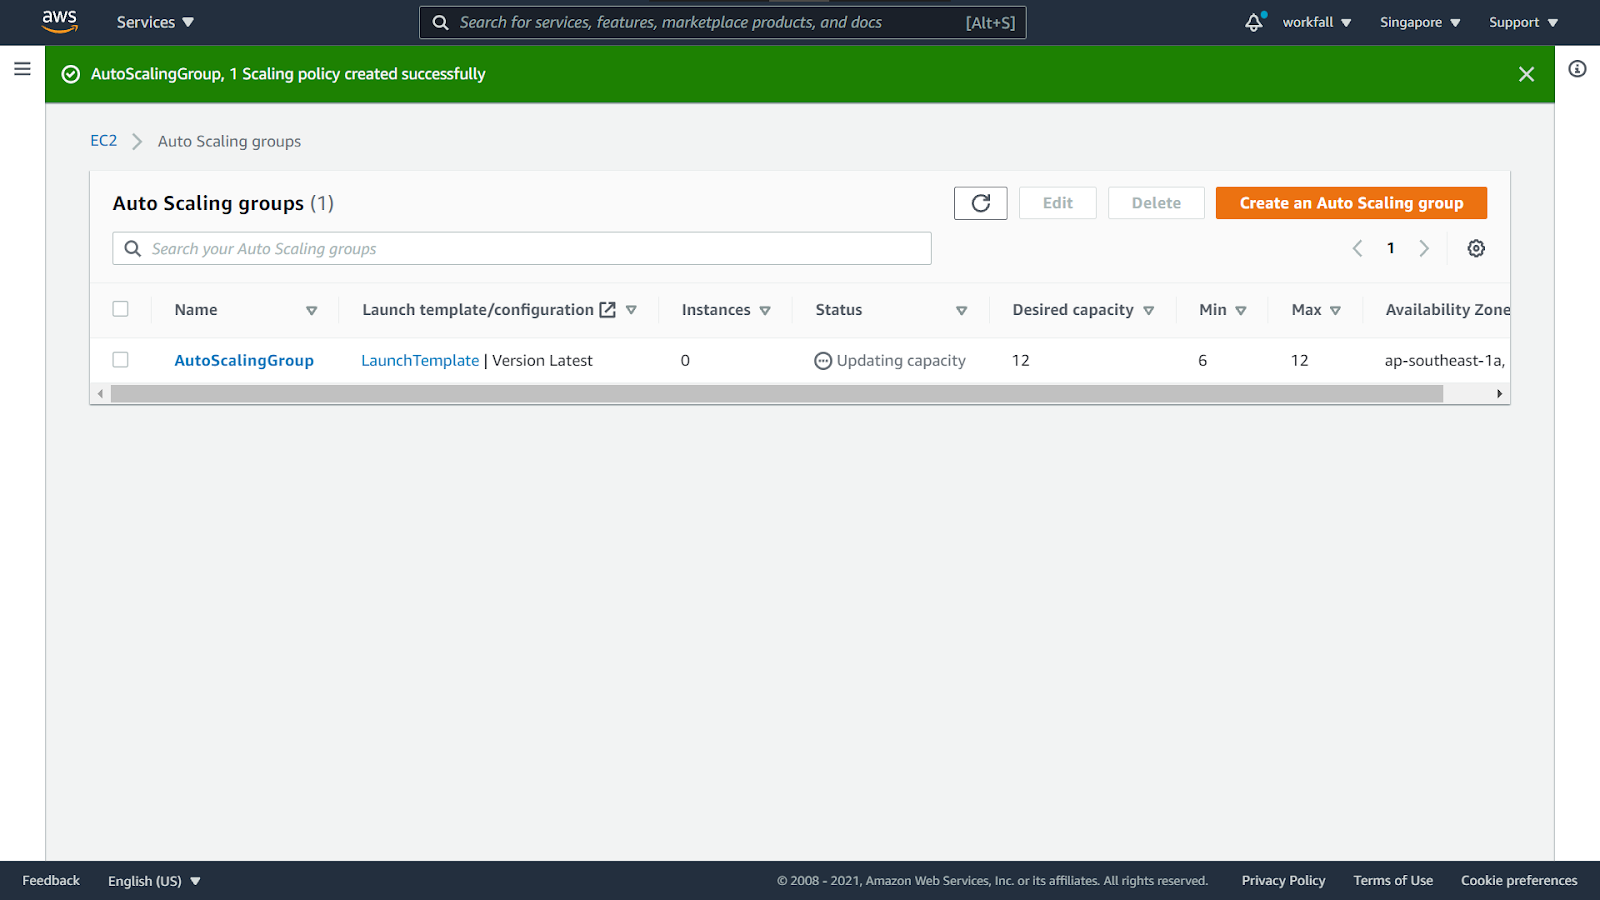
You can view the details for the created group. Navigate to the Activity tab.

Under Activity History, you will see the instance creation history. Now these are the spot instances being created on demand.

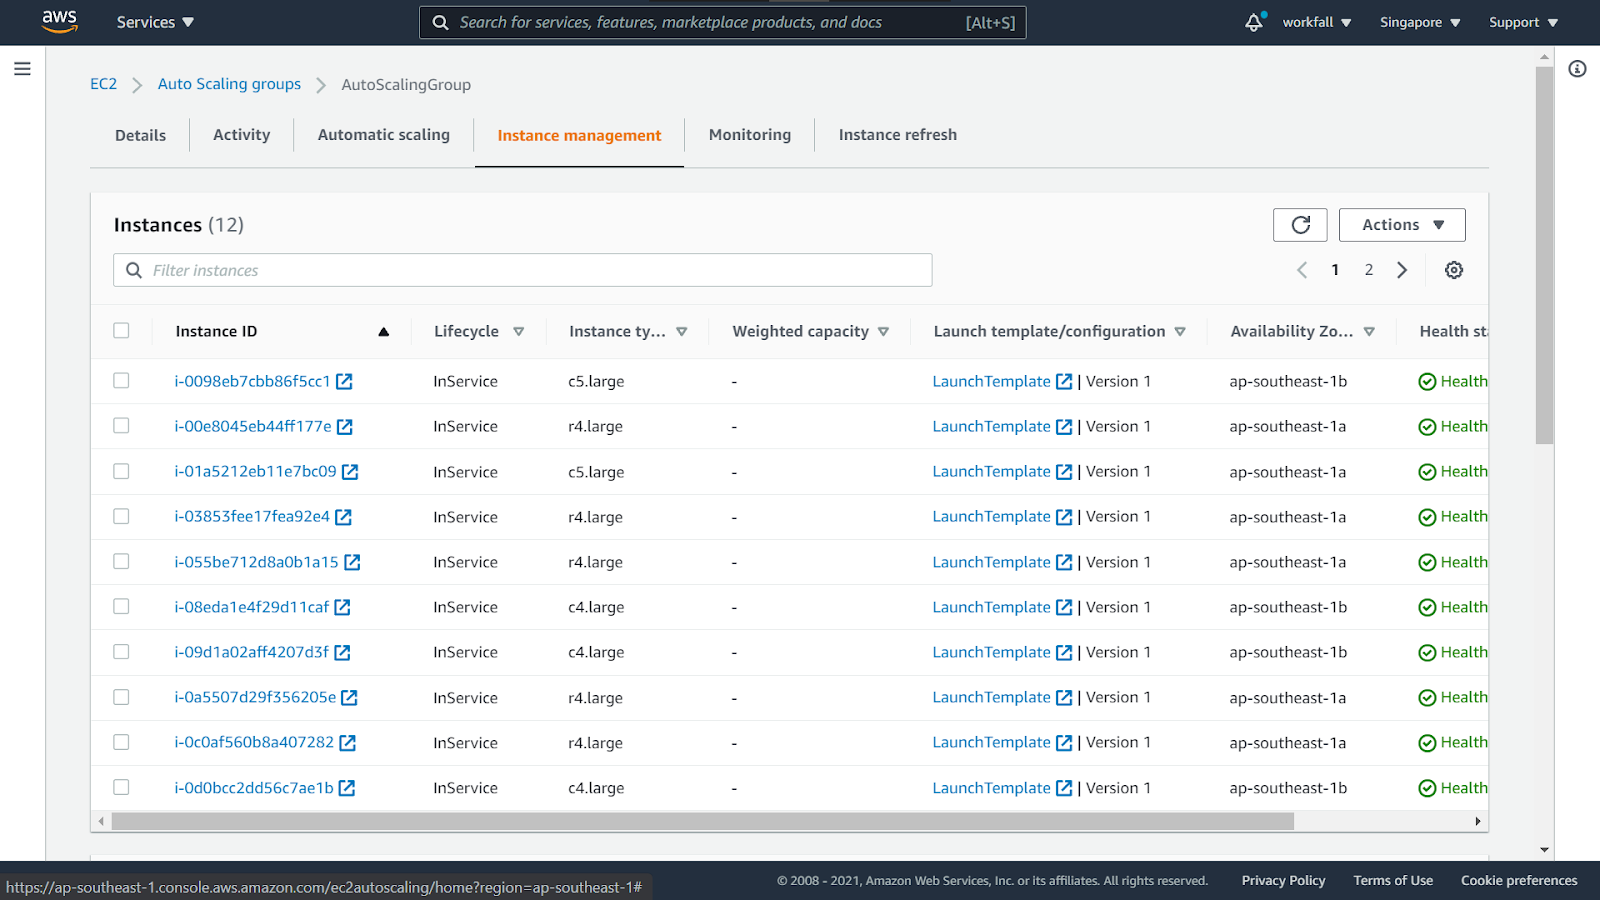
Navigate to the Instance Management tab and you will see all the instances being created. These instances are random and based on availability. Thus, they are called the Spot instances.
Navigate to the EC2 instance dashboard and you will see the newly created spot instances.

Terminate a few of the newly created instances.

The instances will start shutting down.

Navigate back to the EC2 Auto Scaling group and under the Activity History, you will be able to see the recent activity as shown in the image below and new spot instances will be created to replace the terminated ones because of the Auto Scaling group.

Conclusion
In this blog, we saw how we can make use of Amazon EC2 Auto Scaling with launch templates, AWS Application Load Balancer, and Amazon EC2 Spot instances to create a stateless, fault-tolerant workload requesting for Spot Instances on termination of a few instances. We created an AWS Application Load Balancer and used it in concert with Amazon EC2 Auto Scaling to add and remove spot instances as needed. We also used launch templates and the capacity-optimized allocation strategy to automatically provision EC2 Spot Instances from the most-available Spot Instance pools by analyzing capacity metrics. We will discuss more use cases for the services used in our upcoming blogs. Stay tuned to keep getting all updates about our upcoming new blogs on AWS and relevant technologies.
Meanwhile …
Keep Exploring -> Keep Learning -> Keep Mastering
This blog is part of our effort towards building a knowledgeable and kick-ass tech community. At Workfall, we strive to provide the best tech and pay opportunities to AWS-certified talents. If you’re looking to work with global clients, build kick-ass products while making big bucks doing so, give it a shot at workfall.com/partner today.