Are you utterly exhausted from thinking about your storage of data? You can get a fast, scalable, highly available, and fully managed document database service that supports MongoDB workloads and makes it easy to store, query, and index JSON data with Amazon DocumentDB (with MongoDB compatibility). In this blog, we will see how to get started with Amazon DocumentDB using AWS Cloud9. We will explore how to connect to the Amazon DocumentDB cluster from the AWS Cloud9 environment with a Mongo shell and run a few queries. We will see how to create an environment, create a security group, create an Amazon DocumentDB cluster, install the Mongo shell, connect to the Amazon DocumentDB cluster, and then finally test the execution via inserting and querying data. To avoid unnecessary add-on costs, we will even go through a process of deleting resources.
What is Amazon DocumentDB?

Amazon DocumentDB is a non-relational database service designed from the ground up to give you the performance, scalability, and availability you need when operating mission-critical MongoDB workloads at scale. Amazon DocumentDB is a document database that makes it simple to store, query, and index JSON data.
In Amazon DocumentDB, storage scales automatically up to 64TiB without any impact on your application. It supports millions of requests per second with up to 15 low latency read replicas in minutes, without any application downtime, regardless of the size of your data. Regardless of the quantity of your data, it enables millions of requests per second with up to 15 low-latency read replicas in minutes, with no application downtime. If you want to know more about AWS DocumentDB, you can also refer to our blog How to store, query, and index JSON data using AWS DocumentDB. How to use AWS DocumentDB to store, query, and index JSON data.
What is AWS Cloud9?
AWS Cloud9 is an integrated development environment. With support for numerous programming languages, runtime debuggers, and a built-in terminal, the AWS Cloud9 IDE provides a robust code-editing experience. It’s a set of tools for writing, building, running, testing, and debugging software, as well as for releasing it to the cloud. You can customize the IDE to your liking. Color themes can be changed, shortcut keys can be assigned, programming language-specific syntax coloring and code formatting can be enabled, and so on.
Hands-on
In this blog, we will see how to make use of an environment in AWS Cloud9 to set up a Document Database with Amazon DocumentDB (with MongoDB compatibility) in a private VPC. We will first explore the AWS Cloud9 dashboard and see how to create a new environment. We will then create a new Security group adding an inbound rule. Proceeding further, we will explore the Amazon DocumentDB dashboard. Creating a new cluster on the clusters dashboard, we will create a new repository file on the Cloud9 environment. We will then install the Mongo shell for the MongoDB compatibility on the Cloud9 terminal and for the final step, we will install the Amazon DocumentDB Certificate Authority certificate to authenticate the cluster and then connect to the cluster via the Cloud9 environment with the Mongo shell using the connection string. Once the configuration is completed, we will then test multiple queries to confirm its execution. On successful execution, we will then look at the cleansing of resources to avoid unnecessary add-on costs for the resources.

To implement this, we will do the following:
- Login to the AWS account and navigate to the dashboard.
- Navigate to the AWS Cloud9 service dashboard.
- Explore the features of the AWS Cloud9 service.
- Create a new environment following the configuration steps shown in the blog.
- Navigate to the Security Groups feature in the Amazon EC2 service dashboard.
- Create a new security group adding an inbound rule.
- Navigate to the Amazon DocumentDB service dashboard.
- Explore the features, pricing and its working details.
- Create a new cluster with private VPC configuration and configuring the authentication.
- Create a repository file on the Cloud9 environment.
- Install mongo shell using the command shown in the following steps.
- Install the Amazon DocumentDB Certificate Authority certificate to authenticate your cluster.
- Connect to the cluster via Cloud9 environment with the mongo shell using the connection string.
- Execute multiple queries to test out the connection.
- Run a use case query to test the MongoDB compatibility.
- On completion, follow the steps to deletion/cleansing of resources to avoid add-on costs in case you are just following the steps to test out the service.
Login to your AWS account and navigate to the dashboard.

Search for the Cloud9 service and click on it to navigate to the dashboard.

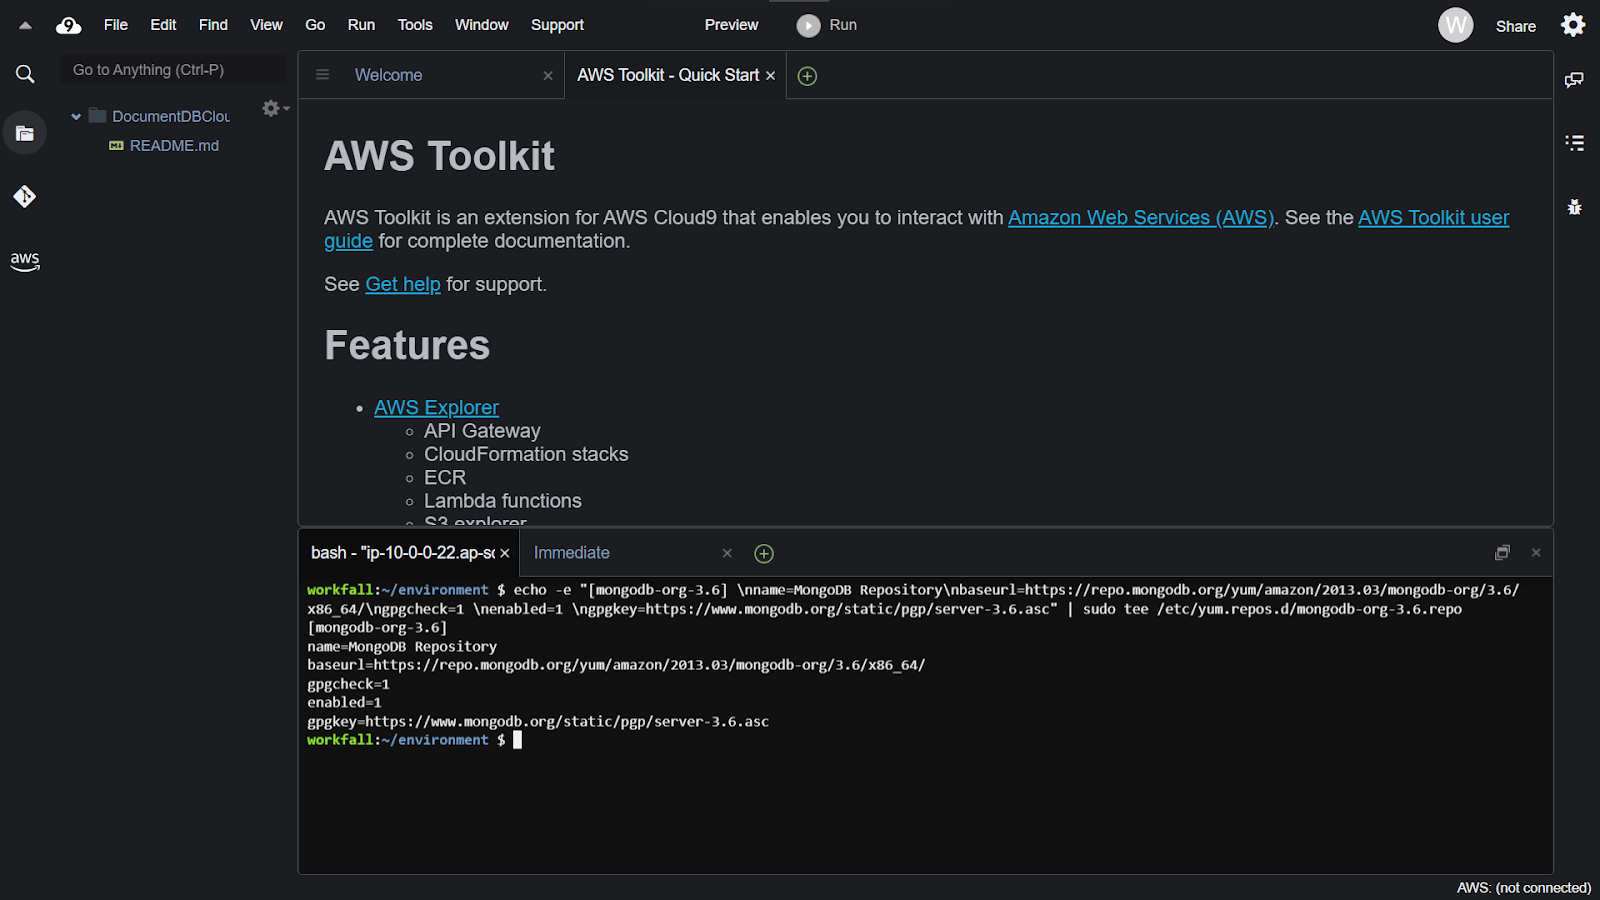
You will then be navigated to the Cloud9 service dashboard.
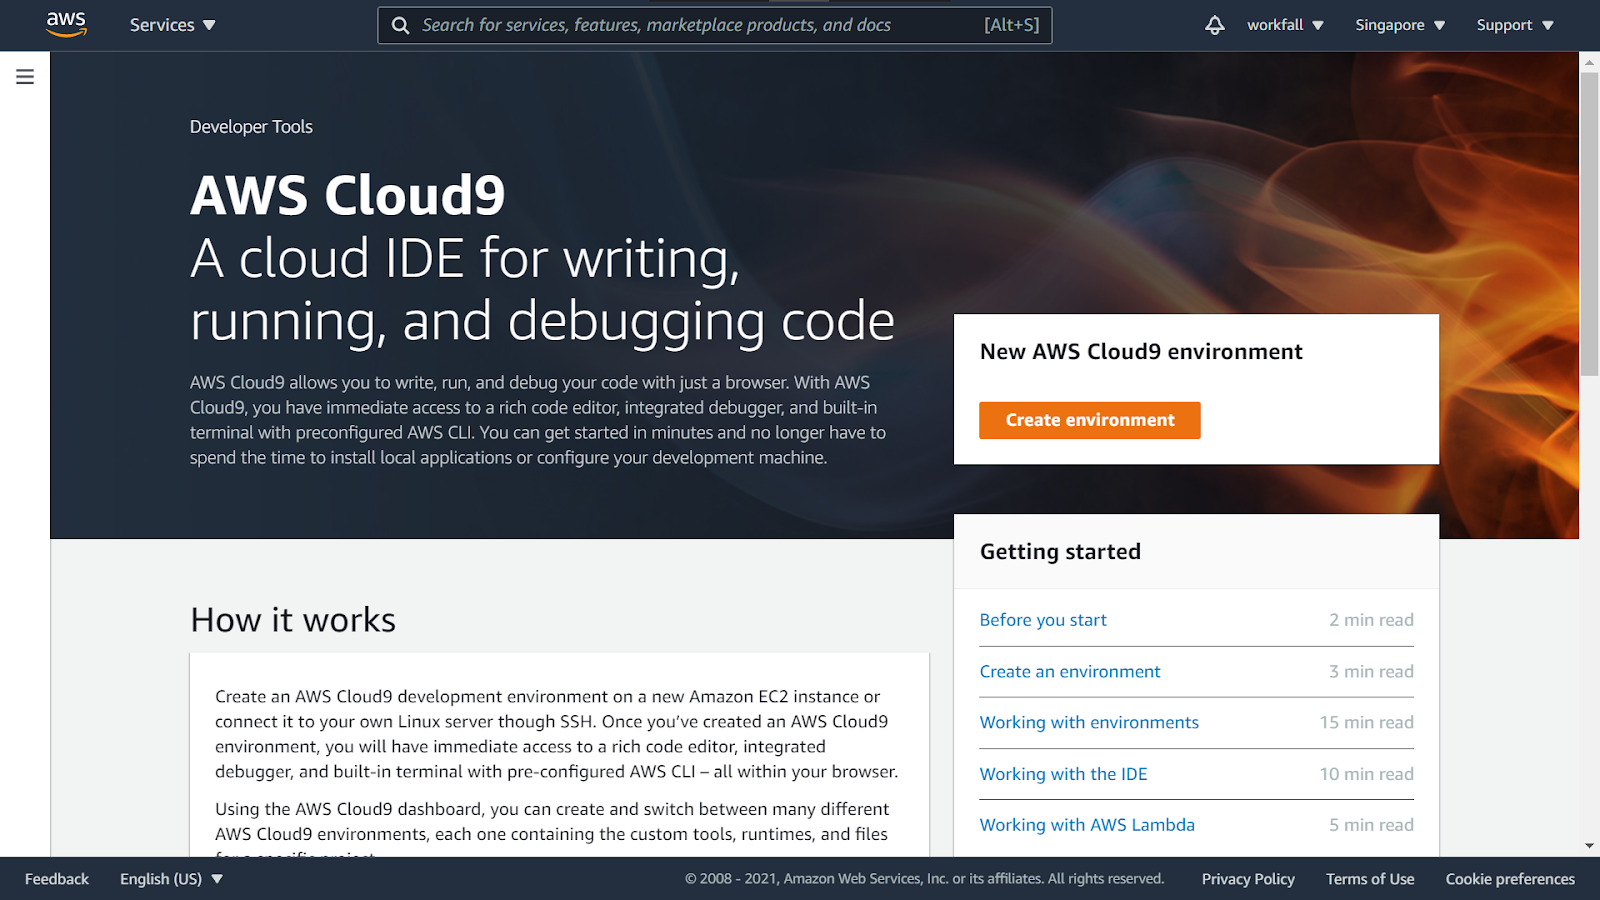
If you scroll down, you will see the working process and the features and benefits of the AWS Cloud9 service.

Navigate to the top of the page and click on Create Environment.
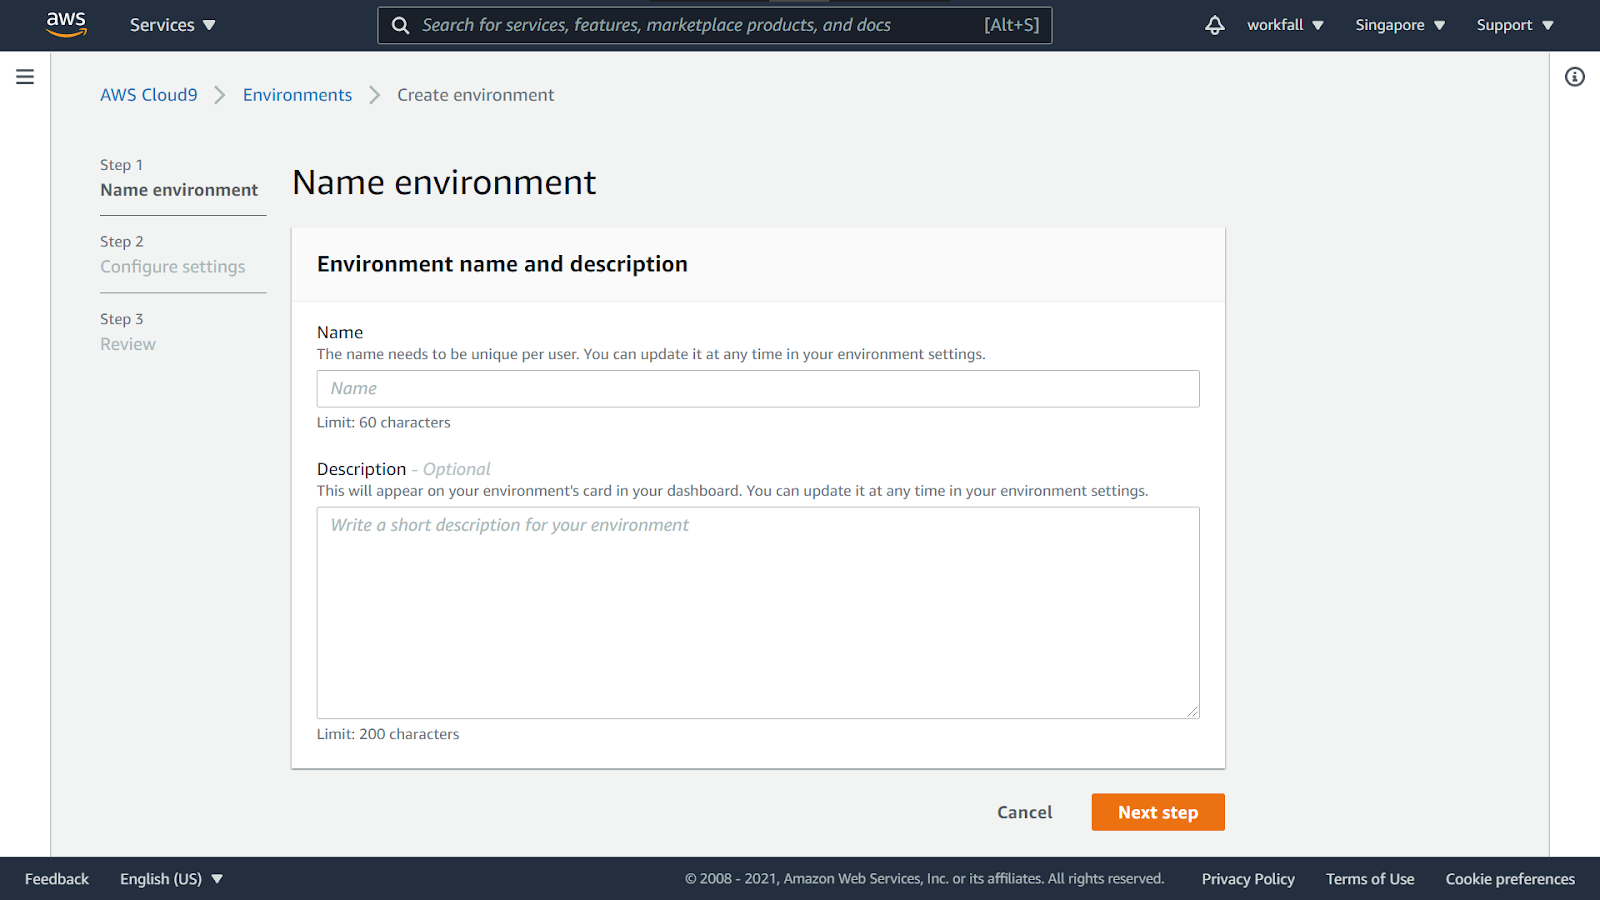
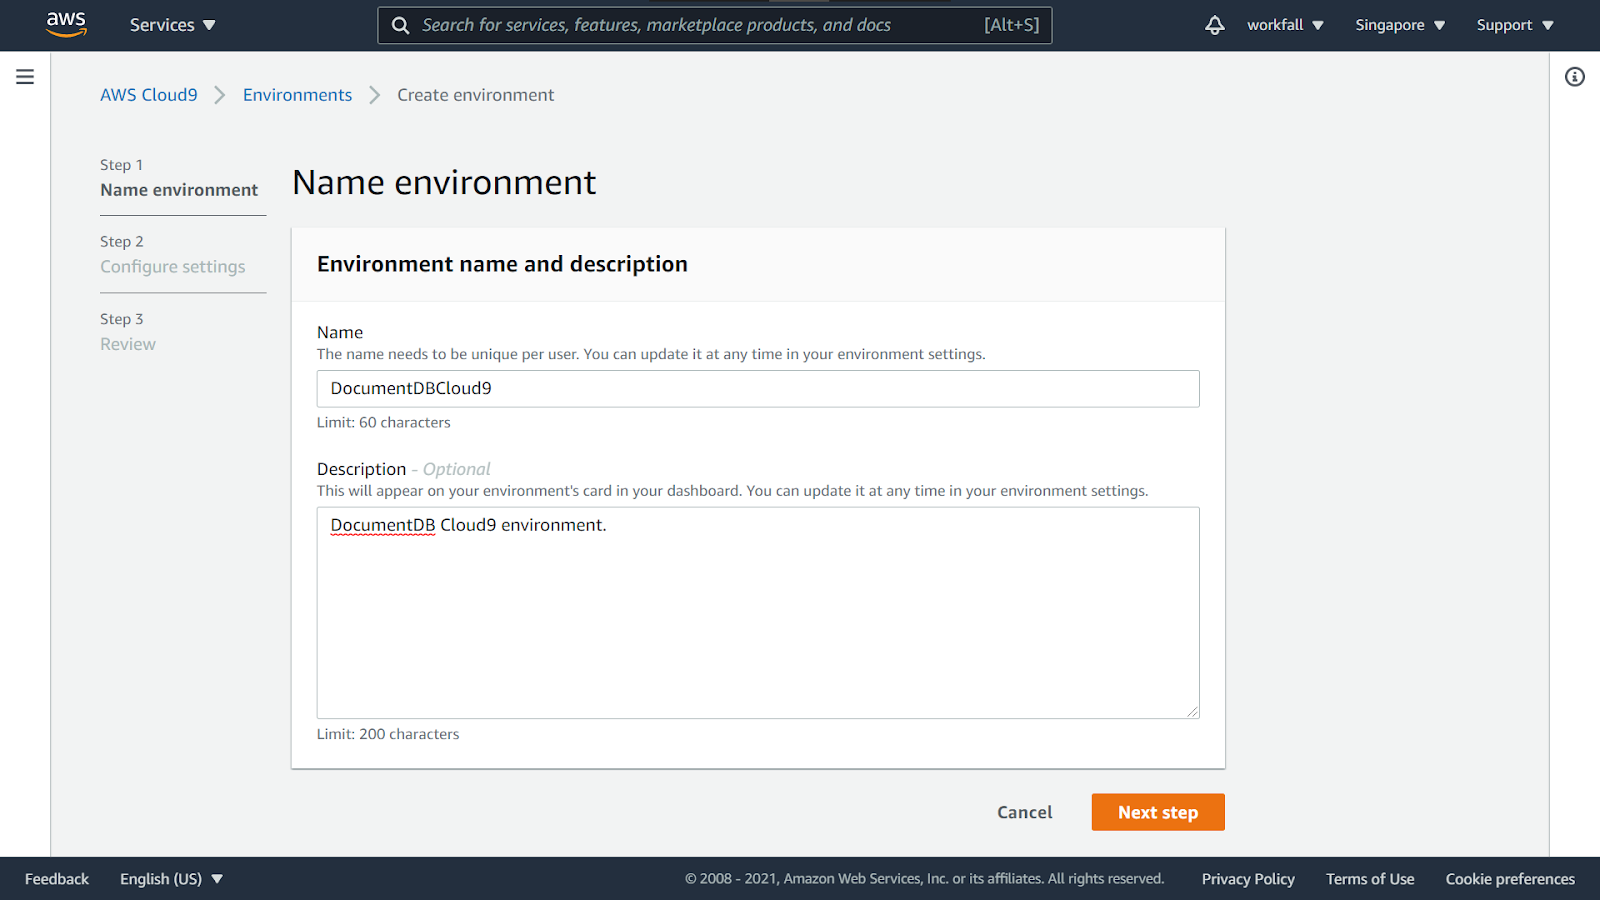
Enter a name for the environment and provide a description as shown in the image below. Once done, click on Next step.
For the Environment type and instance type, select the options as shown in the image below.

Once done, select the platform as shown in the image below and leave the other settings to the default settings.

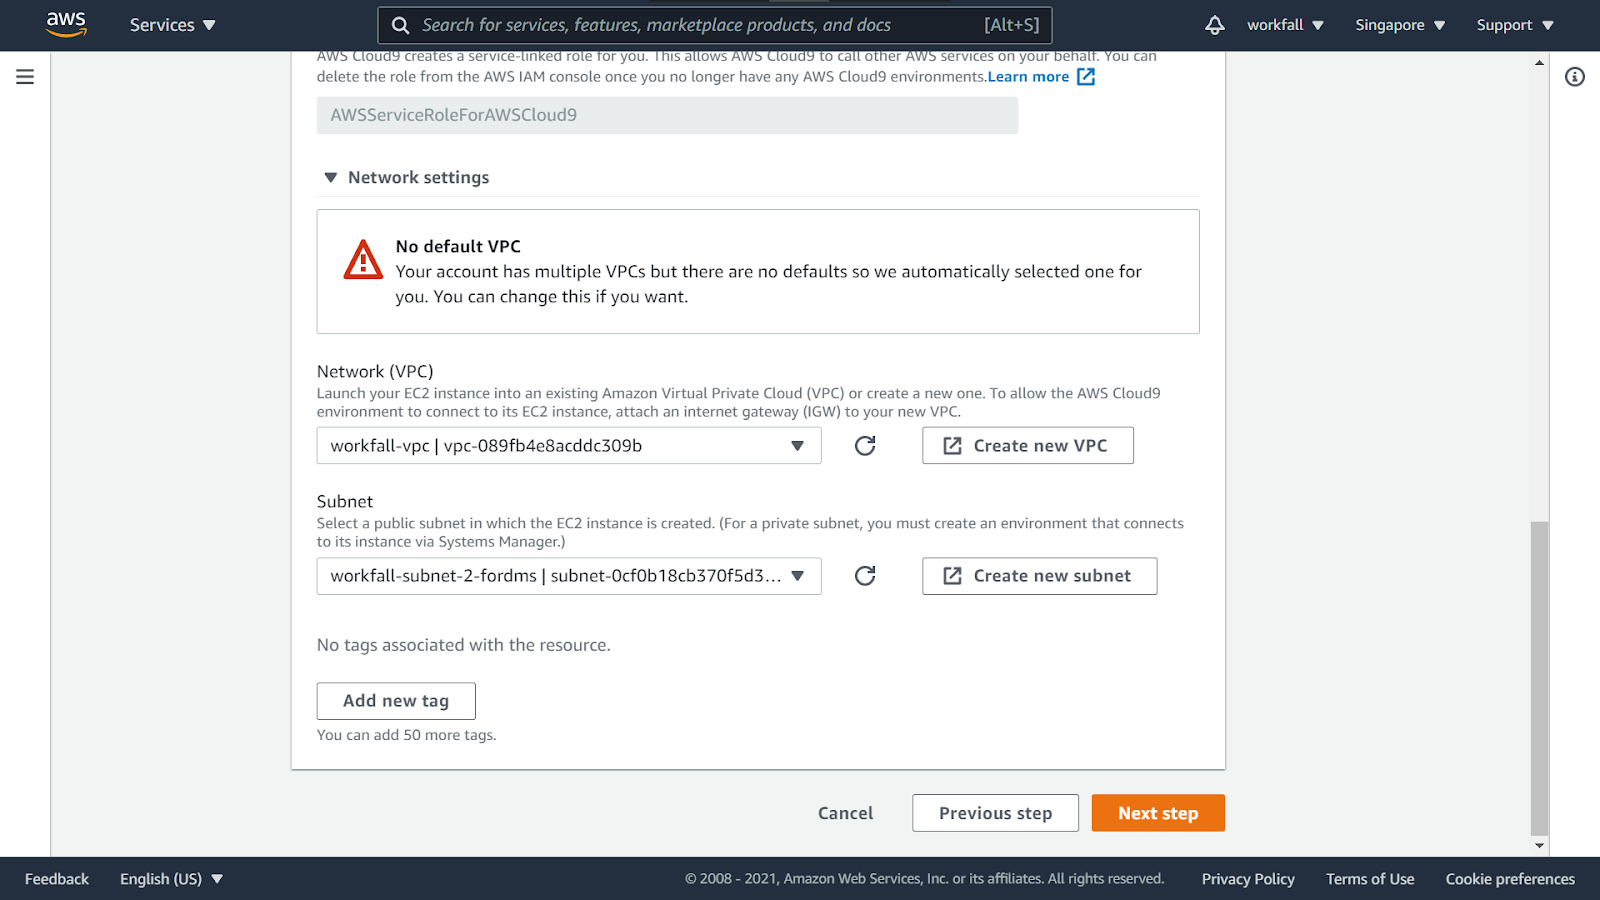
Under network settings, select the VPC needed, add tags (if any) and click on Next step.
Finally in the last step, review all the settings and scroll to the bottom.

Click on Create environment.

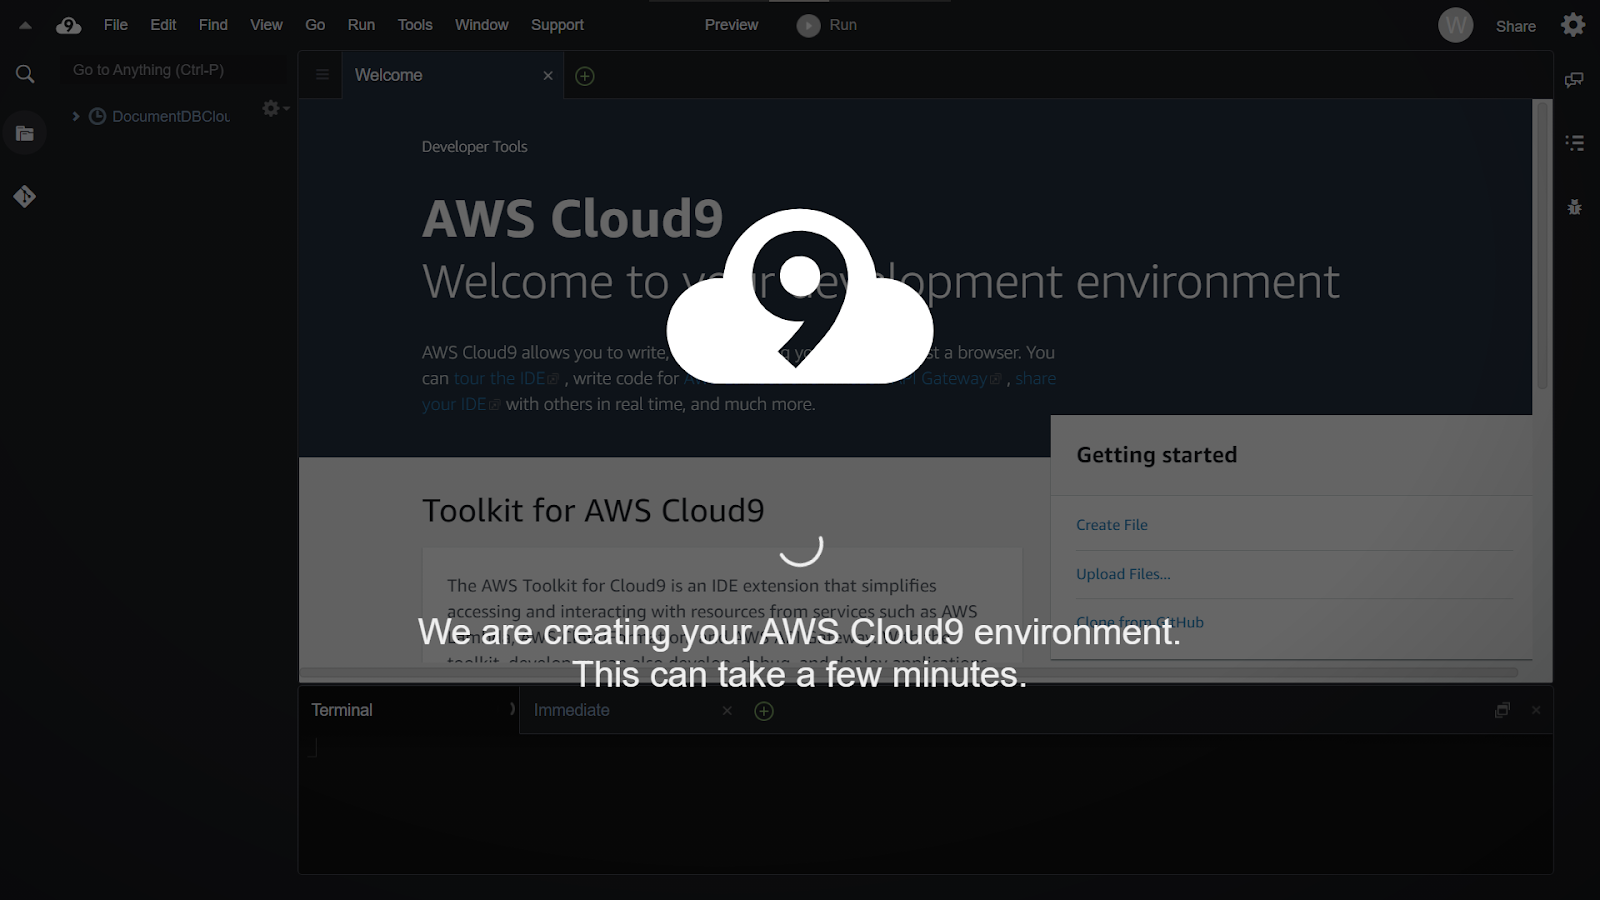
AWS Cloud9 might take a few minutes to configure the environment.
Meanwhile, in a different tab, search for the EC2 service.

On the dashboard, in the left navigation pane, select Security Groups.

Click on Create security group.

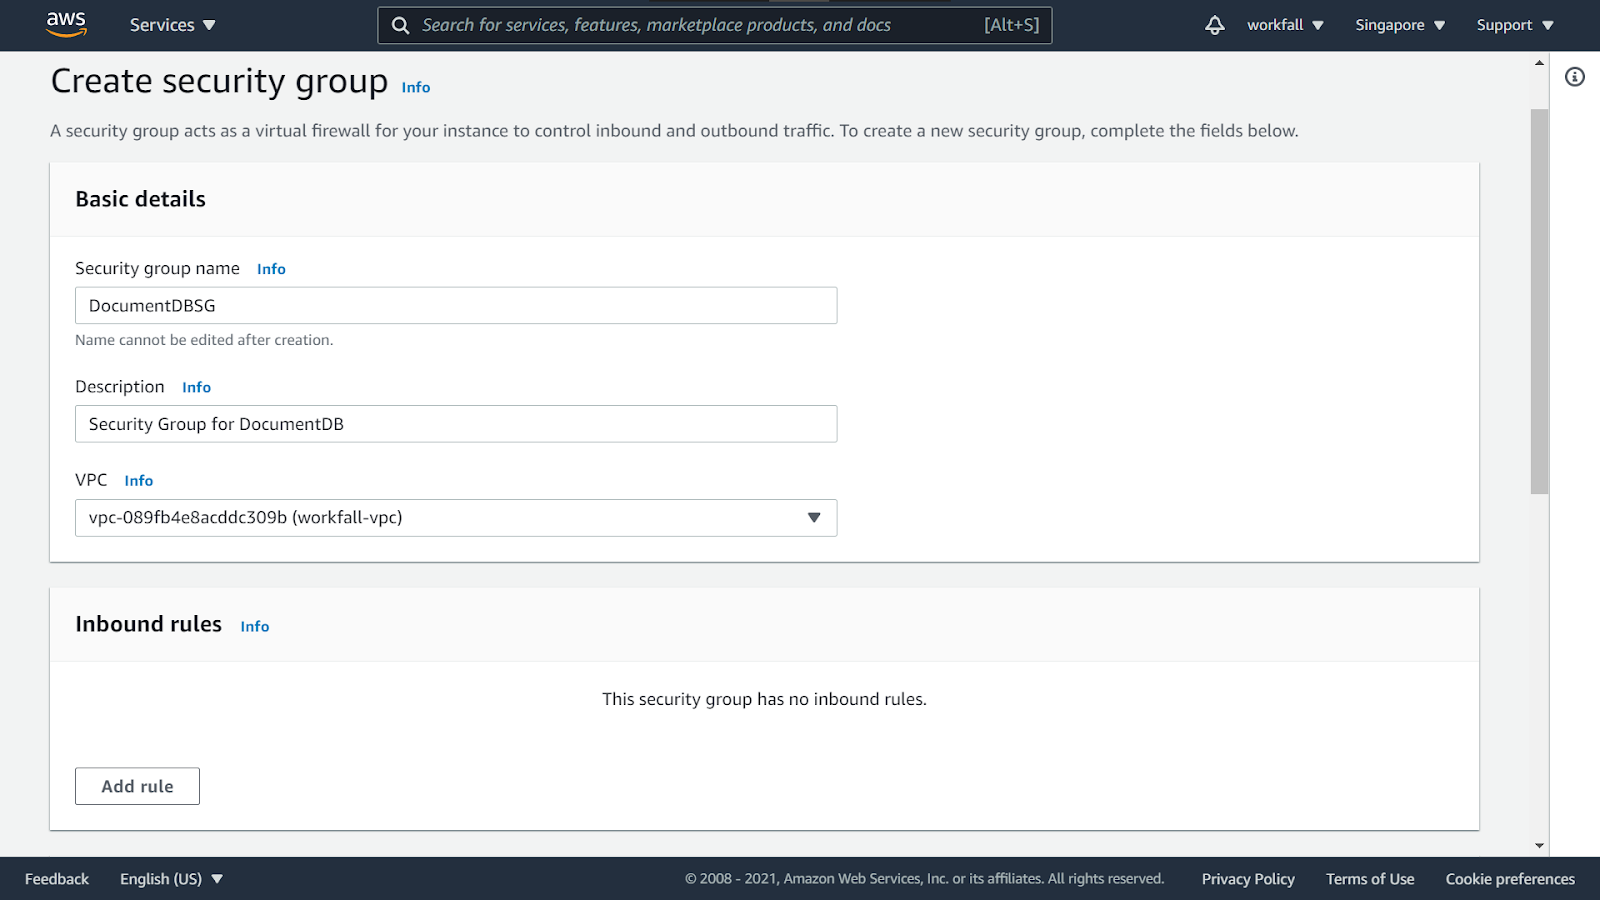
You will be navigated to the Security Group creation dashboard.

For Security group name, enter a name of your choice, for Description, enter a description and for VPC, accept the usage of your default VPC.
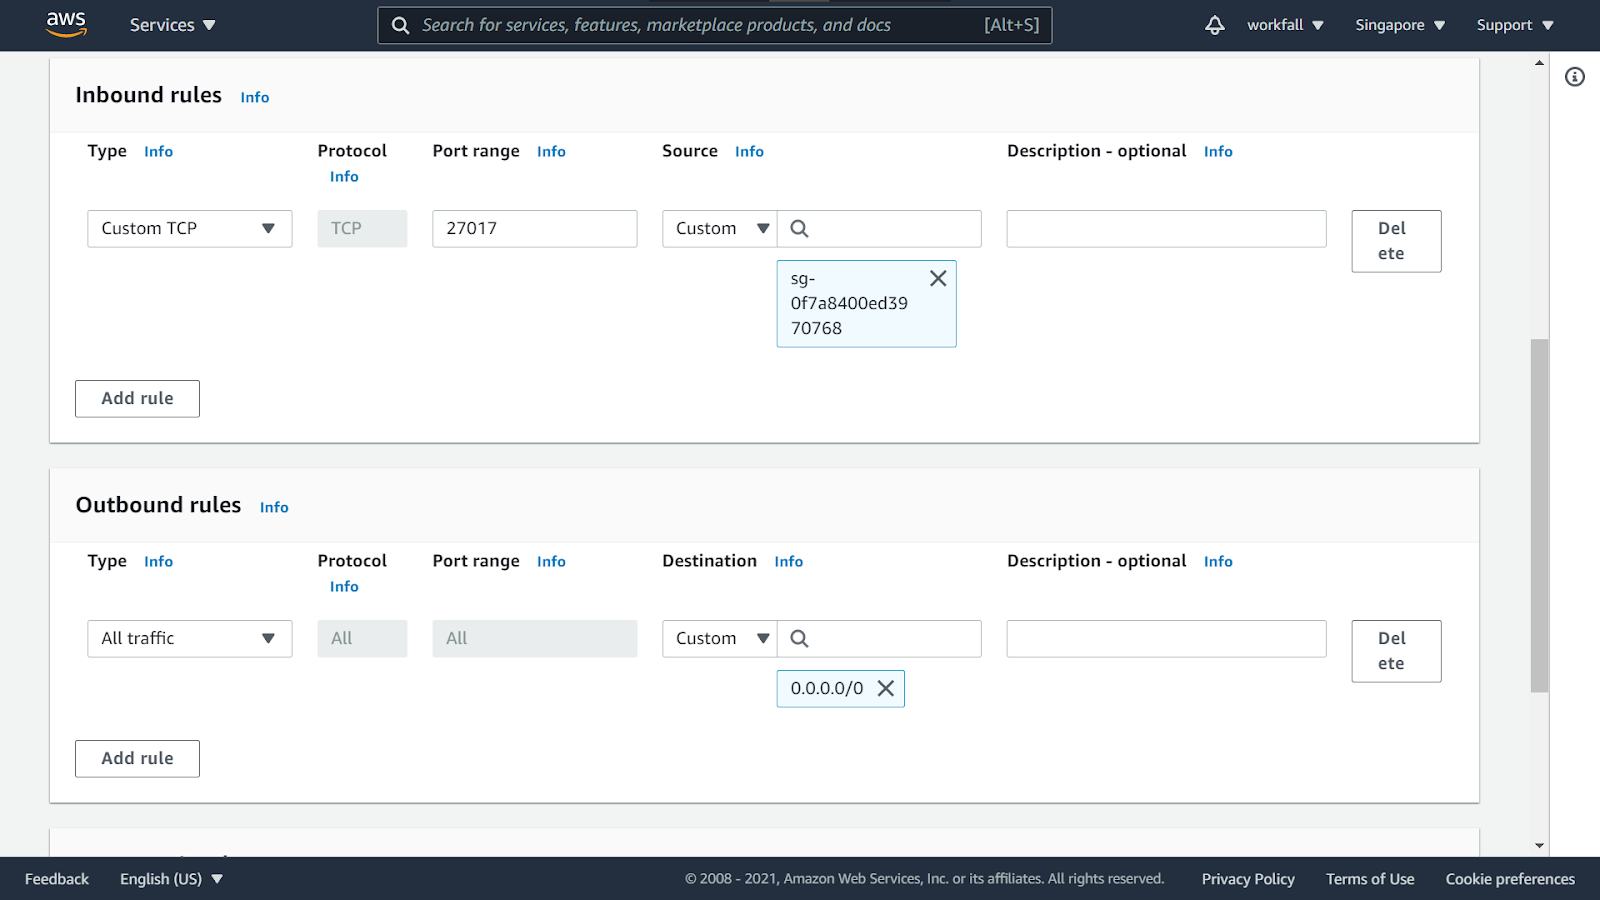
In the Inbound rules section, choose Add rule. For Type, choose Custom TCP Rule, for Port Range, enter 27017. The source security group is the security group for the AWS Cloud9 environment you just created. Keep the Source as the default value of Custom and enter “cloud9” in the field adjacent to Custom to see a list of available security groups. Choose the security group with the name aws-cloud9-<environment name>. Accept all other defaults and choose Create security group. You do not need to modify the outbound rules.
On success, you will see the security group created as shown in the image below.

Now, search for the Amazon DocumentDB service and click on it to navigate to its dashboard.

You will then be navigated to the DocumentDB dashboard.
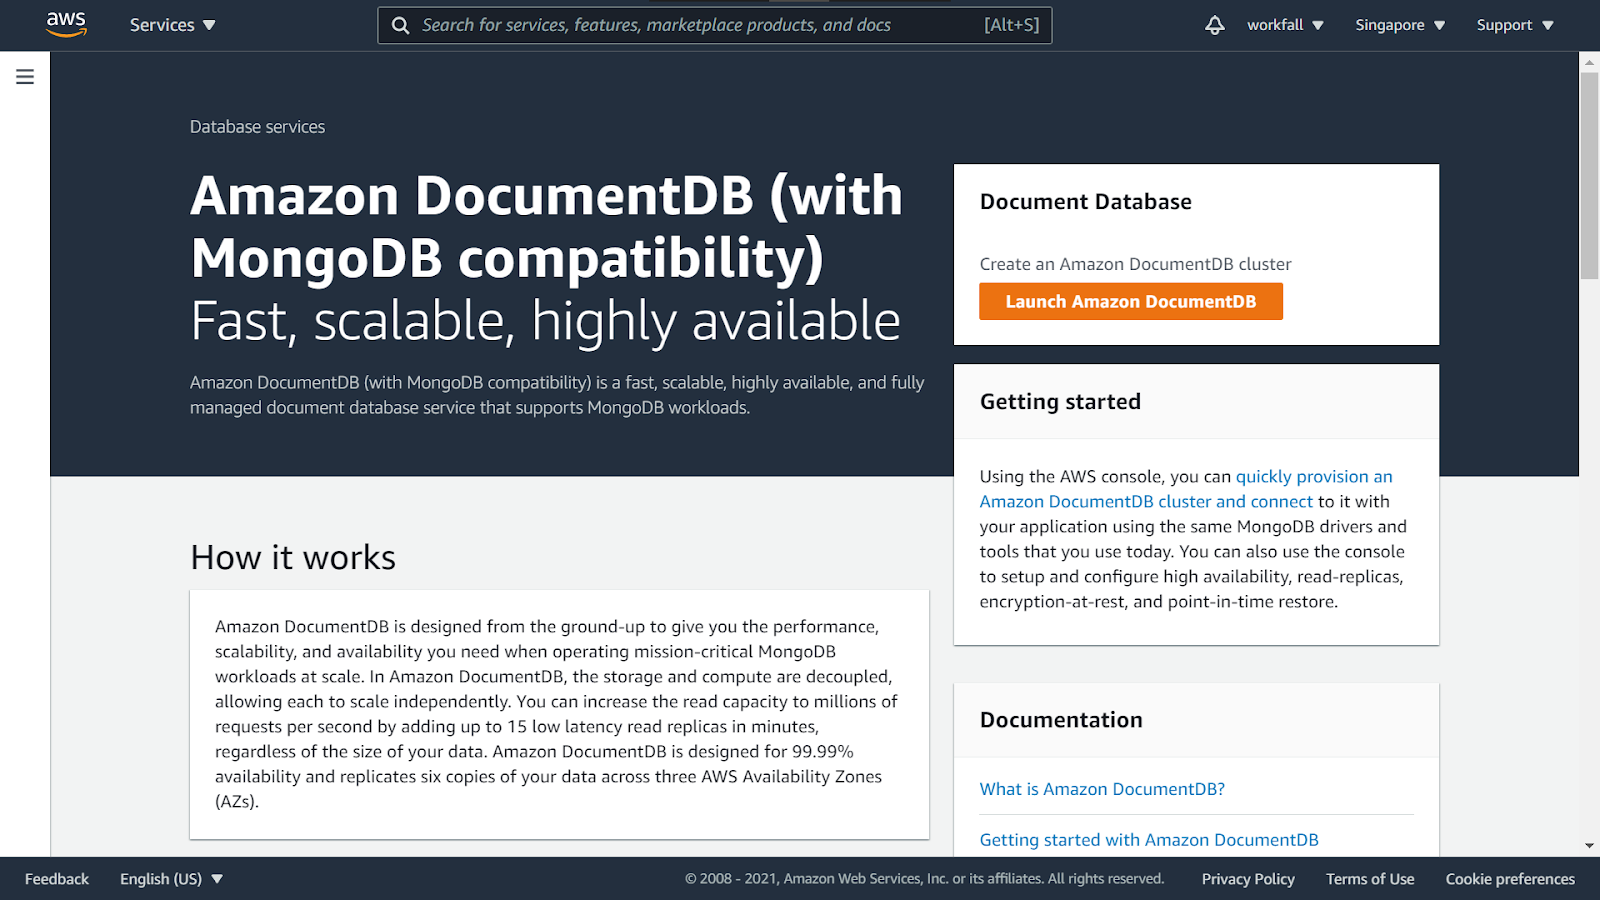
Scroll down and you will see how it works, pricing recommendations and features, and the benefits of using the service.

Expand the left navigation pane and click on Clusters.

On the cluster dashboard, choose Create.

You will be navigated to the creation dashboard.
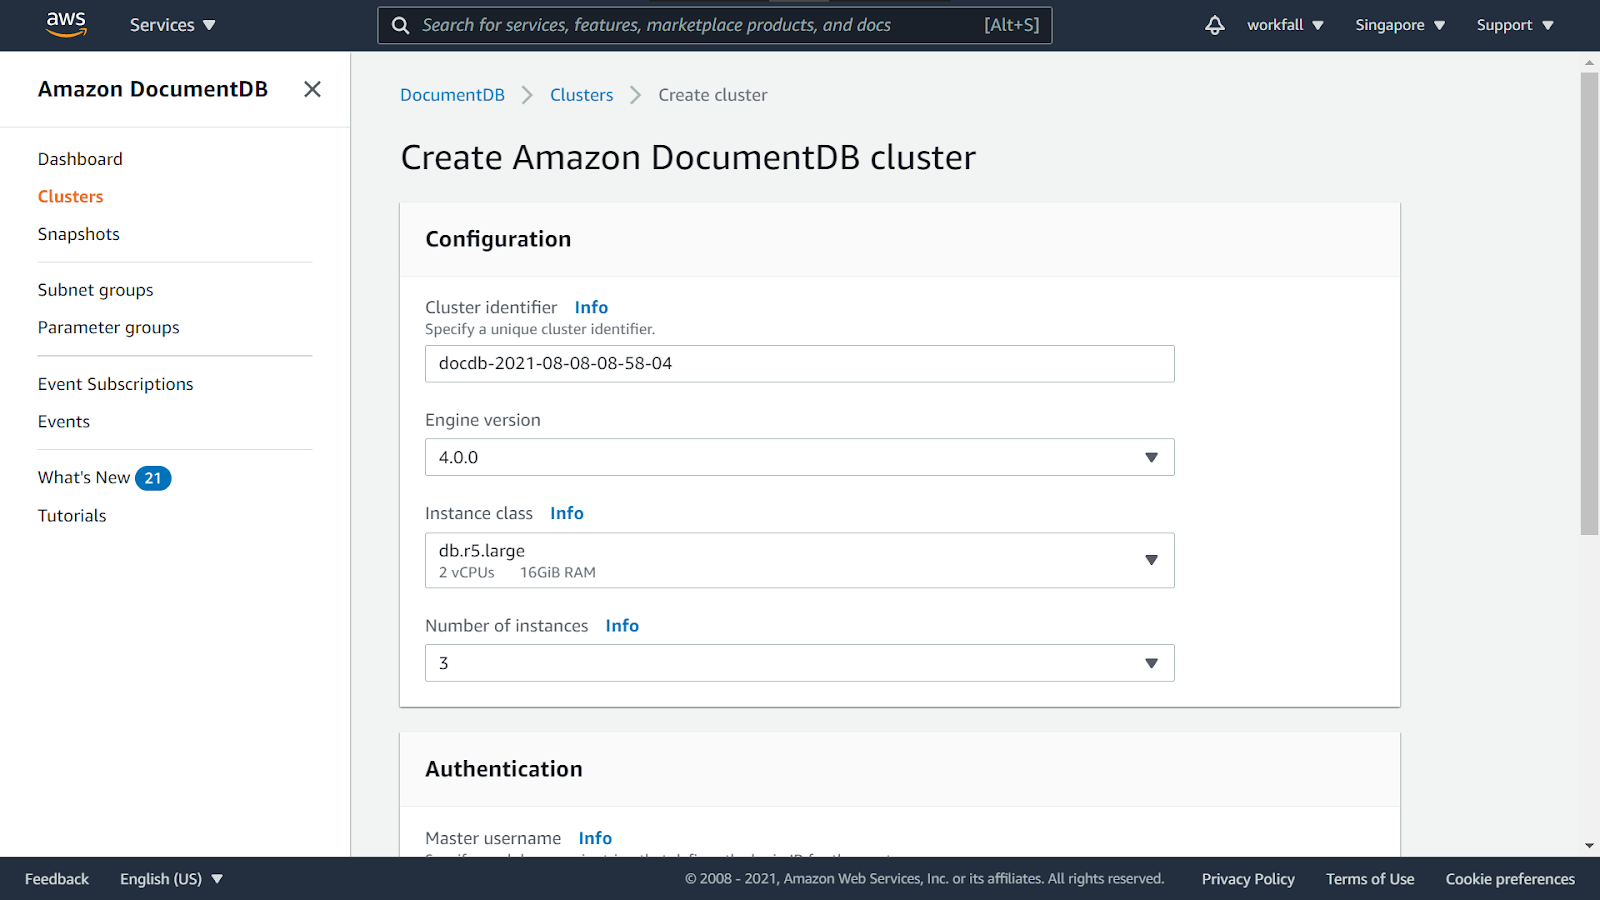
Select the instance class and from the dropdown, select db.t3.medium.

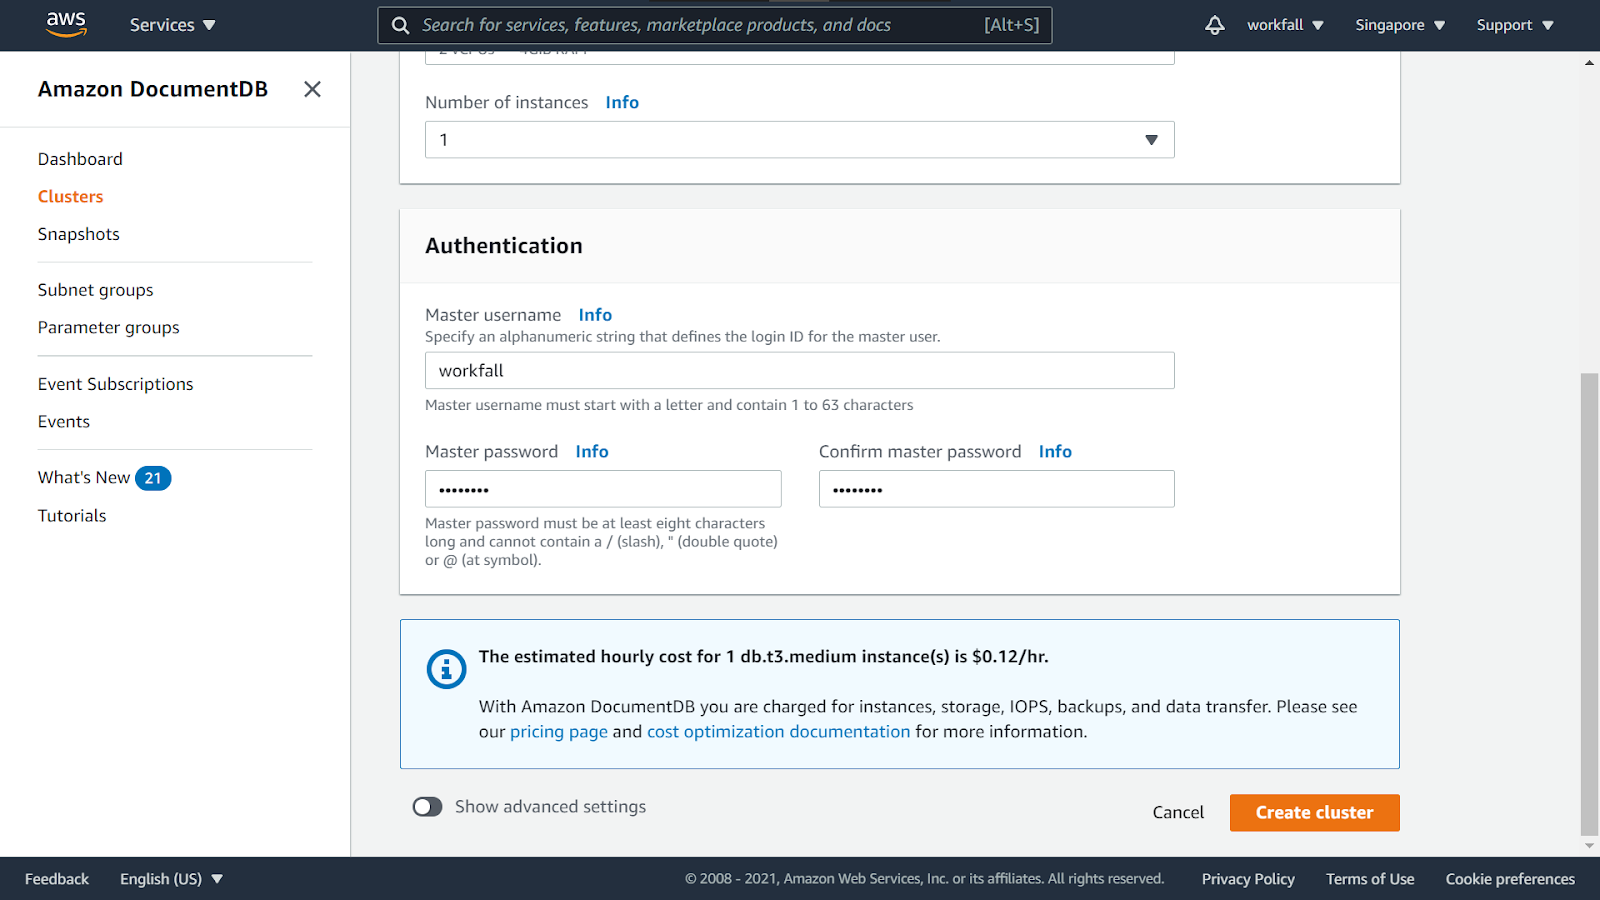
For the number of instance, from the dropdown, select 1.

Under the Authentication section, enter a username and password. Toggle the Show advanced settings option.
Under the Network settings in the VPC Security group dropdown, select the newly created security group.

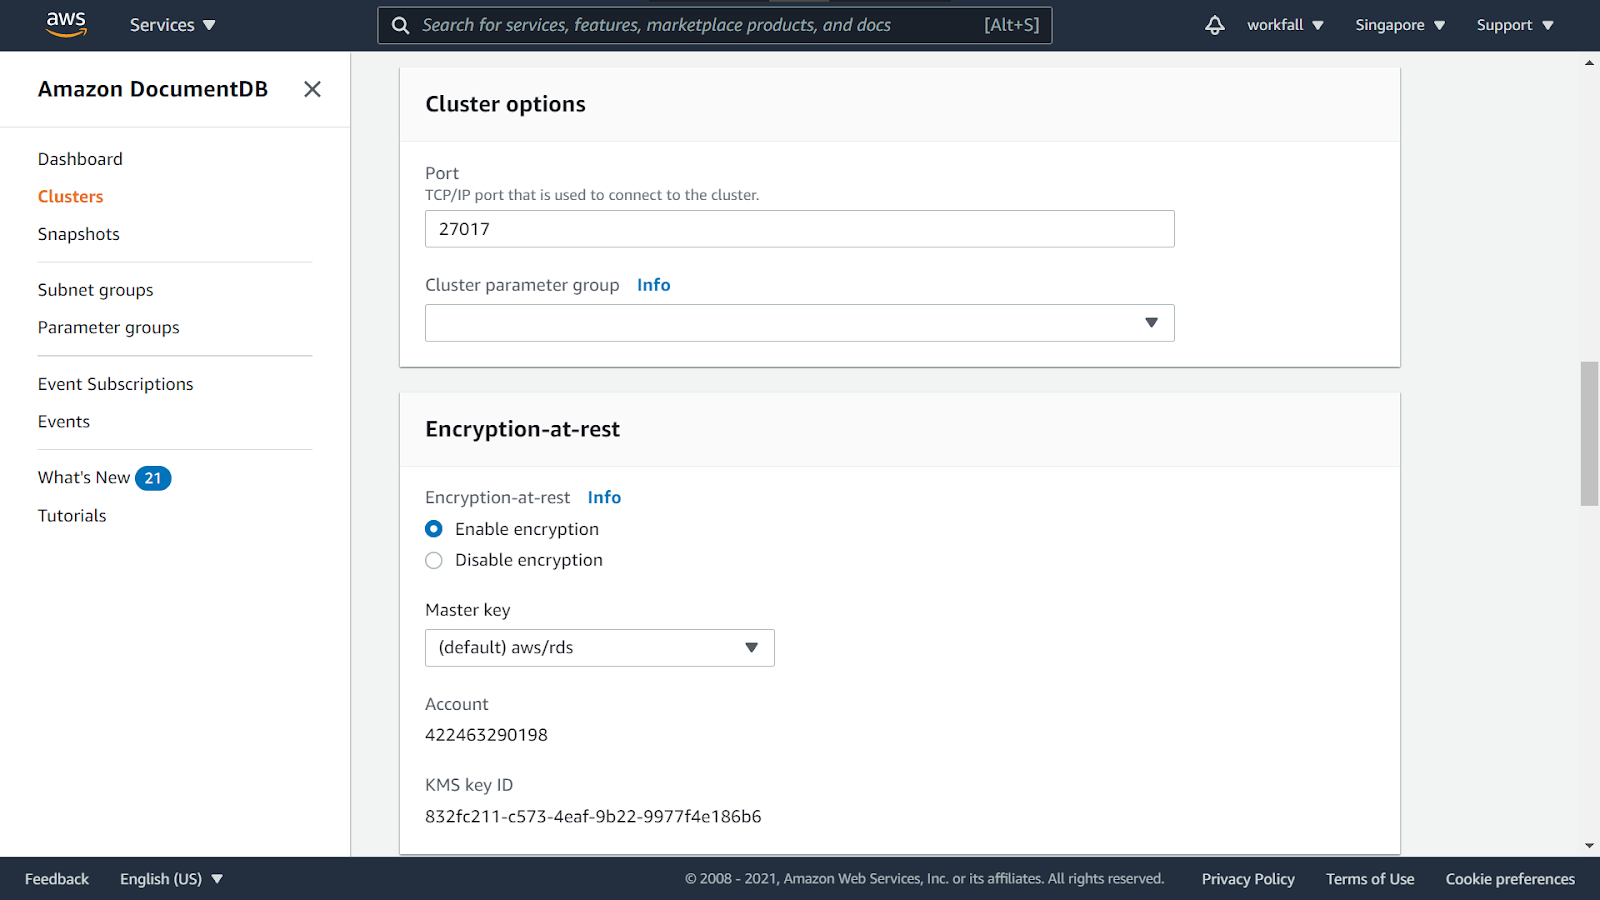
For the Cluster options and the Encryption at rest settings, leave the default configuration.
Configure Backup and Log exports if it is needed as per your requirements.

Add tags (if any needed) and enable the Deletion protection checkbox.

Scroll to the bottom, click on Create cluster.

The creation might take a few minutes.

Meanwhile, navigate to the Cloud9 environment.

At the command prompt, create the repository file with the following code:
echo -e "[mongodb-org-3.6] \nname=MongoDB Repository\nbaseurl=https://repo.mongodb.org/yum/amazon/2013.03/mongodb-org/3.6/x86_64/\ngpgcheck=1 \nenabled=1 \ngpgkey=https://www.mongodb.org/static/pgp/server-3.6.asc" | sudo tee /etc/yum.repos.d/mongodb-org-3.6.repo
When it is complete, install the mongo shell with the following code:
sudo yum install -y mongodb-org-shell

On success, you will see the Complete message in the terminal as shown in the image below.

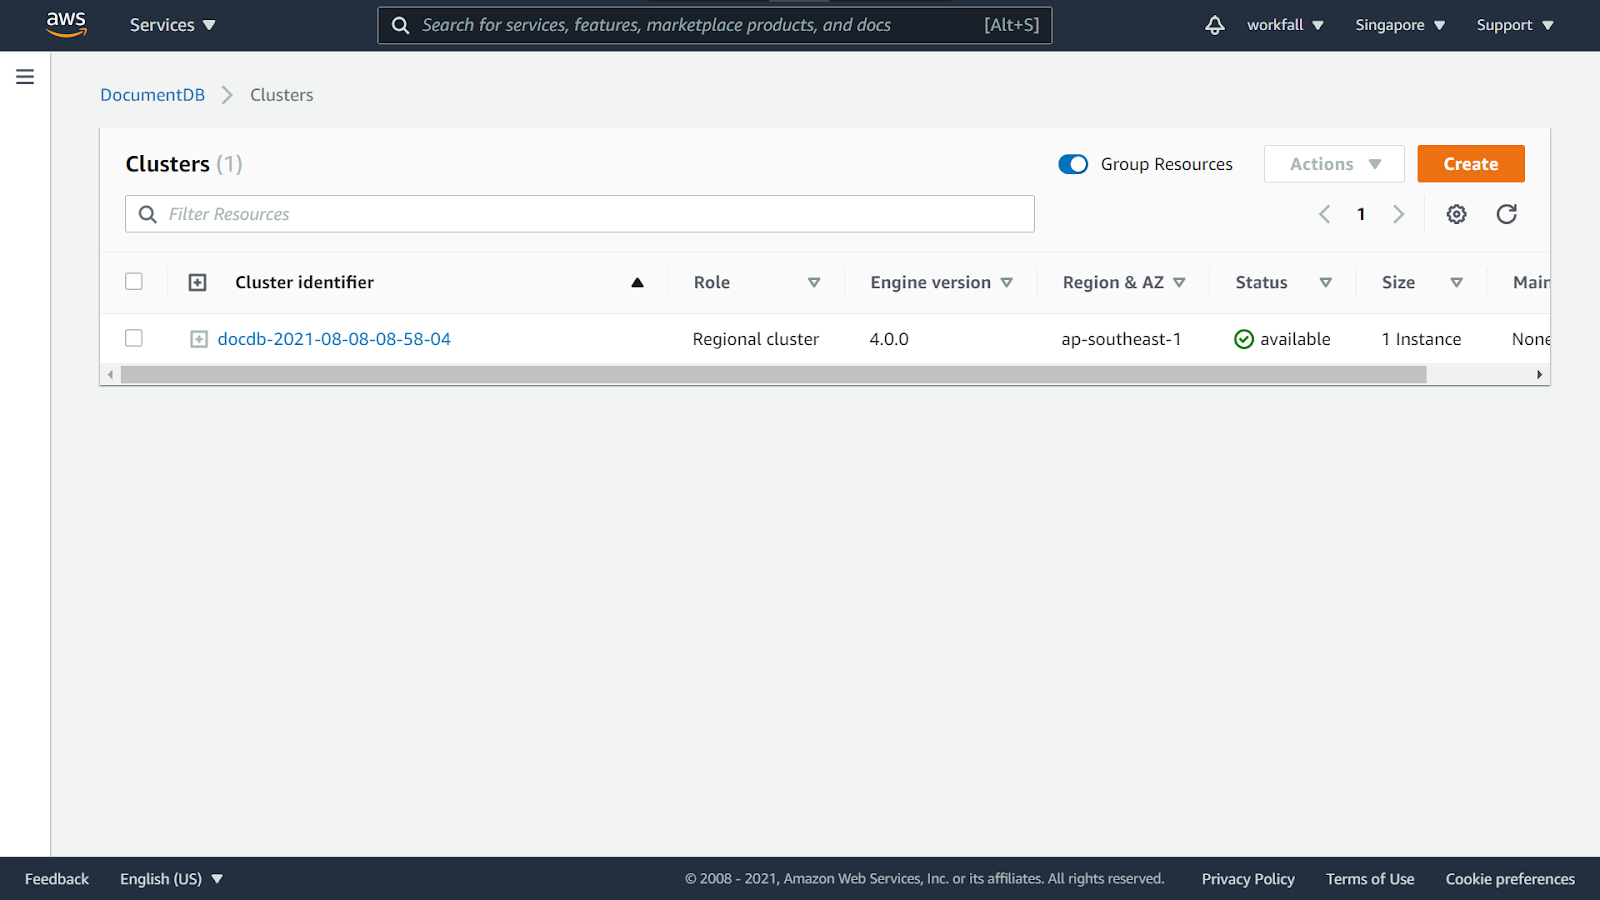
Navigate back to the DocumentDB dashboard and once the Status changes to available, click on the newly created cluster.
Under the connectivity & security section, you will see the various connection string options. Copy the first command to install the Certificate Authority needed to authenticate your cluster.

In the Cloud9 environment terminal, paste and execute the command.

Copy the connection string provided under “Connect to this cluster with the mongo shell” from the DocumentDB dashboard. Omit <insertYourPassword> so that you are prompted for the password by the mongo shell when you connect. This way, you don’t have to type your password in cleartext. Enter the password when prompted. When you enter your password and can see the rs0:PRIMARY> prompt, you are successfully connected to your Amazon DocumentDB cluster.

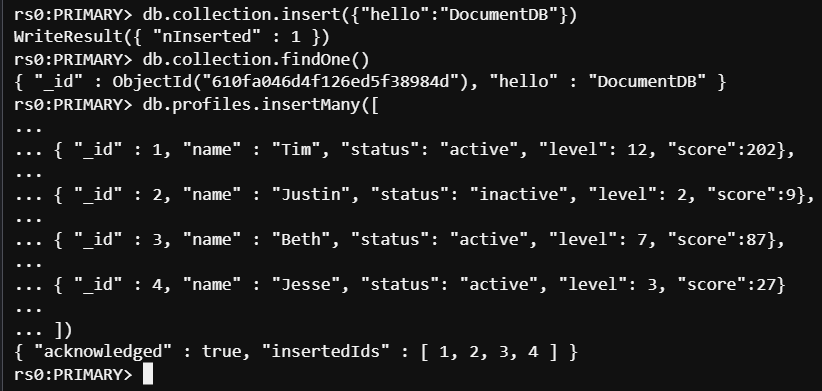
To insert a single document, enter the following code:
db.collection.insert({"hello":"DocumentDB"})

You can read the document that you wrote with the findOne() command (because it only returns a single document). Run the following code:
db.collection.findOne()

To perform a few more queries, consider a gaming profile use case. First, insert a few entries into a collection entitled profiles. Run the following code:
db.profiles.insertMany([
{ "_id" : 1, "name" : "Tim", "status": "active", "level": 12, "score":202},
{ "_id" : 2, "name" : "Justin", "status": "inactive", "level": 2, "score":9},
{ "_id" : 3, "name" : "Beth", "status": "active", "level": 7, "score":87},
{ "_id" : 4, "name" : "Jesse", "status": "active", "level": 3, "score":27}
])
Use the find() command to return all the documents in the profiles collection. Run the following code:
db.profiles.find()

Use a query for a single document using a filter. Run the following code.
db.profiles.find({name: "Jesse"})

A common use case in gaming is finding a profile for a given user and incrementing a value in the user’s profile. In this scenario, you want to run a promotion for the top active gamers. If the gamer fills out a survey, you increase their score by +10.
To do that, use the findAndModify command. In this use case, the user Tim received and completed a survey. To give Tim the credit to their score, enter the following code:
db.profiles.findAndModify({
   query: { name: "Tim", status: "active"},
   update: { $inc: { score: 10 } }
})

You can verify the result with the following query:
db.profiles.find({name: "Tim"})

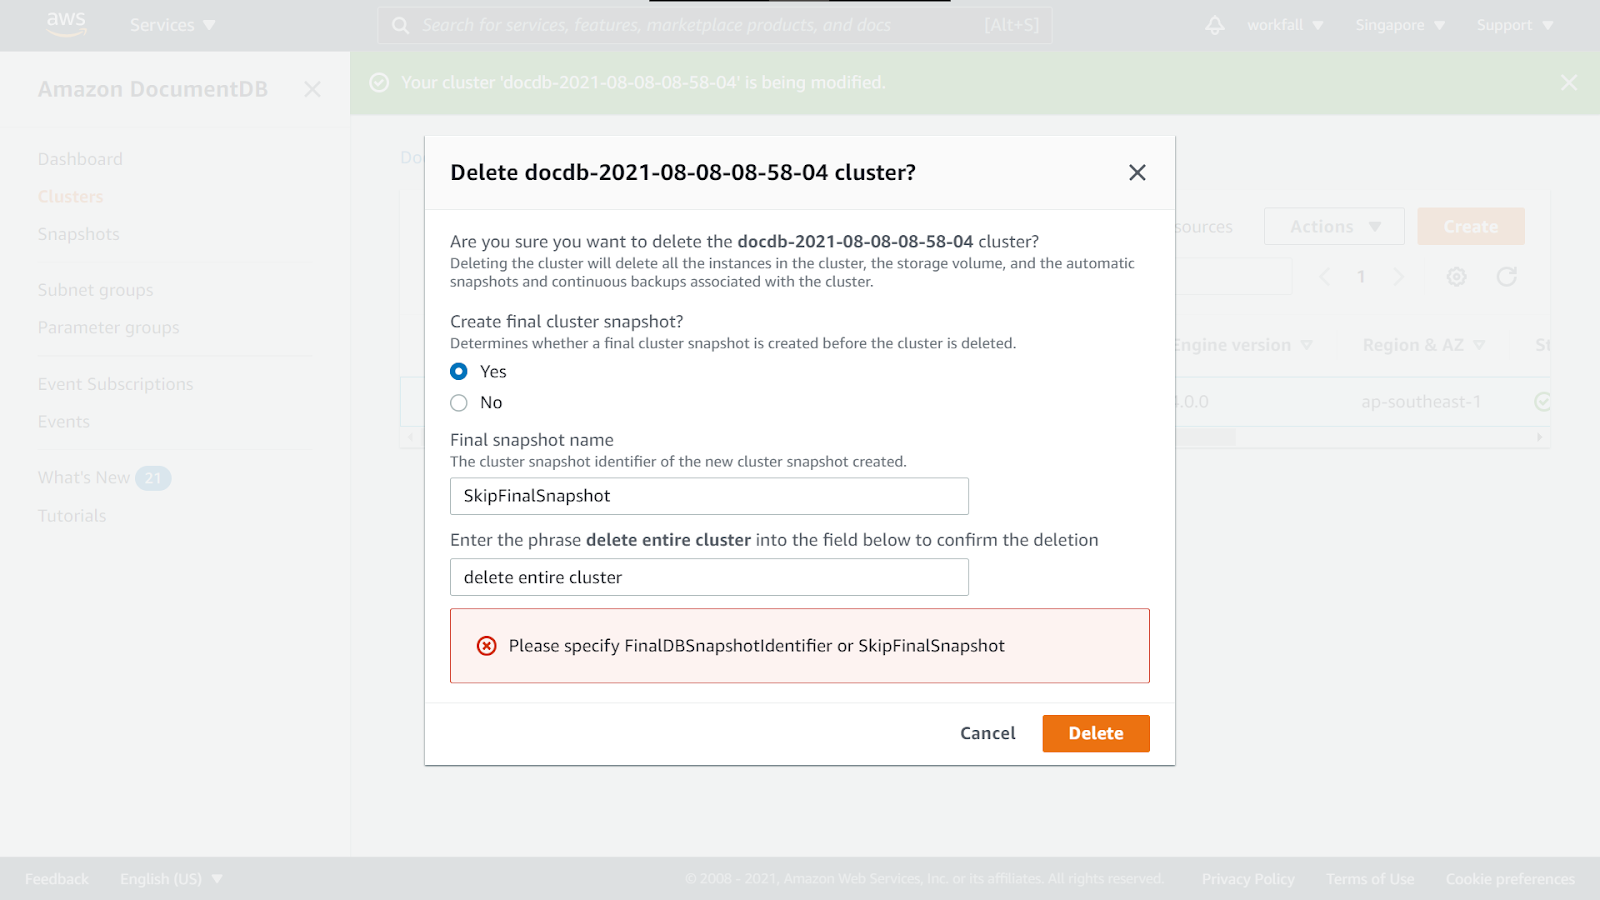
In case you wish to delete the cluster, if you try to delete it, you will see the message as shown in the image below.
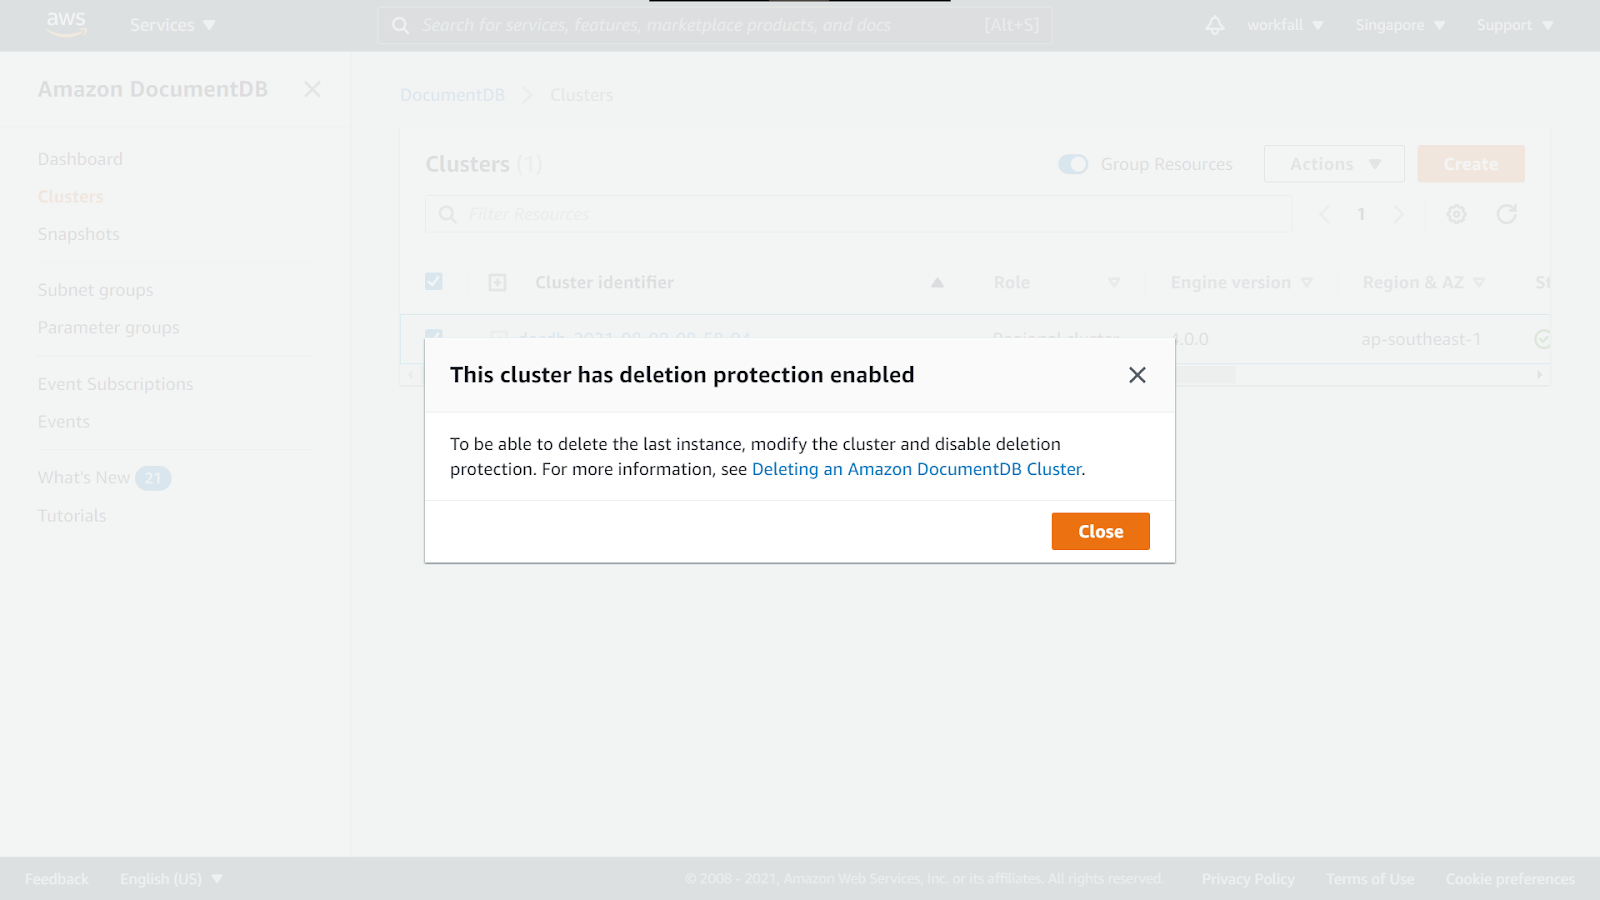
To resolve the error, select the cluster, choose to modify from the Actions dropdown.

Scroll to the bottom and disable the checkbox for Deletion protection and click on Continue.

Finally, click on Modify Cluster to confirm the settings.

Now if you delete the cluster, you won’t face any such error.

Select Snapshot if you wish to get a snapshot, else skip and delete the cluster.
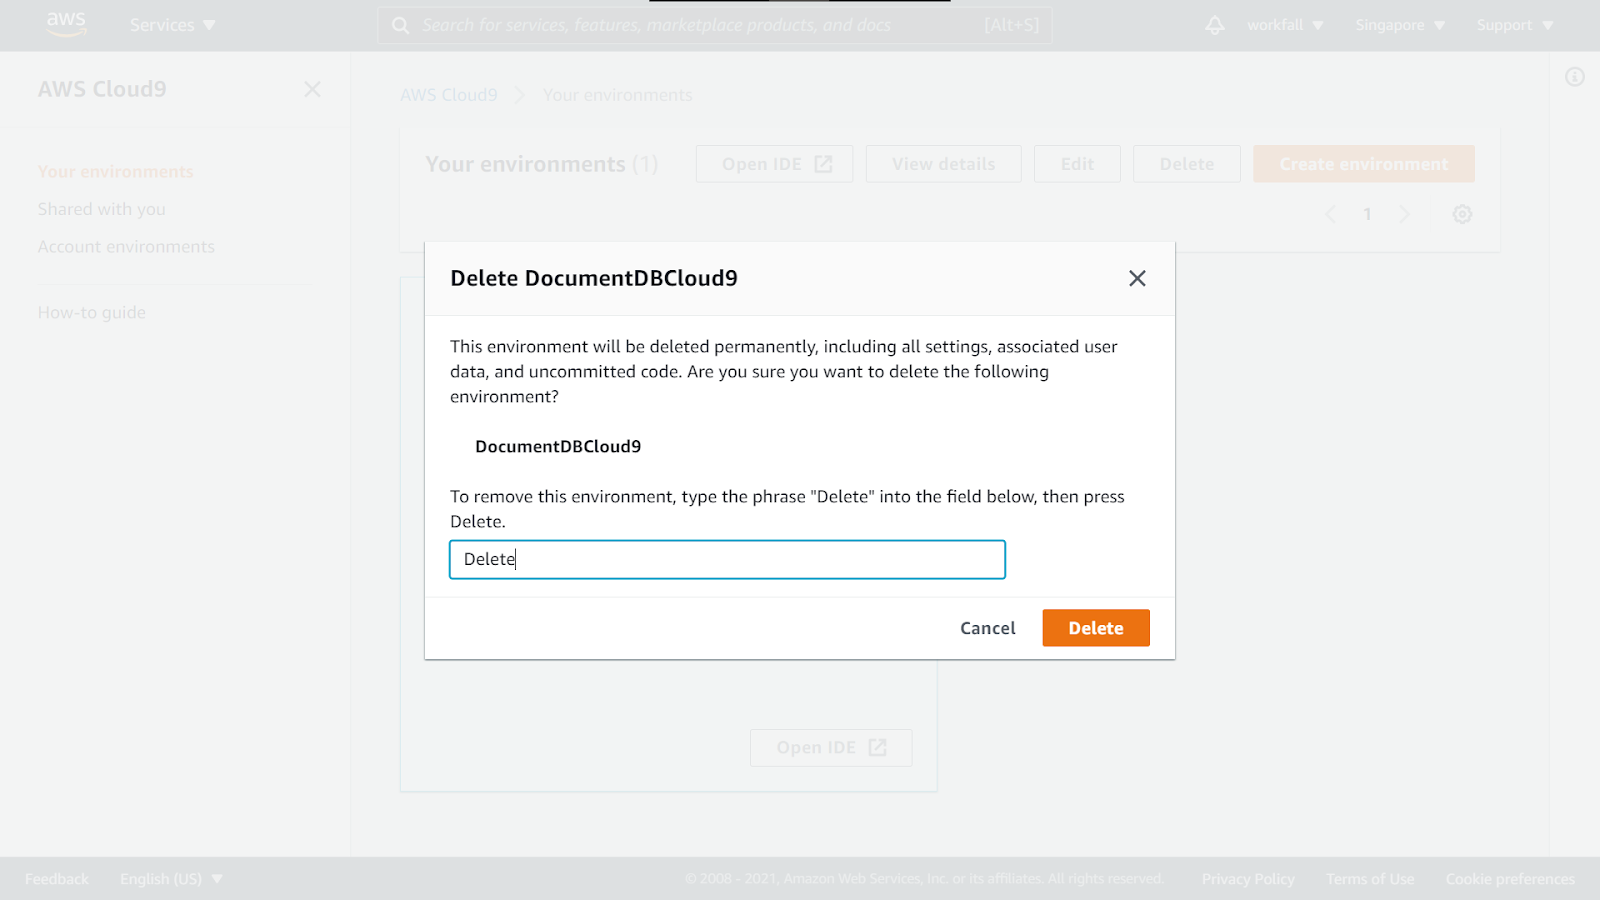
Navigate to the Cloud9 dashboard. Select the environment and click on Delete.

Enter Delete and the environment deletion process will begin. Do not forget to delete the Security group as well that we created above.
Conclusion
In this blog, we saw how to make use of an environment in AWS Cloud9 to set up a Document Database with Amazon DocumentDB (with MongoDB compatibility) in a private VPC. We then explored the AWS Cloud9 dashboard and saw how to create a new environment. We then created a new Security group adding an inbound rule. Proceeding further, we explored the Amazon DocumentDB dashboard. Creating a new cluster on the clusters dashboard, we then created a new repository file on the Cloud9 environment. We then installed the mongo shell for the MongoDB compatibility on the Cloud9 terminal and for the final step, we installed the Amazon DocumentDB Certificate Authority certificate to authenticate the cluster and then connected to the cluster via Cloud9 environment with the mongo shell using the connection string. We then tested multiple queries to confirm its execution. On successful execution, we had a look at the cleansing of resources to avoid unnecessary add-on costs for the resources. We will discuss more use cases of Amazon DocumentDB and its integration with other services in our upcoming blogs. Stay tuned to keep getting all updates about our upcoming new blogs on AWS and relevant technologies.
Meanwhile …
Keep Exploring -> Keep Learning -> Keep Mastering
This blog is part of our effort towards building a knowledgeable and kick-ass tech community. At Workfall, we strive to provide the best tech and pay opportunities to AWS-certified talents. If you’re looking to work with global clients, build kick-ass products while making big bucks doing so, give it a shot at workfall.com/partner today.