AWS Copilot is a command line interface (CLI) that allows users to launch and manage containerized apps on AWS fast and efficiently. AWS Copilot offers a simple declarative set of commands, as well as examples and guided experiences to assist clients in deploying quickly.
Copilot automates each stage of the deployment lifecycle, including pushing to a registry, generating a task definition, and starting a cluster, after you’ve written your application code. For new applications, default application types are offered based on AWS best practices to boost developer productivity and simplify container operating in the cloud. In this blog, we will see how we can make use of AWS Copilot CLI to deploy a containerized web application easily and quickly.
We will also see how we can install the copilot command line using which we will deploy the application and then finally test out the deployment by accessing the application. We will also have a look at some of the debugging commands for the deployed application.
Refer to Part 1 of the blog here.

Hands-on
In this hands-on, we will see how we can make use of AWS Copilot CLI to deploy a containerized web application easily and quickly. We will first create a new user with Administrative Access after which we will download the AWS CLI on the local machine in a project directory.
We will then install the AWS CLI following the steps of installation and then configure the AWS CLI with the newly created user credentials. For this blog, we will be cloning an application that is added to one of our repositories.
After cloning the repository, we will then download the copilot command in the project directory. After which we will install Chocolatey on Windows and then using Chocolatey we will install docker. Using the docker CLI, we will create a docker image in the project directory with the help of a Dockerfile present in the project directory.
We will then deploy the application using the copilot CLI and test the deployed application. Finally, we will go through some of the debugging commands for further purposes.
To implement this, we will do the following:
- Login to your AWS console and navigate to the AWS console.
- Navigate to the IAM dashboard and create a new user with Administrative access.
- Install the AWS CLI in a project directory on your local machine either using the command line or downloading the setup manually.
- Navigate and follow the various steps to set up the AWS CLI in the project directory.
- Configure AWS in your project directory with the newly created user credentials.
- Clone the repo in a project directory.
- Download the copilot command using Powershell.
- Check for the Execution Policy permissions.
- Install chocolatey on windows.
- Install docker using chocolatey.
- Check for docker installation.
- Build a docker image in the project directory.
- Execute the copilot command and initialize copilot in the project directory.
- Follow the steps to configure and deploy the application.
- Test the deployed application.
- Use a single command to deploy the application.
- Use other commands for debugging purposes.
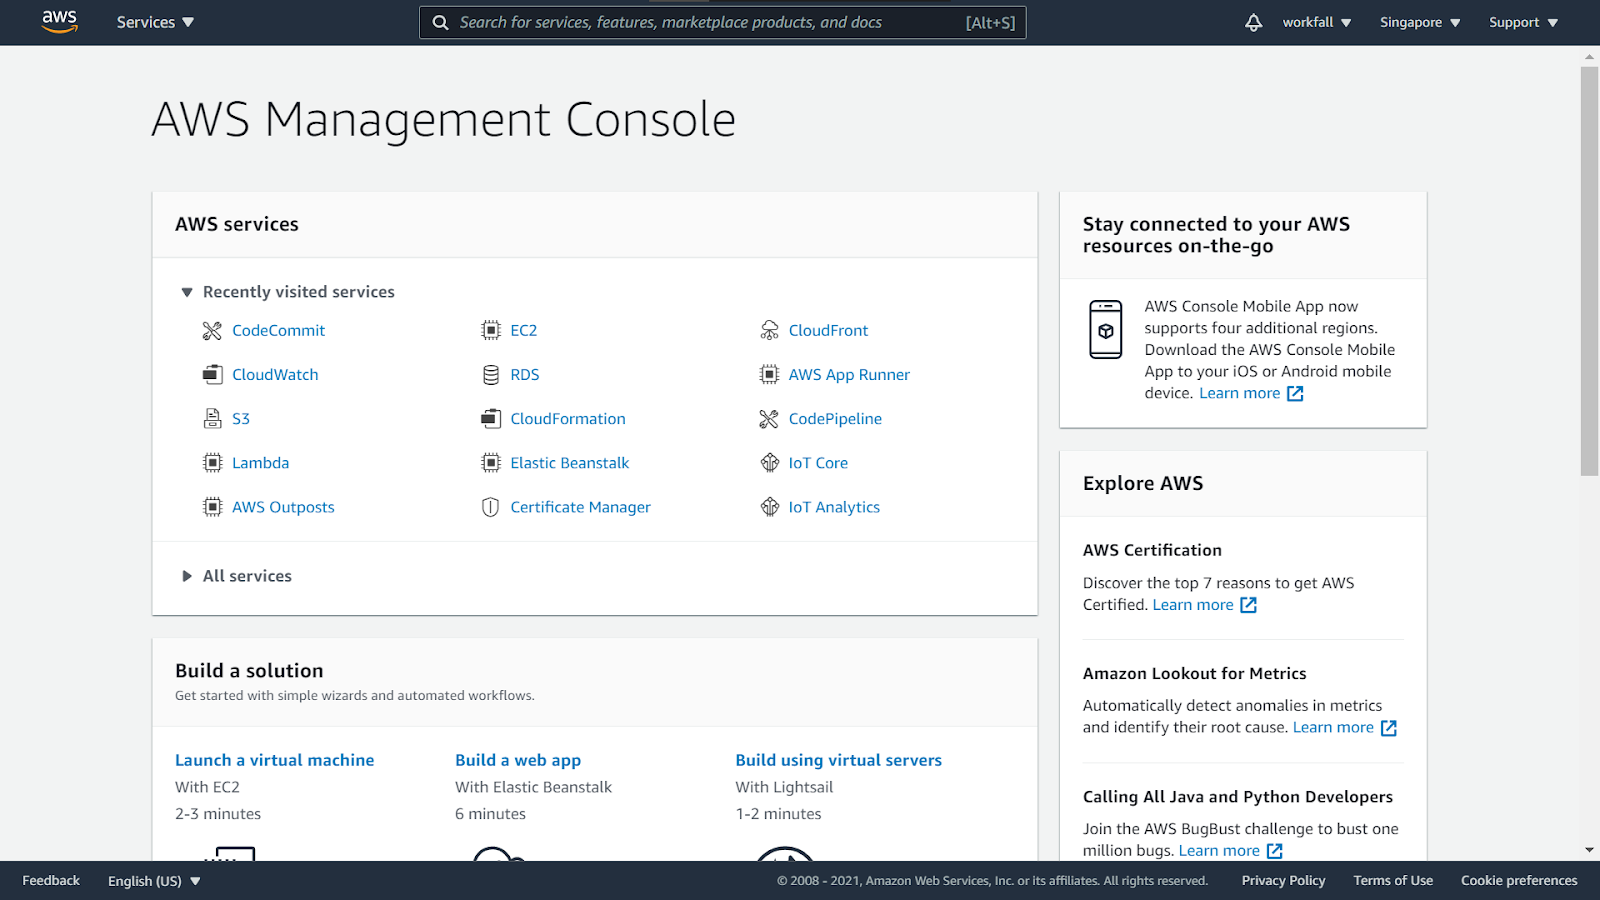
Login to your AWS console and navigate to the AWS homepage.
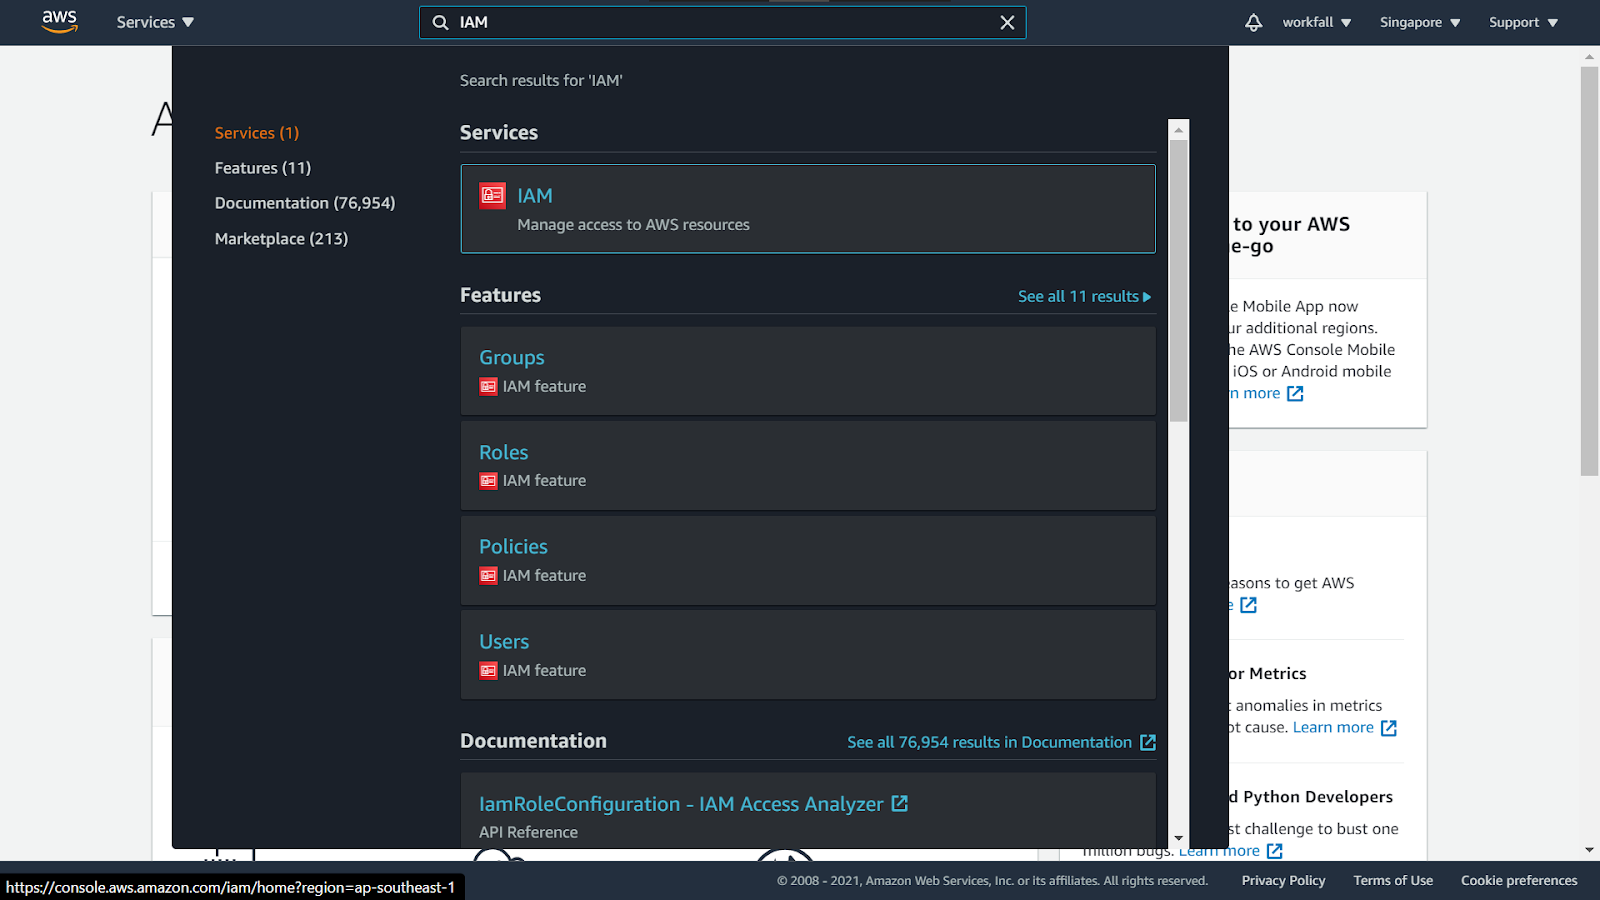
Search for the IAM service and navigate to the IAM dashboard to create a new user.
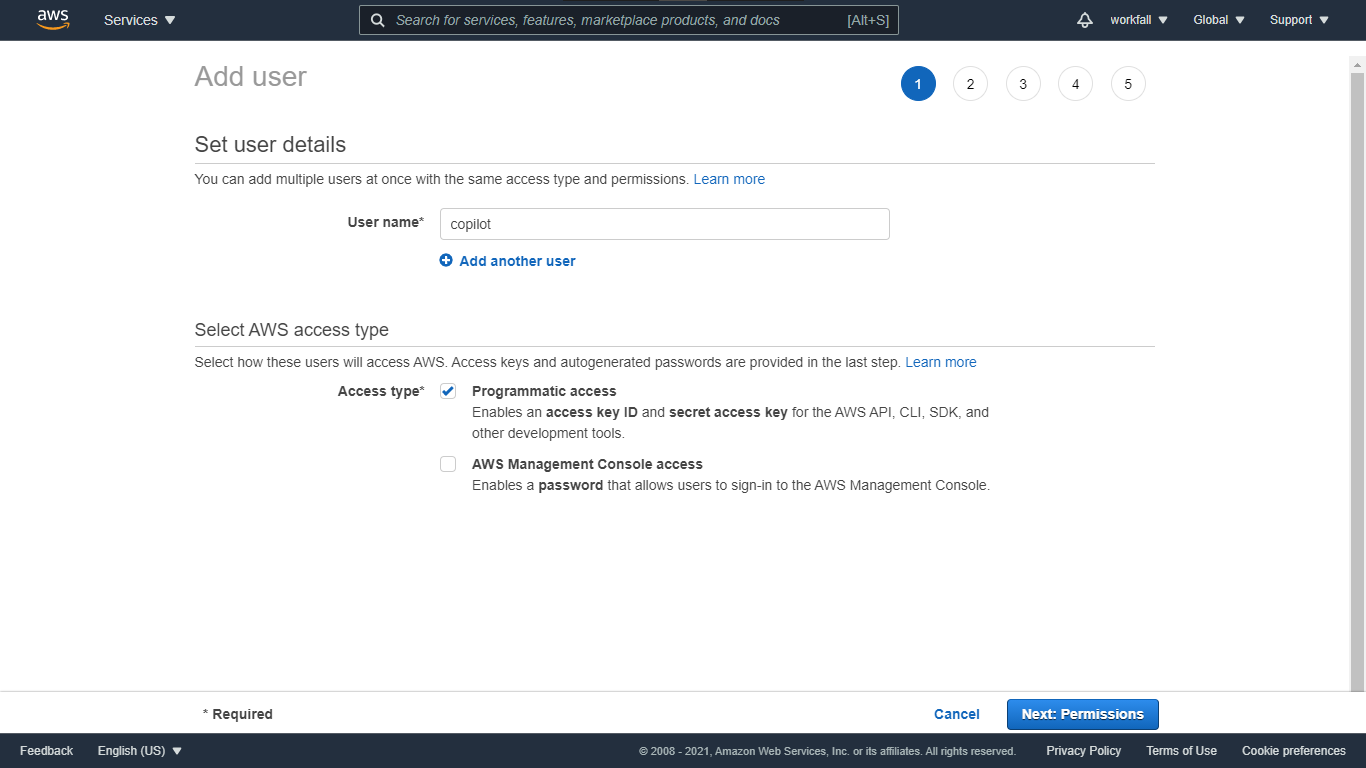
Enter a username for the user and under access type, select Programmatic access. Click on Next:Permissions.
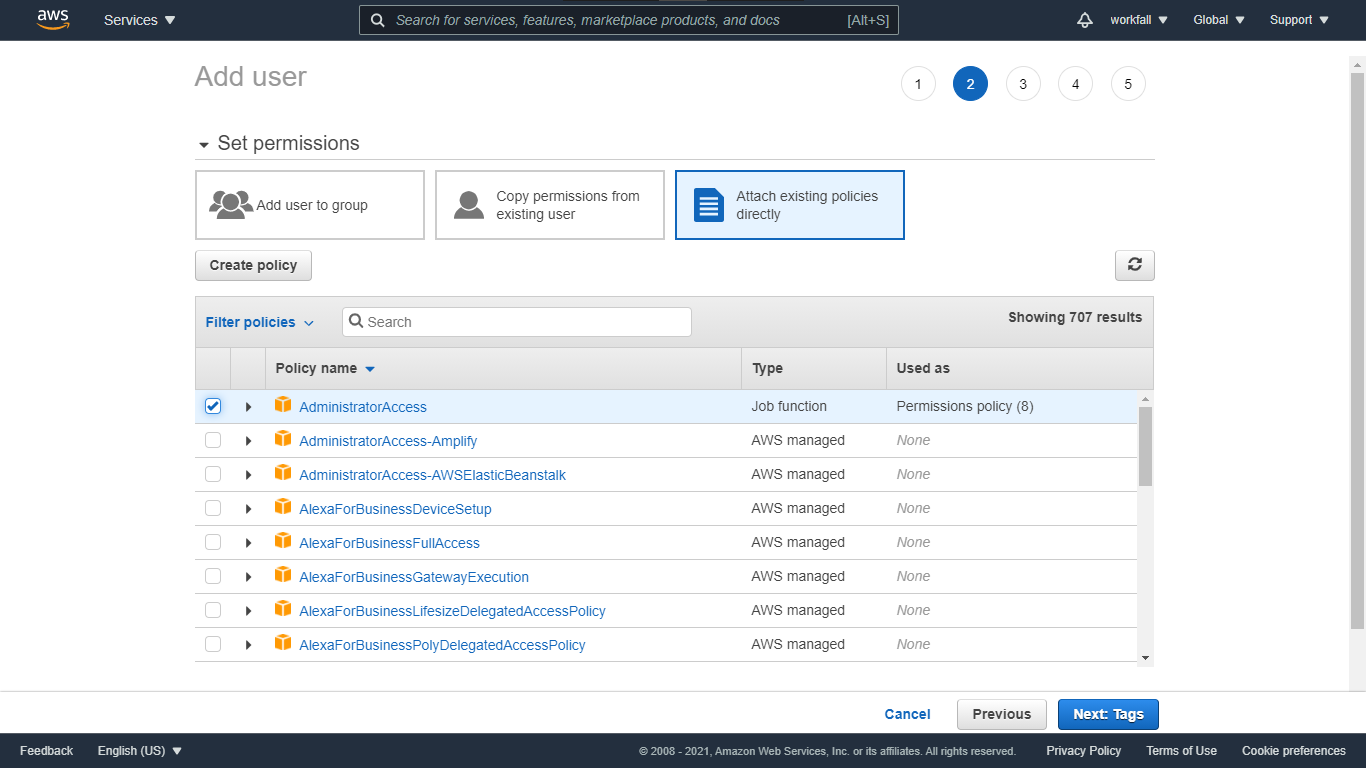
Select Attach existing policies directly and check the AdministratorAccess policy from the list of policies. Click on Next:Tags.
Enter a tag for your user (if required). Click on Next:Review.

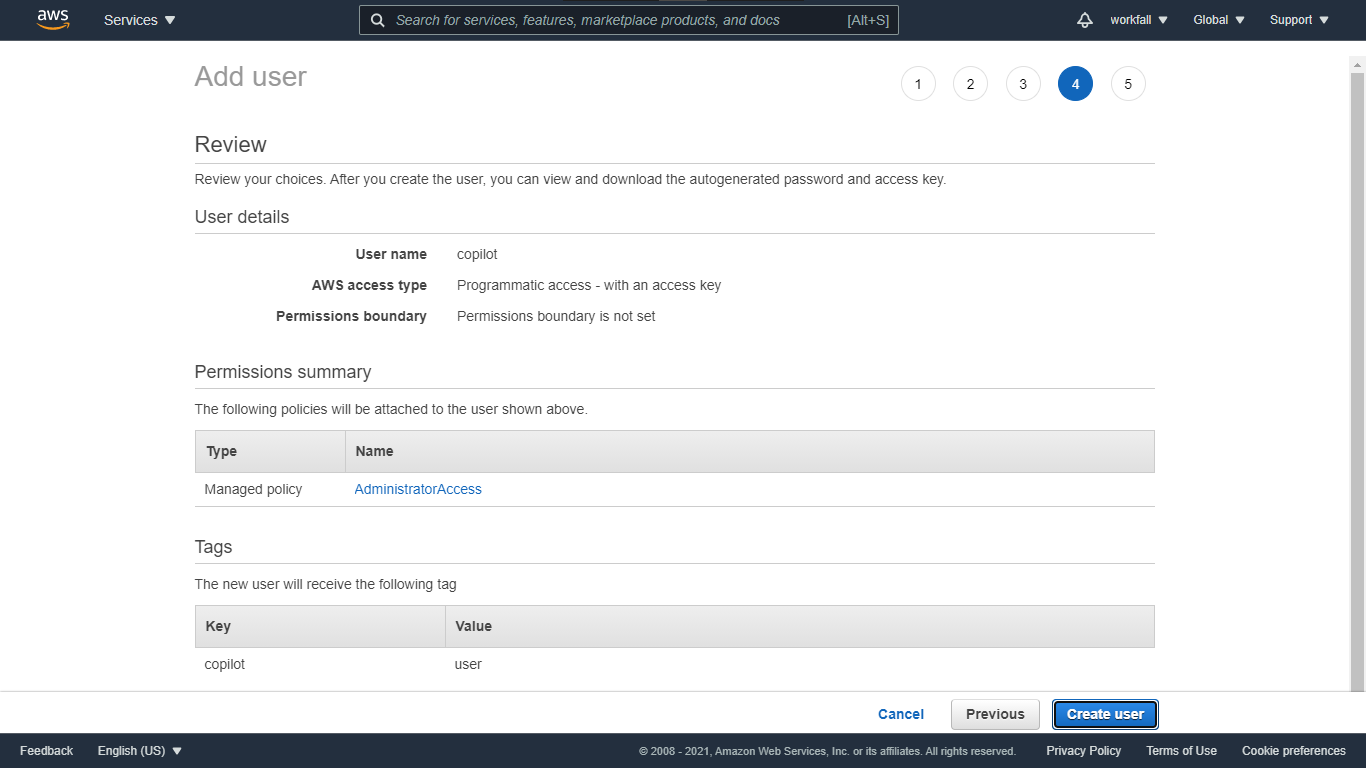
Review the changes and once done, click on Create user.
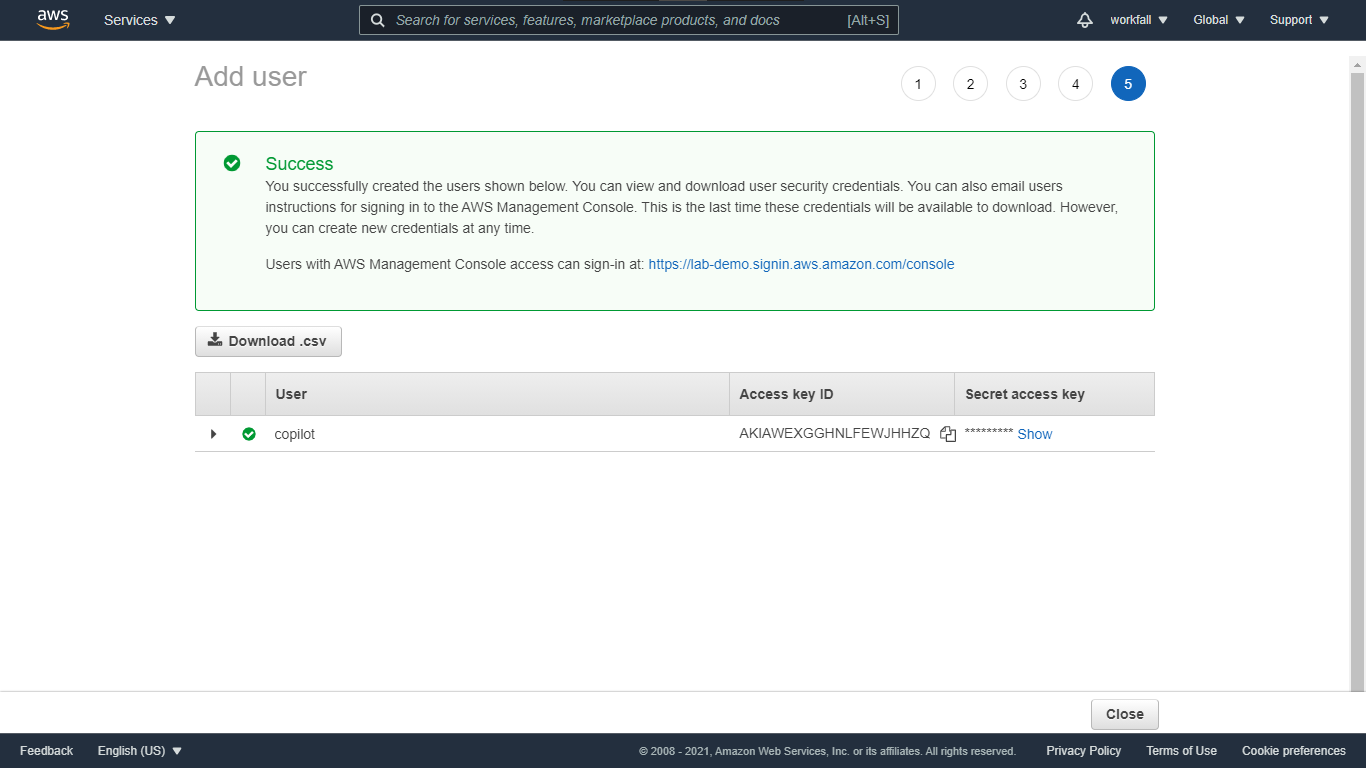
Click on Download .csv to download the details for the newly created user. Make sure you note down the Access Key ID and Secret access key.
Now, create a new directory on your local machine. We now need to download the AWS CLI to the directory. You can open PowerShell and execute:
msiexec.exe /i https://awscli.amazonaws.com/AWSCLIV2.msi
To download the installer to your directory or you can navigate to:
https://awscli.amazonaws.com/AWSCLIV2.msi
to download the installer directly and move the file in the newly created directory.
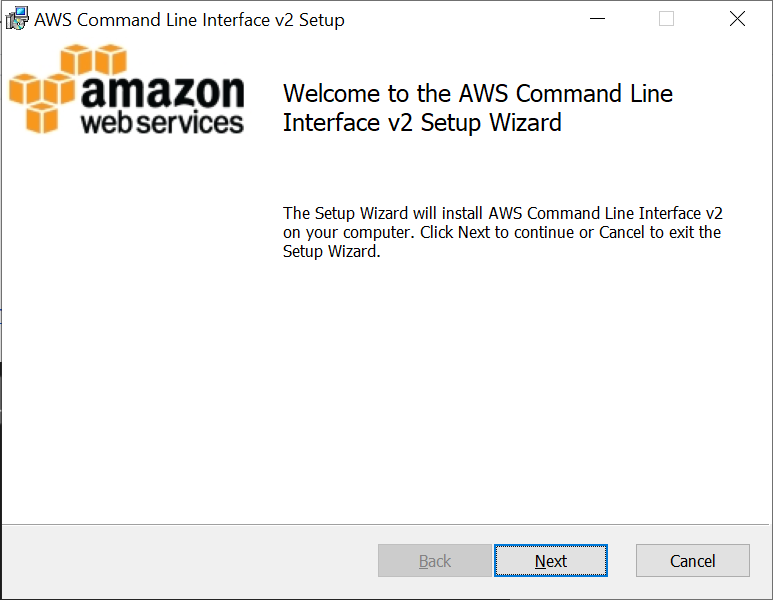
Open the installer and follow the steps to install.

A new modal will show up. Click on Next to proceed.
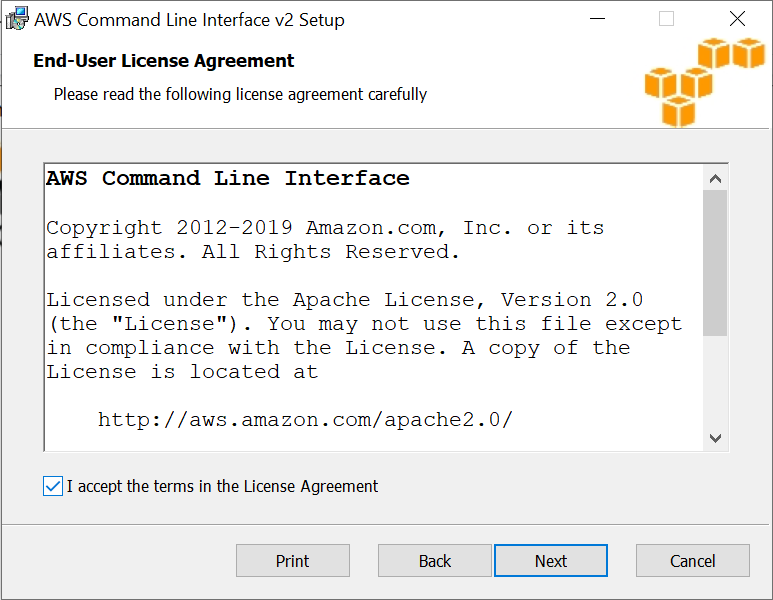
Check the license agreement checkbox and click on Next.
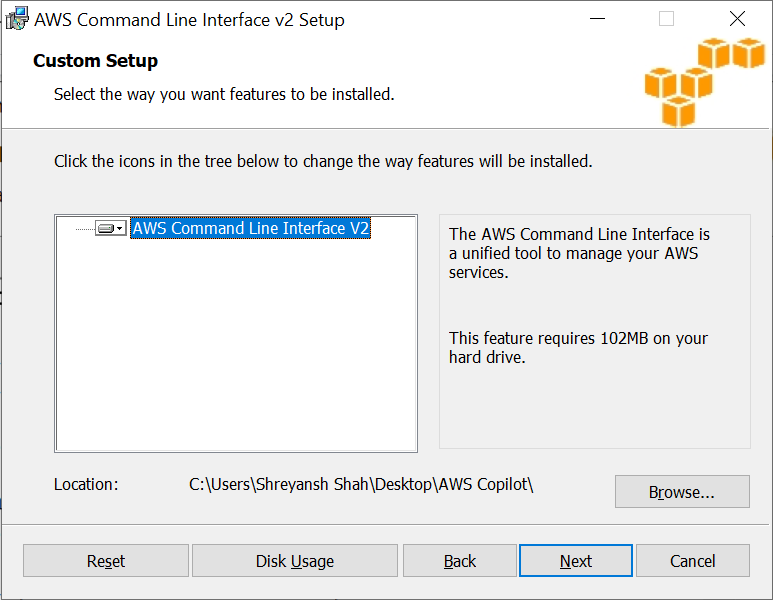
Select the CLI V2 as shown in the image below and select a location where you need to install the cli. Once done, click on Next.
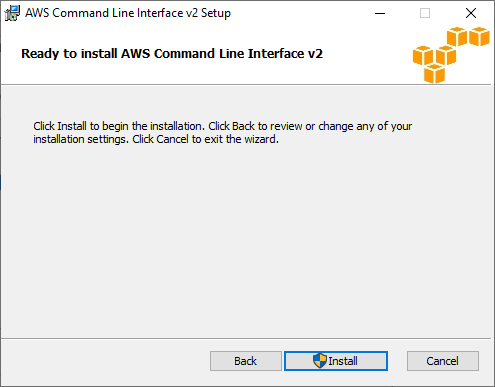
Make sure you have the Administrative rights on your local machine since you need those rights to install the CLI. Click on Install.
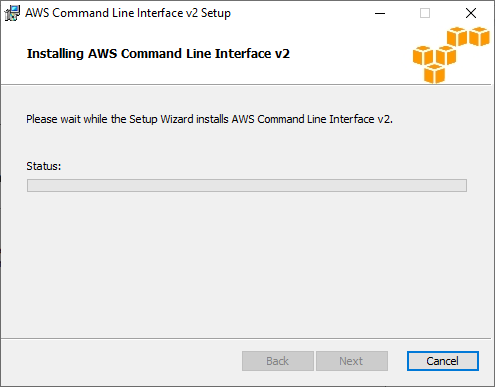
The installation might take a few seconds to complete.
Once completed, you will see the modal as shown in the image below. Click on Finish.

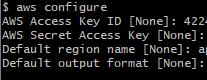
Now, we need to configure AWS with the newly created IAM user in the directory in which you installed the AWS CLI. Open cmd or Git Bash CLI or powershell in that directory and execute the command:
aws configure
Enter in the AWS Access Key ID and AWS Secret Access Key from the csv file you downloaded above and then select the default region name and the default output format for your configuration.
Now, to follow our hands-on tutorial, you will have to clone the repository using the below command:
git clone https://github.com/workfall/aws-copilot.git copilot
Run the above command in cmd or git bash cli or powershell.
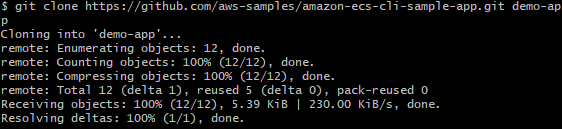
Once done, you will see a new folder created in your directory.

Now, double click to open the newly created folder. You will see the below files in the folder.
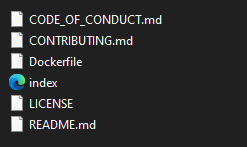
Now, navigate inside the newly created folder.

To follow the further steps, click on the path in the project directory and type powershell. Open powershell CLI and navigate to the project directory.

We need to download the copilot CLI as well. Run the below command on your powershell:
Invoke-WebRequest -OutFile 'C:\copilot\copilot.exe' https://github.com/aws/copilot-cli/releases/latest/download/copilot-windows.exe

The above command will then install the copilot command in the provided directory. Move the copilot file inside the directory which consists of your application that is to be deployed.
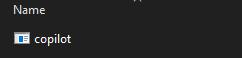
Just like shown in the image below, move the copilot command into the project directory.

Again in the project directory, type in powershell and open the cli.
We need to install Docker to build an image using the Dockerfile for which we need to install chocolatey on windows.
Execute the below command first on the powershell:
Get-ExecutionPolicy
If the output for the above command returns Restricted, run the below command:
Set-ExecutionPolicy AllSigned
[or]
Set-ExecutionPolicy Bypass -Scope Process
Once done, now we need to install chocolatey on windows. Run the below command on powershell:
Set-ExecutionPolicy Bypass -Scope Process -Force; [System.Net.ServicePointManager]::SecurityProtocol = [System.Net.ServicePointManager]::SecurityProtocol -bor 3072; iex ((New-Object System.Net.WebClient).DownloadString('https://chocolatey.org/install.ps1'))
Running the above command, the installation setup will start.

Once completed, execute the command:
choco install docker-cli
to install the Docker CLI. After installing docker, verify the installation typing in:
docker
in the powershell.
Now, in the project directory, we have a dockerfile so we need to create a docker image using the dockerfile. On the powershell console or on cmd or on git bash cli, run the command:
docker build -t webserver-image:v1 .
The above command will then create a docker image for your application.

Now, on the powershell, run:
.\copilot
This will execute the copilot command you installed above. If you see the screen as shown in the image below, then the installation was successful.
Now, let’s initiate the deployment process. To use this copilot command, execute:
.\copilot init
If an application already exists, you will see the option as shown in the image below. Type in n to create a new application.

Enter a name for your application.

From the dropdown that appears, select the workload type as Load Balanced Web Service. Enter a name for the same.

Enter the path that contains the location of the docker image we created above.

Select the port as 80.

Type in y to deploy a test environment. A manifest.yml file will be created inside your project directory.
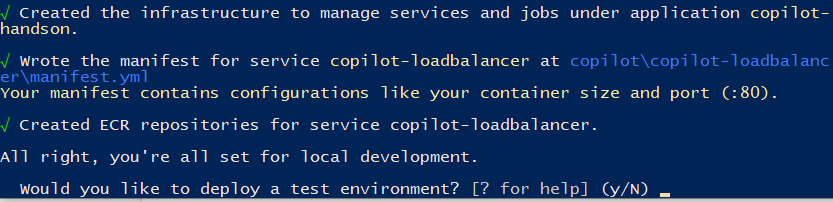
Once done, you will see a message as shown in the image below.

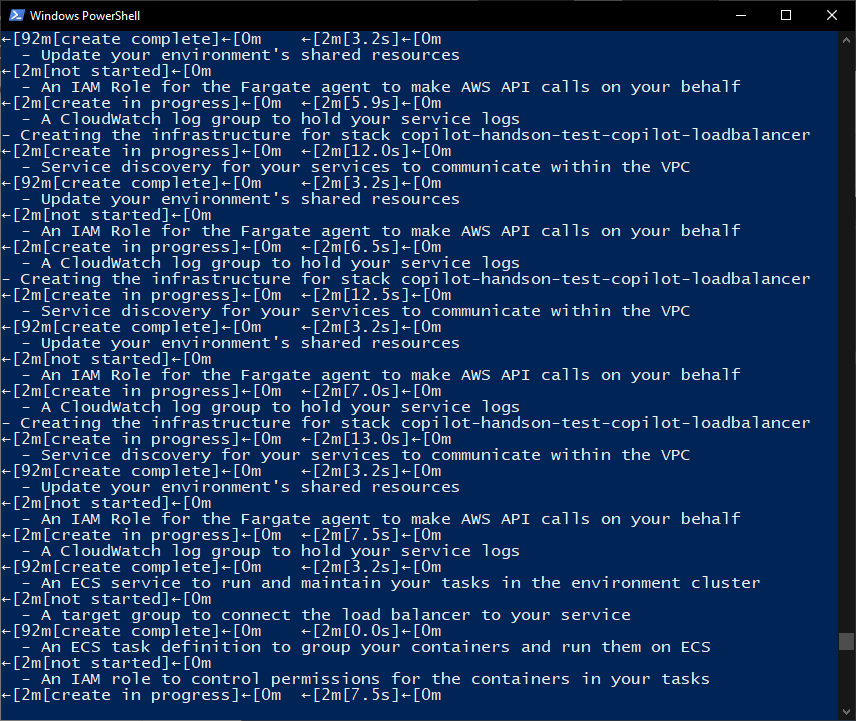
Proceeding further, you will see your account getting linked to the service.

The below images are the configurations that take place on the backend for the deployment of the application.

Once deployed, a link will be flashed on your screen. Click on that link to open the deployed application on your browser.
To deploy the application with a single command, execute the below command:
git clone https://github.com/workfall/aws-copilot.git copilot && \
cd copilot &&                               \
copilot init --app copilot-handson                      \
  --name copilot-api                                 \
  --type 'Load Balanced Web Service'         \
  --dockerfile './Dockerfile'                \
  --port 80                                  \
  --deploy
- For further executions and debugging, you can use the following commands:
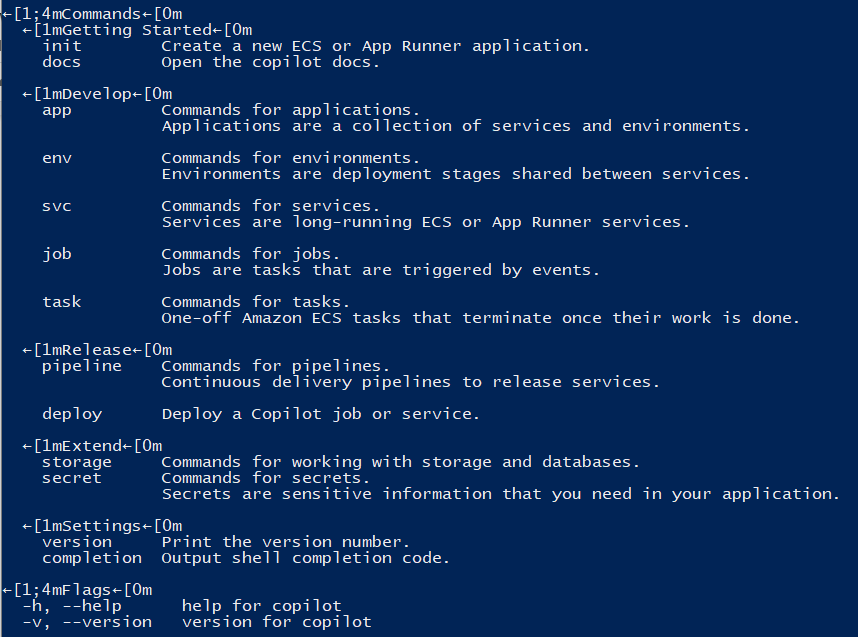
copilot app ls: to list the deployed applications.
copilot app show: Show information about the environments and services in your application.
copilot env ls: Show information about your environments.
copilot svc show: Show information about the service, including endpoints, capacity and related resources.
copilot svc ls: List of all the services in an application.
copilot svc logs: Show logs of a deployed service.
copilot svc status: copilot svc status
copilot –help [or] copilot init –help: List available commands and options.
Conclusion
In this blog, we saw how we can make use of AWS Copilot CLI to deploy a containerized web application easily and quickly. We first saw how to create a new user with Administrative Access after which we downloaded the AWS CLI on the local machine in a project directory. We then installed the AWS CLI following the steps of installation and then configured the AWS CLI with the newly created user credentials. We then cloned an application that is added in one of our repositories. After cloning the repository, we downloaded the copilot command in the project directory. After which we installed chocolatey on windows and then using chocolatey we installed docker. Using the docker cli, we created a docker image in the project directory with the help of a Dockerfile in the project directory. We then deployed the application using the copilot CLI and tested the deployed application. We will discuss more use cases of AWS Copilot in our upcoming blogs. Stay tuned to keep getting all updates about our upcoming new blogs on AWS and relevant technologies.
Meanwhile …
Keep Exploring -> Keep Learning -> Keep Mastering
This blog is part of our effort towards building a knowledgeable and kick-ass tech community. At Workfall, we strive to provide the best tech and pay opportunities to AWS-certified talents. If you’re looking to work with global clients, build kick-ass products while making big bucks doing so, give it a shot at workfall.com/partner today.