It might be challenging at times to build Angular applications. This could be caused by flaws that later have an impact on the user experience or by delayed server answers following API calls.
If real-time apps are developed that involve numerous server requests or calls, the user experience could suffer. Your app cannot afford such negative effects caused by APIs, so you must create the app with user experiences in mind.
In this blog, we will demonstrate how to use Angular Resolver to manage API requests and enhance UX design.
In this blog, we will cover:
- What is Angular Resolver?
- Why choose Angular Resolvers?
- What is an Angular Route Resolver?
- What is StackBlitz used for?
- What makes StackBlitz unique?
- Hands-on
- Conclusion
What is Angular Resolver?
When a user navigates from one route to another, Angular Resolver is used to prefetch some data. It’s a seamless method of improving the user experience by loading data before the user navigates to a certain component.
Why choose Angular Resolvers?
Before the activatedRoute of the next component is active, the resolvers in Angular allow the application to fetch distant data from the server. We don’t need a spinner until the data has been retrieved because we won’t be able to go on to the next component until the server data has been retrieved.
What is an Angular Route Resolver?
A Resolver is an Angular Router class that implements the Resolve interface. In actuality, the root module must [offer] the Resolver service. A Resolver essentially functions as middleware that can run before a component is loaded.
What is StackBlitz used for?
You can quickly and easily construct Angular, React, and Vue projects in your browser with StackBlitz, an online IDE (integrated development environment). Dependency installation, compilation, bundling, hot reloading as you type, and a lot more are all handled automatically.
With StackBlitz, you can code a cool prototype or demo without worrying about setting up deployment and building tools. By offering distinct windows for you to preview and debug live, StackBlitz will feel and work precisely like your local development environment! Every project is given a special URL and the opportunity to be renamed.
What makes StackBlitz unique?
User experience is crucial for an online IDE. Here are points that define StackBlitz in addition to the ease with which projects can be started:

Hands-on
In this hands-on, we’ll start with StackBlitz, an online angular compiler that allows us the flexibility of a pre-made folder structure. We will be using this online compiler to create flexibility for implementing the process of resolvers in Angular.
We will first begin with exploring the files created by default and then alter the folder structure as per the requirements.
We will create a flow creating the code files such that when the user clicks on a button, the application will execute a specific code (resolver) returning an observable or a value.
We will then make use of the component’s constructor or ngOnInit to store the data in a variable that we can further use in the HTML of the same page to serve our purpose.
Then finally, we will load the target component with the fetched data to improve the UX.
You can start a new project by following the steps in the link below to the original Angular documentation, then follow the hands-on instructions below to complete the exercise on a local machine.
https://angular.io/tutorial/toh-pt0
You can click the link below to repeat the actions we took. An online angular compiler can be found at the link below. It may be used to code logic, test features, build small apps, and much more.
https://stackblitz.com/edit/angular
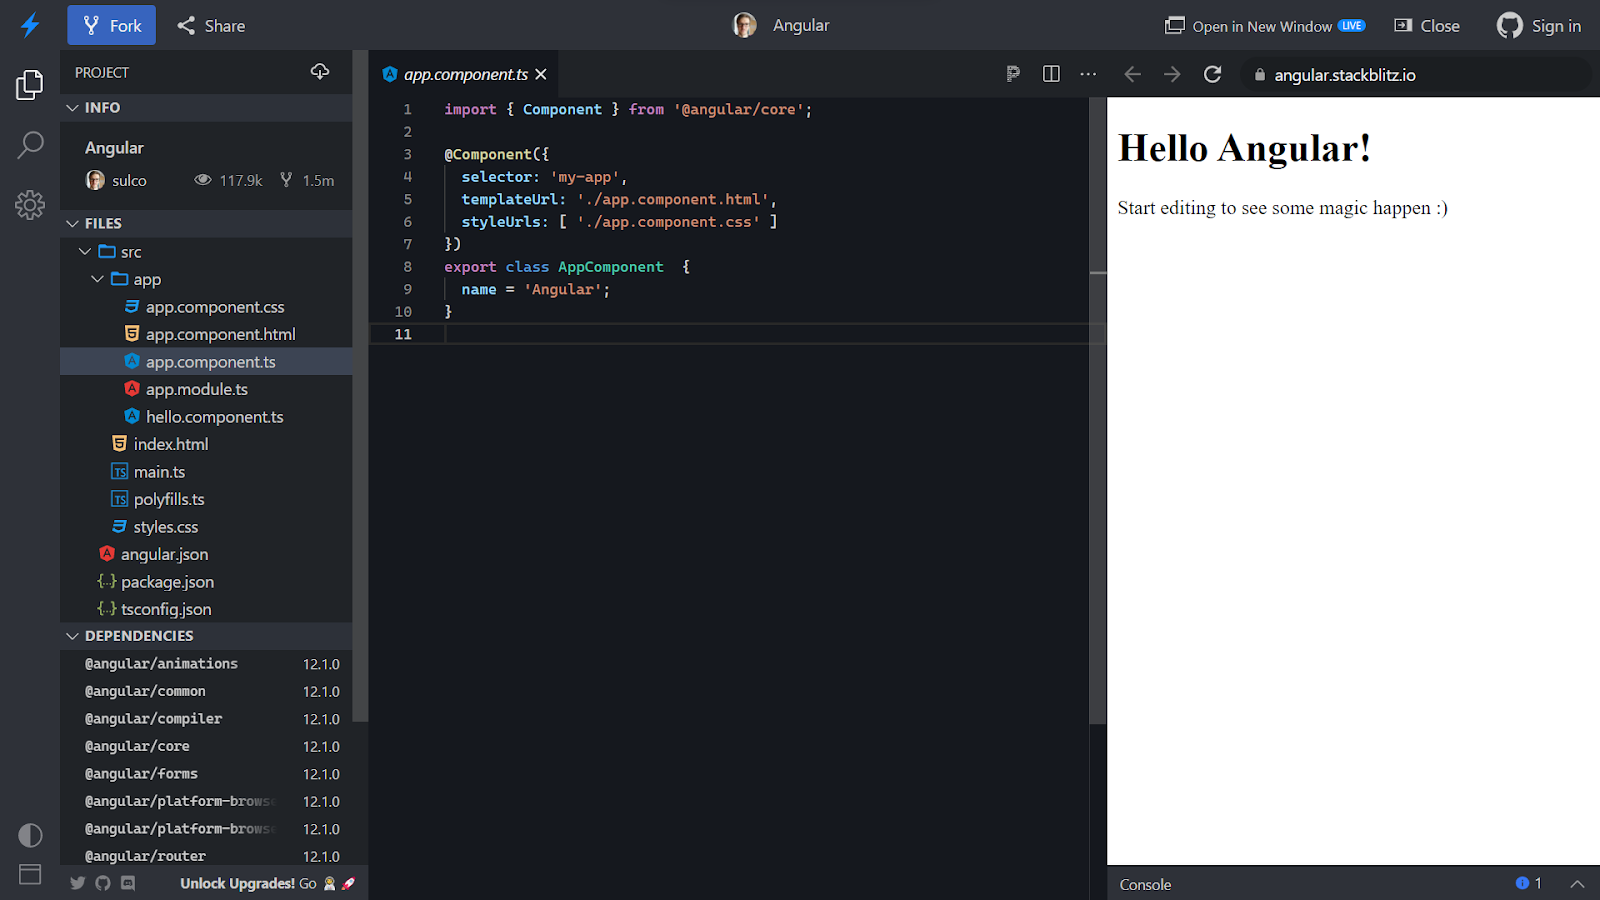
Once you click on the above link, you will be navigated to an online compiler as shown in the image below. This is the layout that is developed by default for us. Stackblitz even allows us to link our projects to the GitHub repository which makes it easy for us to keep a record. The below file is the main component typescript file.
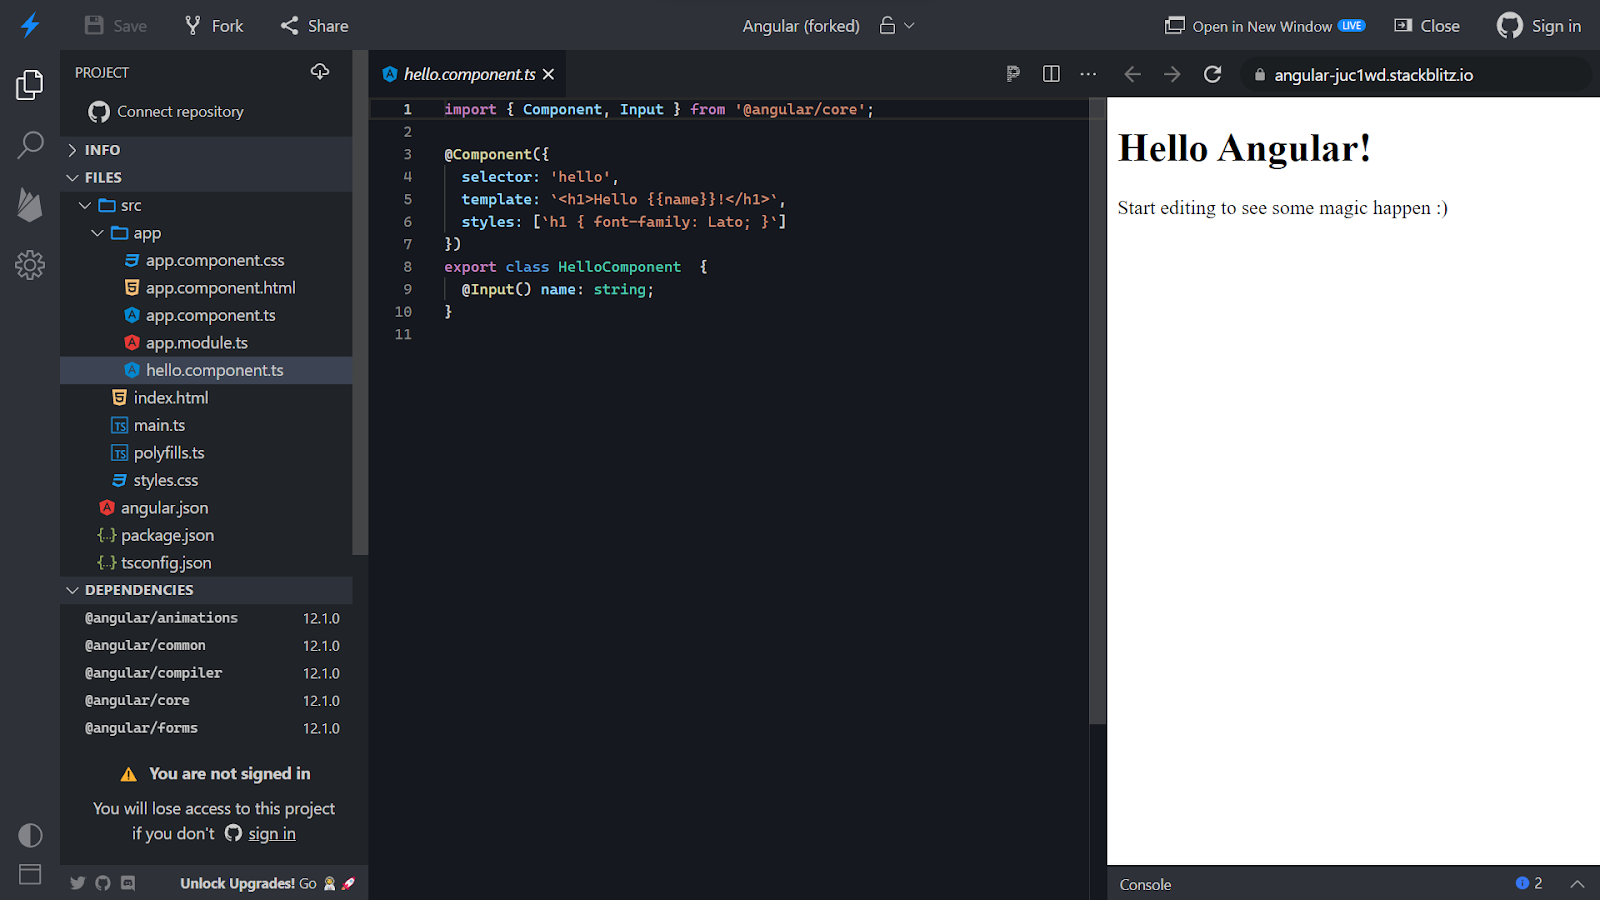
A default file is created with the name hello.component.ts which takes input for the name from the app.component.ts file as shown in the image below using the Input decorator.
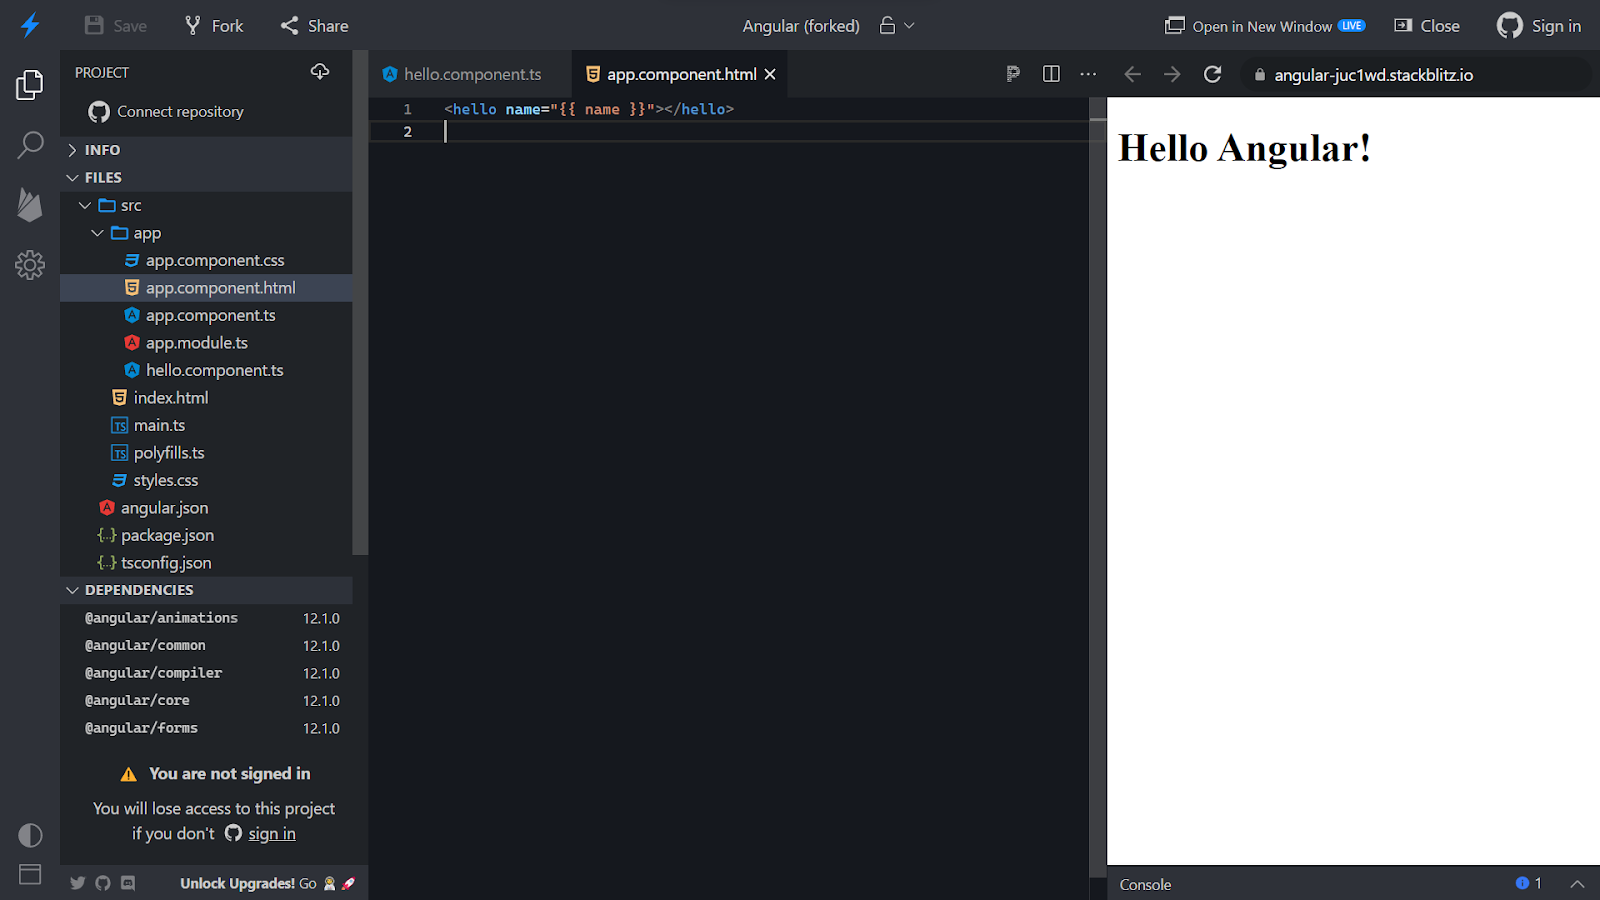
Navigate to the app.component.html file and delete the unwanted part of the HTML page.
Let’s create new components. Right-click on the app folder and select Angular generator and inside it, select Component.

Enter ‘home’ for the home page component and hit enter.

On success, the components .ts file will open up.

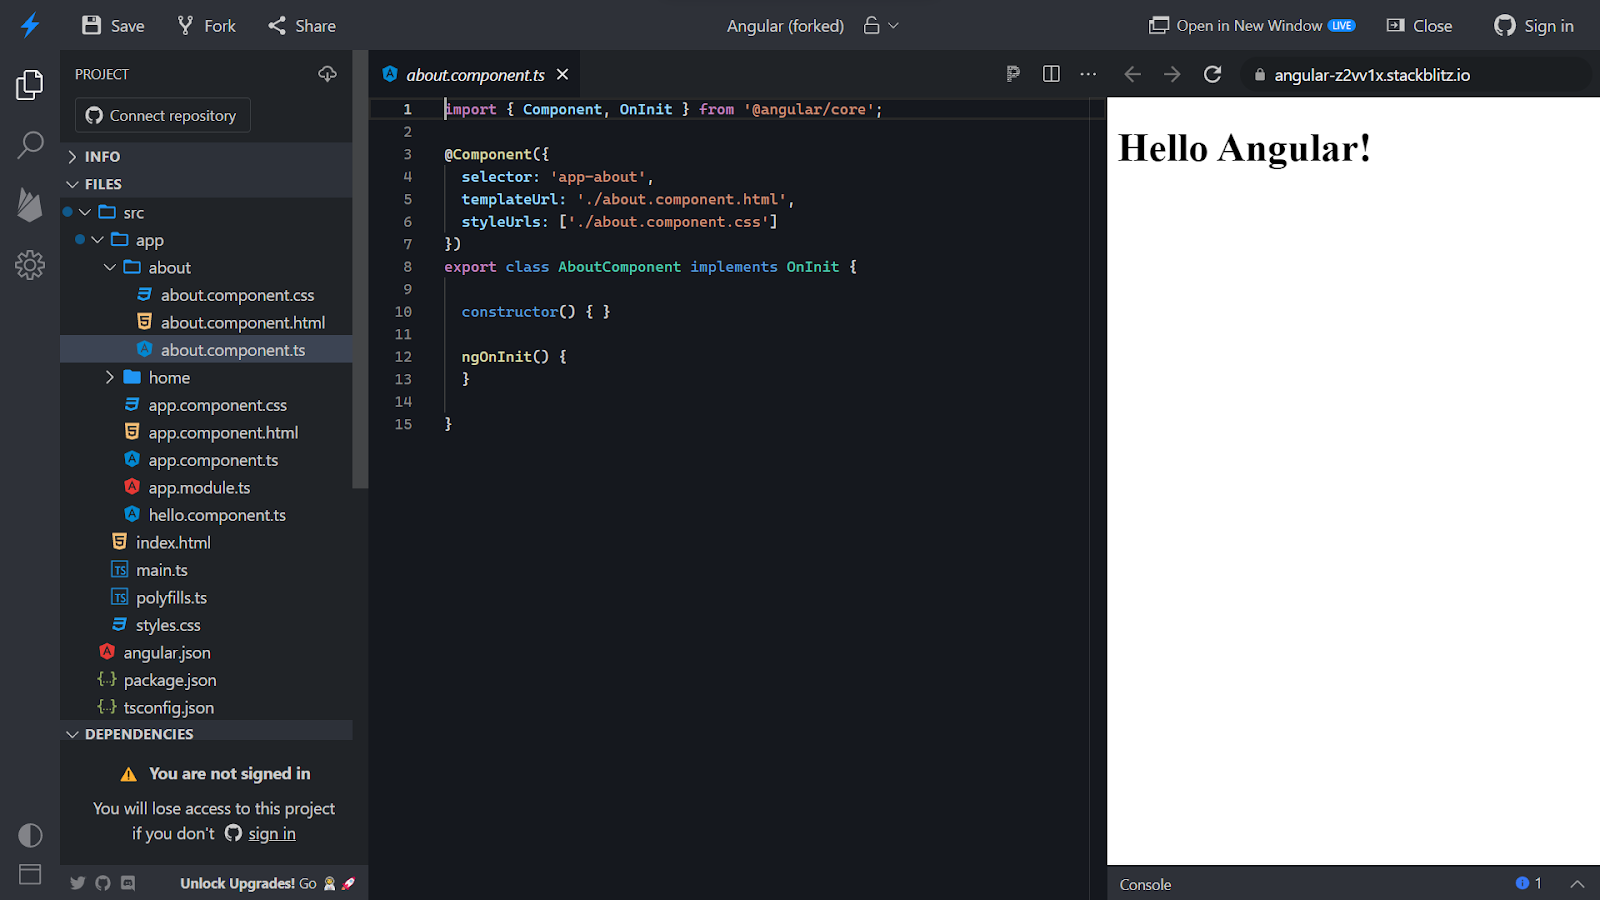
Follow the above steps and create a component for the ‘about’ page.
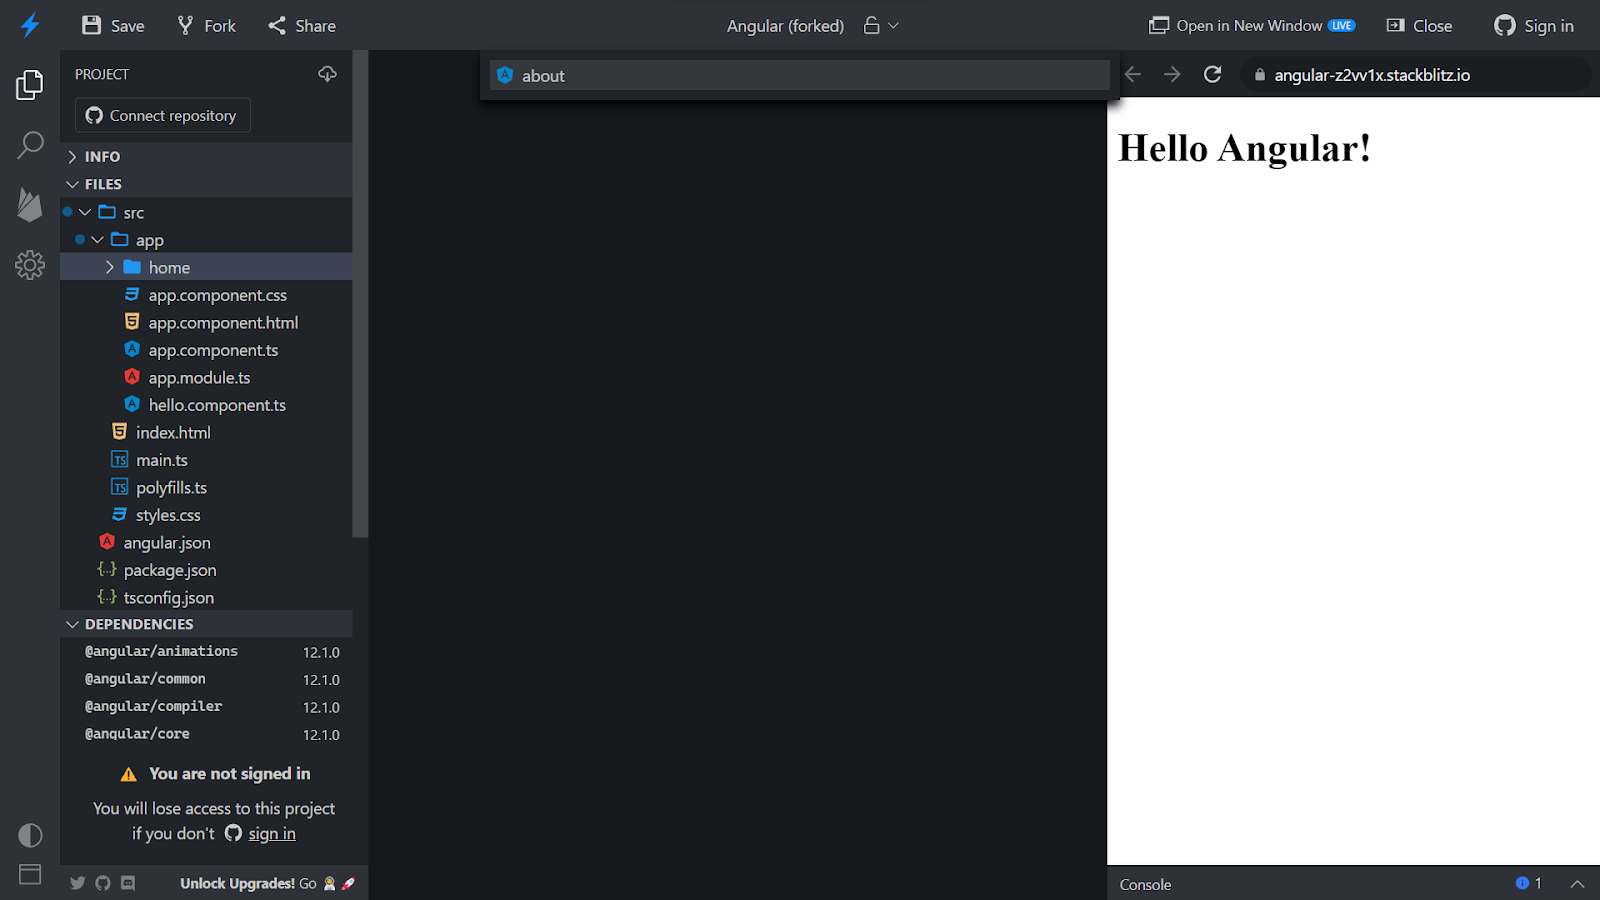
On hitting enter, the about component will be created.
Create another component for products and hit enter.

The products component will be created.

Now, we need to create a new service file. To do so right-click on the app section in the left navigation pane, select angular generator, and click on service.

You will then be asked to enter the name for the service file. Enter the name and hit enter.

A new service file will be created as shown in the image below.

Now we need to create a new interface for the products. Right-click on the app, select Angular Generator, and click on Interface.

Enter a name for the interface and hit enter.

A new interface will be created as shown in the image below.

Add the following in the interface file to create a layout for the products.

Navigate to the product.service.ts file and import the interface that you created above. This file will contain the URL from which we will be fetching the data. Create a function to make an HTTP call and fetch the required data.

Now, we will have to create a new service file. Follow the steps above.

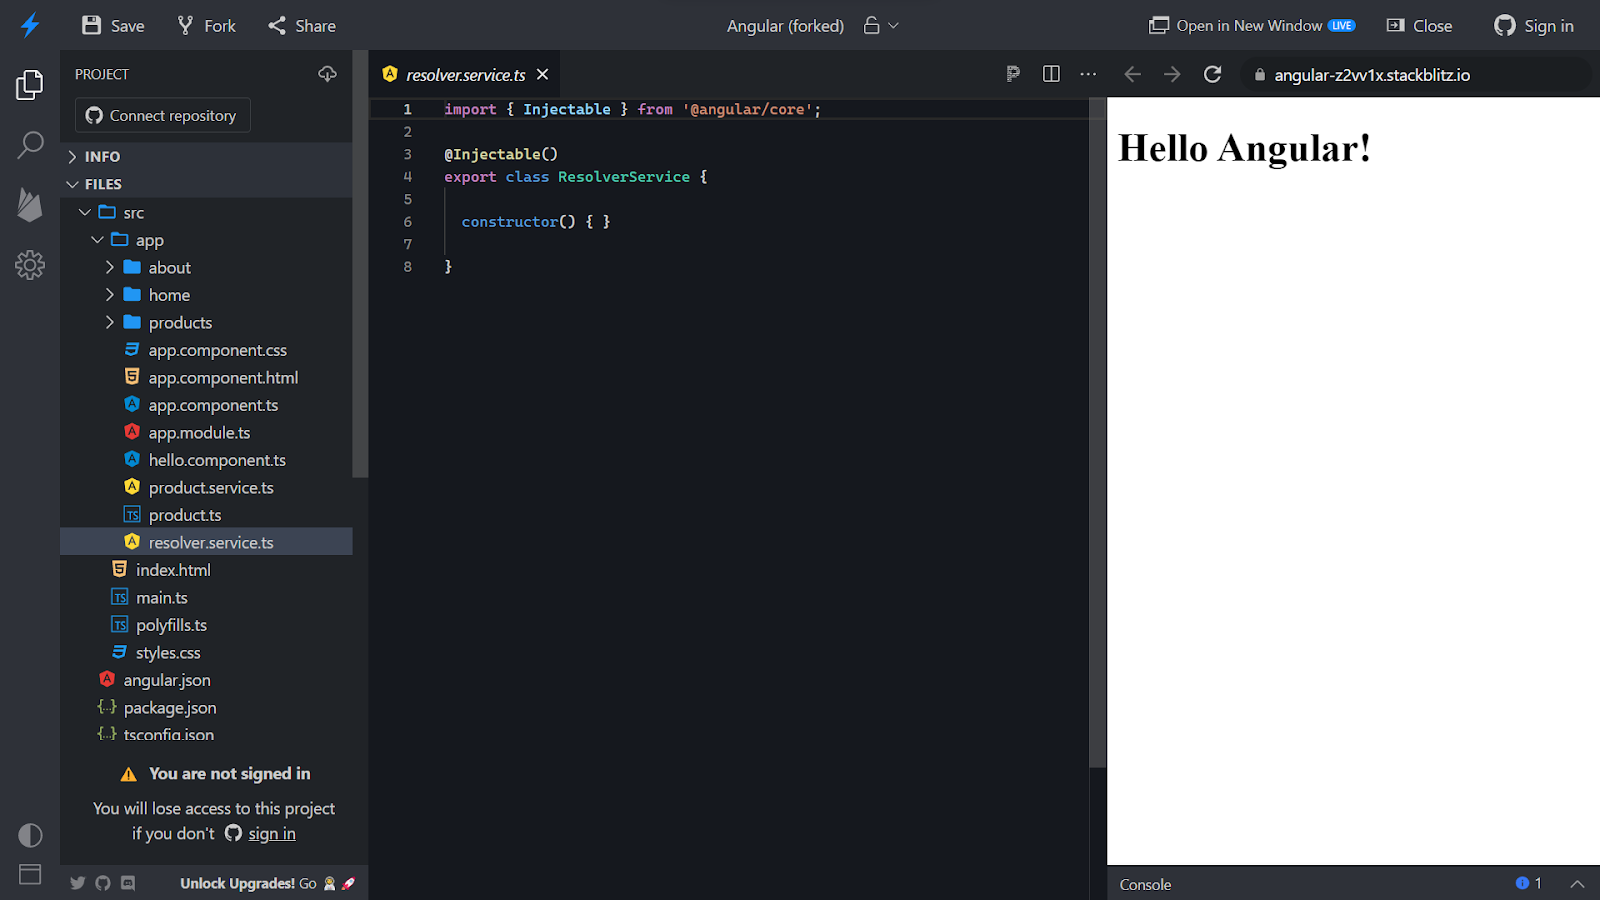
Enter a name for the service as shown in the image below and hit enter.

The resolver service file will then be created.
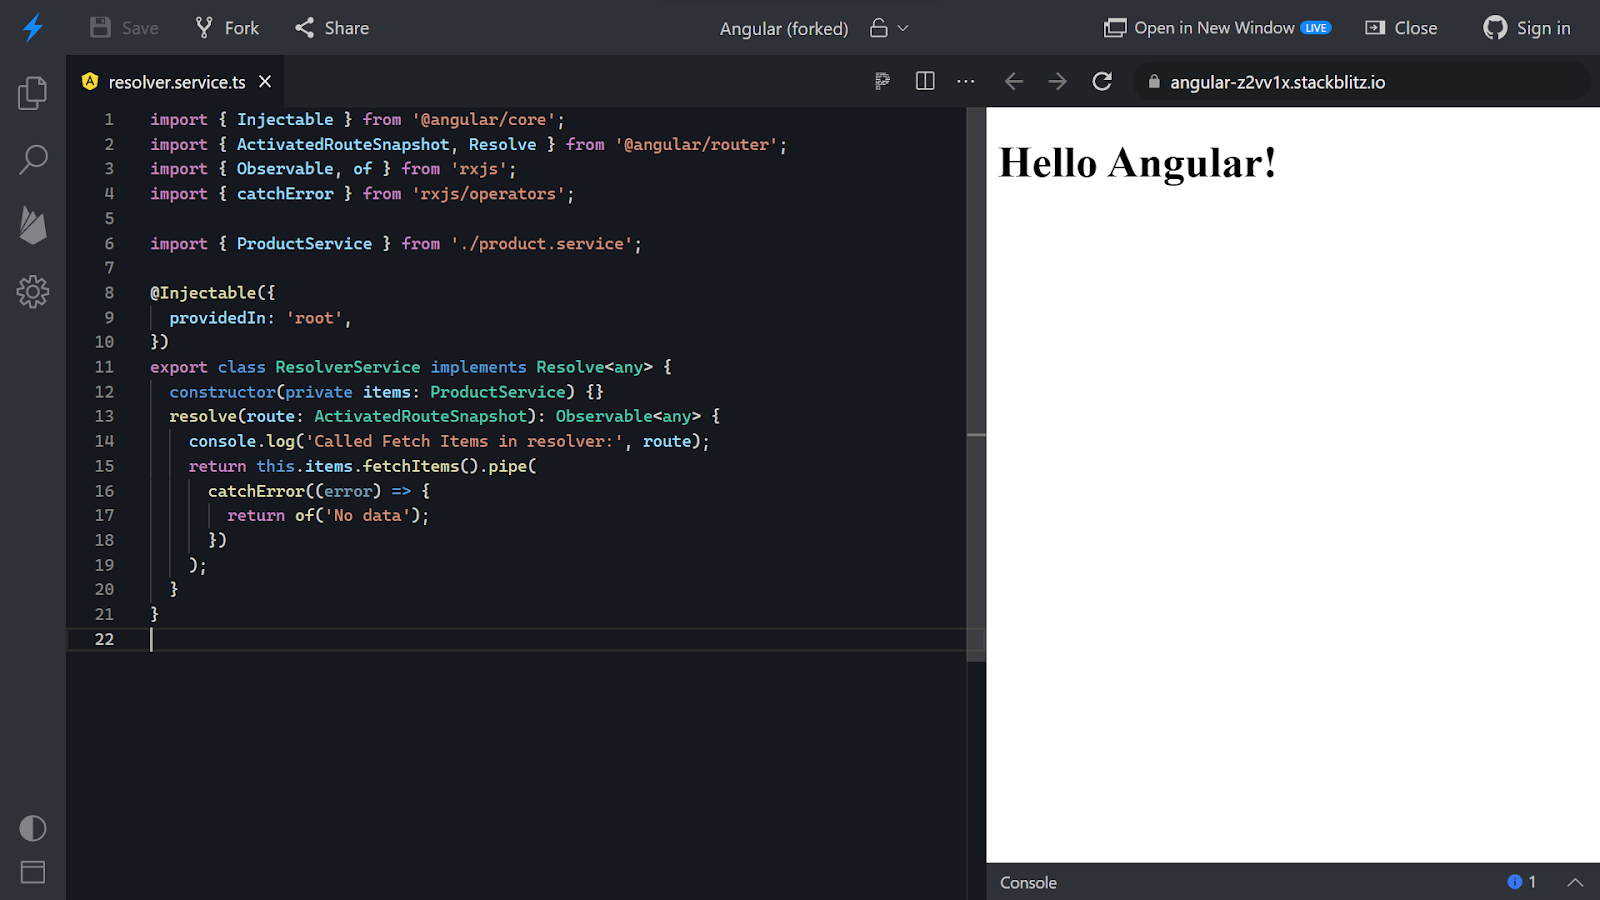
The service file will contain the code for the resolver to make a call to the API in the product service file and pass the data to the other component which will be loaded if only data is fetched or else it will give an error.
Create a new file in the directory with the name app-routing.module.ts.

Add the following router code in the routing file. Based on the paths added, you will be navigated to the required module.

Navigate to the app.module.ts file. Make all the necessary imports in the file for all the newly created components and services.

Navigate to the ts file of products.component.ts and add the below code in the file. This file contains the activated route that will subscribe to fetch the product’s data printing the consoled message in the console.

Navigate to its HTML file and add the below code in that file. The below code is the template for printing the fetched product data.

Now, navigate to the app.routing.ts file and make the required changes. You will see that the Home Components content will be loaded.

Navigate to the home components HTML page and add the below tag with click action.

In the home components, ts file creates a function for the button action routing to the component that will display the product’s data.

Make the required imports in the app.module.ts module as shown in the snippet below.

Open the UI on a separate page using the URL. Click on the Display Products button.

Open inspect element by either clicking F12 or right-click on the page and click on Inspect element. You will see that the resolver has started executing. It initiates the process and starts fetching the data.

Once the data is received, it will display the message as shown in the image below with the products array.

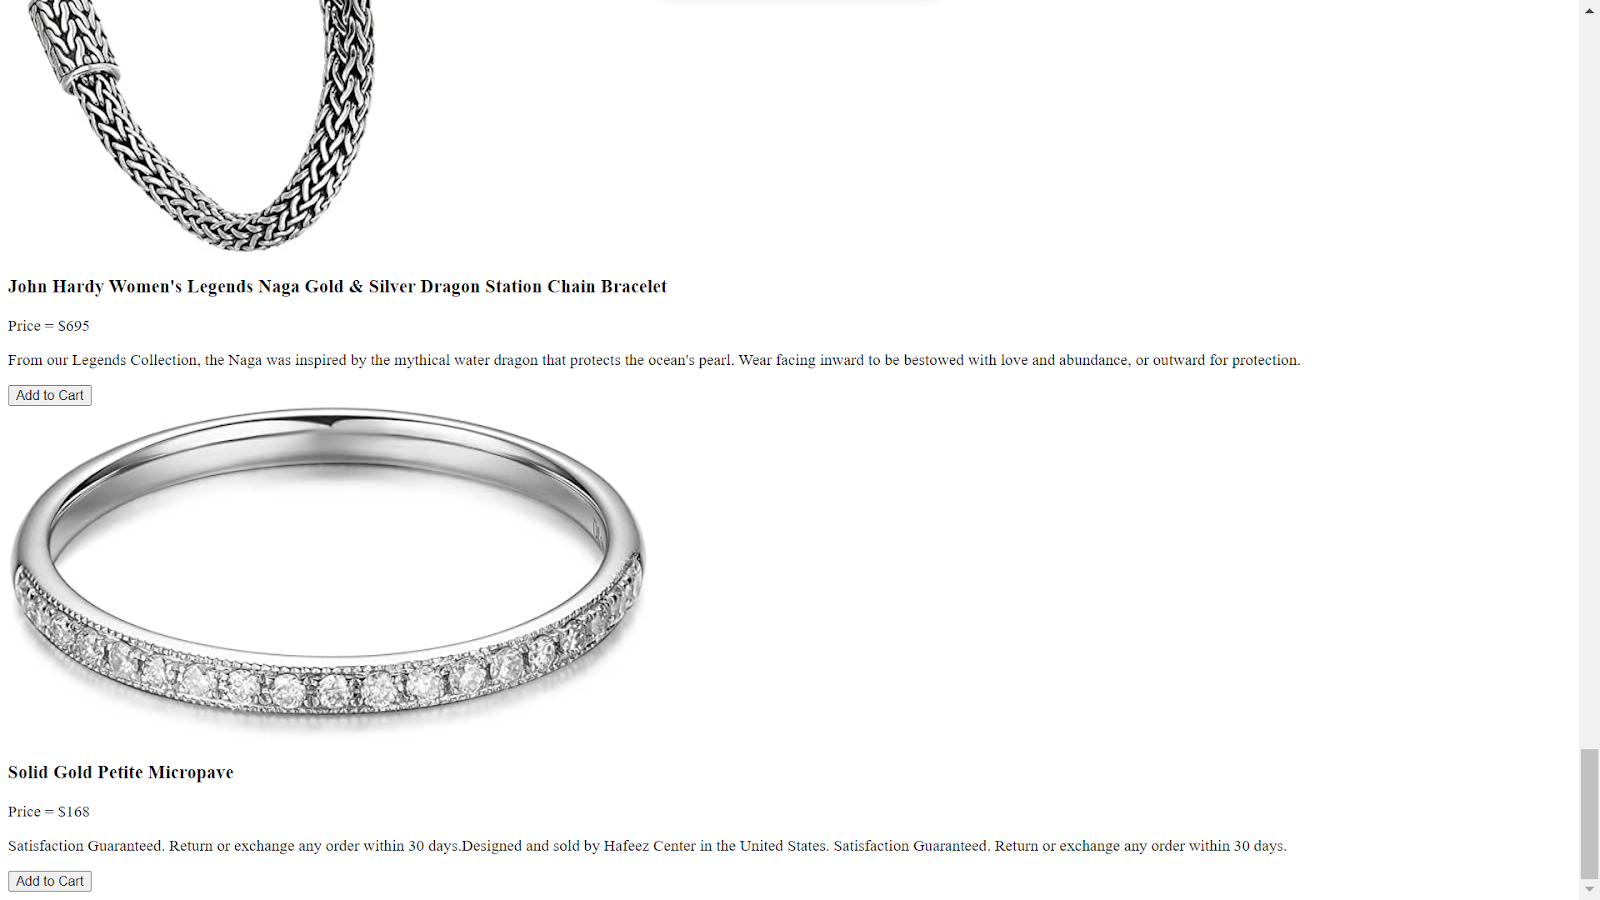
Now, if you will see the UI, you will get to see all the products.
Conclusion
In this blog, we saw how it began with an online compiler for angular called StackBlitz which gives us the flexibility of an already-created folder structure. We used this compiler to create flexibility for implementing the process of resolvers in Angular. We first began with exploring the files created by default and then altered the folder structure as per the requirements. We then created a flow creating the code files such that when the user clicks on a button, the application executes a specific code (resolver) returning an observable or a value. We then made use of the component’s constructor or ngOnInit to store the data in a variable that we further used in the HTML of the same page to serve our purpose. Then finally, we loaded the target component with the fetched data to improve the UX. We will come up with more such use cases in our upcoming blogs.
Meanwhile …
If you are an aspiring Angular developer and want to explore more topics in Angular, here are a few of our blogs for your reference:
- How to plot Bar Charts in Angular using npm package Highcharts?
- How To Export Datasets Into CSV Format Using Angular With FileSaver?
- How To Create Custom Pipes In Angular Framework?
- How to use HttpClient in Angular?
Stay tuned to get all the updates about our upcoming blogs on the cloud and the latest technologies.
Keep Exploring -> Keep Learning -> Keep Mastering
At Workfall, we strive to provide the best tech and pay opportunities to kickass coders around the world. If you’re looking to work with global clients, build cutting-edge products, and make big bucks doing so, give it a shot at workfall.com/partner today!