
In Angular, pipes are a helpful feature. They’re a quick and easy way to change values in an Angular template. A pipe accepts one or more values and then returns one or more values.
Pipes can be used to display strings, currency amounts, dates, and other types of data. Pipes are basic functions that accept an input value and return a transformed value in template expressions. Pipes are important because you may use them throughout your program without having to declare each pipe separately.
Having the ability to design custom pipelines for your project is a valuable feature in your developer toolbox. It enhances web development efficiency and application speed by maintaining a consistent structure.
What is an Angular Framework?
Angular is an open-source Typescript framework maintained by Google and is actively used to develop single-page applications(SPA). It offers to boost web development efficiency and performance of an application by keeping a consistent structure.
Features of Angular
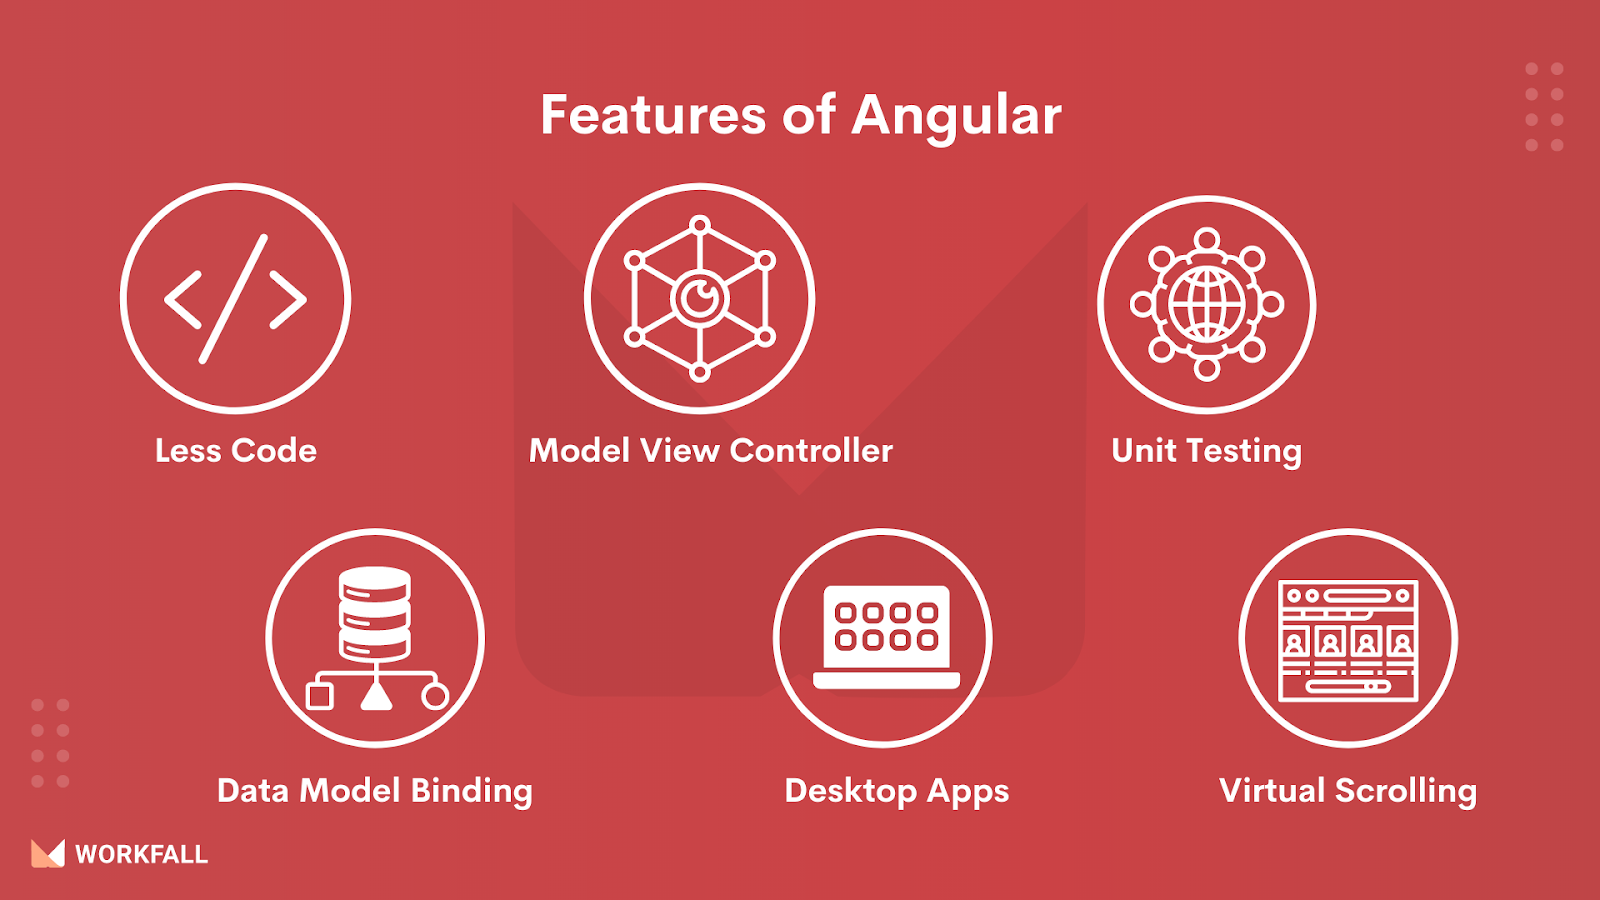
- Less Code: When doing DOM manipulation, a large number of scripts are required only to create an application. However, when utilizing Angular, a very small amount of code is sufficient for DOM manipulation.
- Model View Controller: The angular framework is based on a well-known concept known as Model-View-Controller (MVC). I assume you are all aware that MVC is a design pattern that is utilized in all current online applications.
- Unit Testing: The Google development team created an amazing test framework known as Karma. This is quite useful for creating unit tests for AngularJS apps.
- Data Model Binding: There is no need for any specific code when tying data to HTML controls. It is feasible to bind data with Angular by just adding a few lines of code.
- Desktop Apps: Angular allows you to simply construct desktop programs that can be installed on many operating systems such as Windows, Mac, and Linux.
- Virtual Scrolling: Virtual scrolling is mostly used in angular to load and unload elements from the DOM. This method is entirely dependent on visible elements of lists.
What are Angular Pipes?
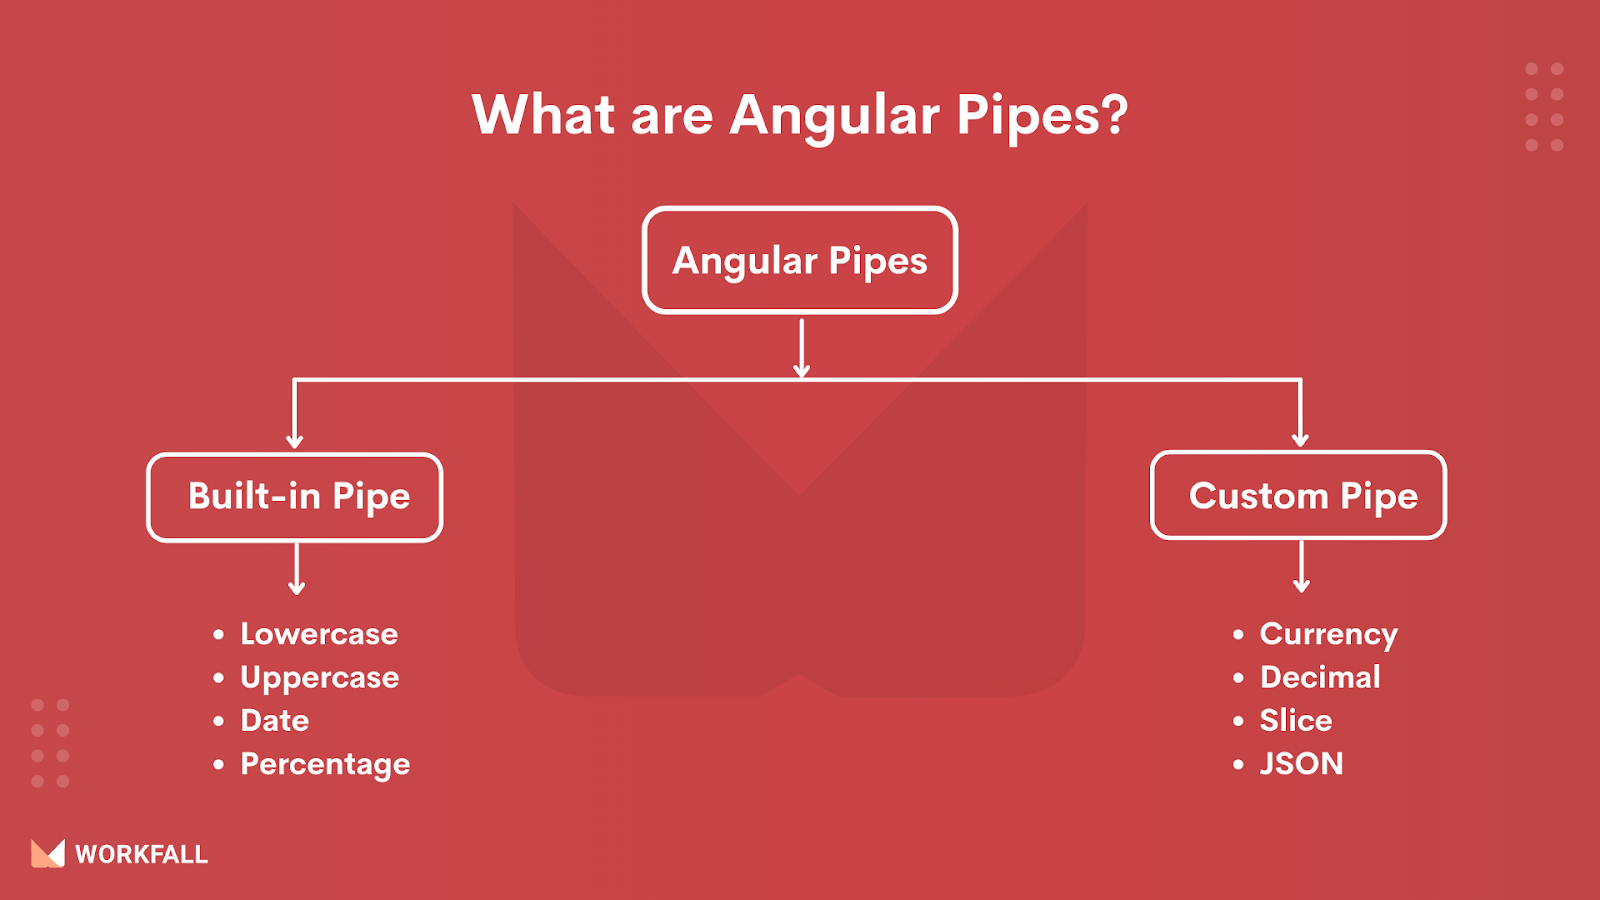
Pipes in angular are the simple functions used in the angular template expressions to transform data based on the input value. They are defined by the pipe symbol and can be chained with other pipes. Angular provides multiple inbuilt pipes such as:
- UpperCasePipe: Transform text to uppercase
- LowerCasePipe: Transfer text to lowercase
- CurrencyPipe: Transform a number to a currency string formatted as per the locale rules
- DecimalPipe: Transform a number to a string with a decimal point formatted as per the locale rules
- PercentPipe: Transform a number to a percentage string formatted as per the locale rules
- DatePipe: Formats a date according to the locale rules
Why do we use Pipe in Angular?
The pipes in angular are used for data transformation. Angular provides several inbuilt pipes but the data transformation is not possible via the inbuilt pipes angular also provides a way to create a custom pipe.
What are Angular custom pipes?
Custom pipes in angular are created to achieve a functionality that is not supported by the angular framework. It is a custom addition to the inbuilt pipes in the angular framework. The need for custom pipes in angular is to nicely extend our applications with a functionality that is not supported by the inbuilt angular pipes.
How to create a custom pipe in Angular?
Creating a custom pipe in angular is easy as simply have to create a class that implements the PipeTransform interface. Take a look at the below sample class that will guide us on how to create a custom pipe:
<pre>
import { Pipe, PipeTransform } from '@angular/core';

@Pipe({name: 'Pipename'})
export class Pipeclass implements PipeTransform {
   transform(parameters): returntype { }
}
</pre>
Where,
- <code>Pipename</code> represents the name of the pipe
- <code>Pipeclass</code> represents the name of the class assigned to the custom pipe
- <code>transform()</code> method represents the function to work with the pipe
- <code>parameters</code> arguments represent the params which are to be passed to the method
- <code>returntype</code> represents the return type of the pipe
In other words, creating a custom pipe is divided into 3 parts i.e.
- Create a class that implements the PipeTransform interface present in the @angular/core package
- Add a Pipe decorator to the same class
- Add the required functionality to the transform(params) method
How to use Angular pipe?
Using inbuilt or custom pipes in angular is simple. We simply need to follow the basic convention. Take a look at the code snippet below.
<pre>{{ variableName | pipeName }}</pre>
Prerequisite
To work on the angular application we will first need to install the node software. You can download the software from this <a href="https://nodejs.org/en/download/" target="_blank">link</a> and run the installer. Follow the setup wizard steps and restart your machine post the successful implementation. Use the following command to verify the nodejs installation.

This command will show the installed node version upon successful installation.
Hands-on
Now let’s build a small implementation to explore how to create custom tags. In this exercise, we will do the following steps:
- Create an Angular project
- Create a file that implements the PipeTransform interface
- Configure the Custom pipe implementation in the application module
- Add the custom pipe implementation in the template
- Run the application
Create an Angular project
Open the IDE of your choice and open the terminal window. I am using Visual Studio Code as it is easy to set up and offers a lot of customization features.
Once the terminal window is open enter the following code <code>ng new wf-http-request</code> in the window to get the application setup running in minutes. If you’re doing it for the first time the setup might take 5-7 minutes depending on your network bandwidth.

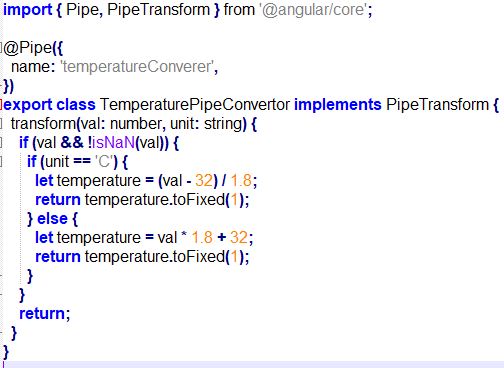
Create a file that implements the PipeTransform interface
Create a file named – <code>temperature-custom-pipe.ts</code> in the <code>app</code> folder. The file will be responsible for providing an implementation to the custom pipe responsible for the conversion of an input number to Celsius or Fahrenheit.
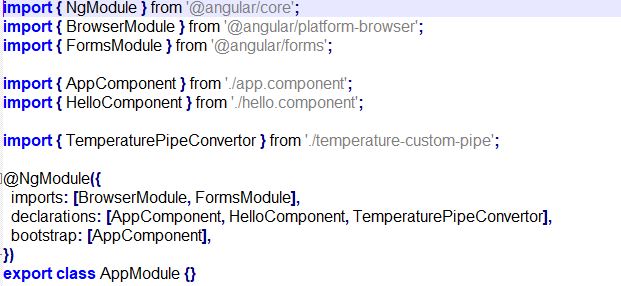
Configure the Custom pipe implementation in the application module
Update the app module file to add the custom pipe configuration. Remember that the app module works as an entry point for any angular application.
Add the custom pipe implementation in the template
To play around with the custom pipe make changes to the templates so that the application offers a playground for you. Take a look at the below code and update accordingly. Make a note to declare the <code>fahrenheit</code> and <code>celsius</code> variables in the <code>app.component.ts</code> file.

Run the application
Running the application is very easy. Navigate to the terminal and from the project root directory trigger the following command – <code>ng server -o</code>. The command will be responsible to build the angular project and open the application in the browser on port number 4200.

Once the application is displayed in the browser of your choice you can play around with the input textbox. The custom pipe created in this blog will be responsible for converting the given temperature into Fahrenheit or Celsius.
To practice this implementation on your system, use the following URL to get the sample angular project, and to download the project on your local PC, use the git clone command.
https://github.com/workfall/angular-custom-pipes
Conclusion
In this blog, we demonstrated angular pipes and how the ability to design custom pipelines for projects is a valuable feature in your developer toolbox. We saw how the Angular framework enhances web development efficiency and application speed by maintaining a consistent structure. At last, we built the full implementation of creating custom pipes in an angular application. Stay tuned to keep getting all updates about our upcoming new blogs on different technologies.
Meanwhile…
Keep Exploring -> Keep Learning -> Keep Mastering
This blog is part of our effort towards building a knowledgeable and kick-ass tech community. At Workfall, we strive to provide the best tech and pay opportunities to AWS-certified talents. If you’re looking to work with global clients, build kick-ass products while making big bucks doing so, give it a shot at workfall.com/partner today.