In the AWS Cloud journey, we come across Elastic Beanstalk to be better than other services in managing the infrastructure environments effectively. On the other hand, NestJS is popular in creating efficient and scalable server-side applications, and is relatively a new option for the backend framework – it is lightweight, simple, and open-source.
In this blog, we shall create a NestJS application, containerize it and make microservices communicate with each other. In Part 2 of this blog, we shall deploy the microservices on AWS Elastic Beanstalk.
In this blog, we will cover:
- Why Microservices?
- Why NestJS Architecture?
- NestJS Providers
- What is Dependency Injection?
- What is Containerization?
- API gateway with Proven Performance
- Hands-on
- Conclusion
Defining an exemplary architecture for your application is one of the most important things to consider before starting the development journey. Your application’s architecture can affect many factors such as reliability, fault tolerance, scalability, and portability.
- Reliability: refers to the degree to which your application can work without crashing or producing runtime errors hence not hindering the efficiency of the intended use.
- Fault tolerance: refers to the ability of your application to degrade gracefully in case of a runtime error while providing satisfactory feedback to the end user.
- Scalability: is a broad concept and often at times, it refers to the ability of the application to accommodate more features, users, or traffic without compromising the optimal working of the application as a whole.
- Portability: refers to how well the application can be used on different platforms without requiring a lot of extra configurations that are platform-specific which may depend on factors such as Operating System and hardware specifications like GPU and CPU architecture.
Why Microservices?
The microservice architecture defines an application as loosely coupled and independently deployable services that work together to perform a common intended task. The most important thing to note is that these services need to communicate; therefore, a good integration technique needs to be used.
It is also important to note that it may be complicated to maintain your code base if you do not define a good architecture at the application level. You may end up with a repository for each service, which may be chaotic in the long run.
In this setup, we will look at how to maintain one codebase for all your microservices. This is much cleaner and it will reduce redundancy in that code reuse will be much easier instead of copying code from one repository to another.
Why NestJS Architecture?
There are many libraries, helpers, and tools for Node (& server-side JavaScript), however, none of them really solve the issue of architecture.
NestJS is essentially a layer on top of Node that features methods and implementations that are supercharged to make it simple and swift to create server-side apps. Nest makes it easy to meet all of your demands. It is quite programmable and runs on Express by default but can be configured to use Fastify as well.
- Nest offers an abstraction layer on top of Node, allowing it to use its capabilities as well as expose APIs with increased power for improved productivity.
- Developers embrace features. Nest offers access to numerous 3rd party applications that helps expedite the development process.
- A lot of Nest architecture is inspired by the angular framework. This allows easy testing and efficient maintenance of the codebase.
Components of NestJS
NestJS has 3 main components – controllers, providers, and modules.
- Controllers: Every time an HTTP request is received, it is redirected toward the appropriate controller using a routing mechanism. The controller then accepts and manages the request to revert an appropriate response.
- Providers: Providers are a key concept in Nest. Many of the basic Nest classes – services, repositories, factories, helpers, and so on – can be treated as providers. The primary concept of a provider is that it may be injected as a dependency. As a result, objects can develop different associations with one another, and the Nest runtime system can be heavily used to “wire together” instances of objects.
- Modules: A module is designed to include a group of closely linked functions. Each application has a root module, which Nest uses as the first point to determine the relationships and structure in the application. It is strongly advised to use numerous modules to organize the components of your application.
What is Dependency Injection?
Dependency injection (DI) is the procedure of providing a resource that a specific section of code demands in the context of object-oriented programming (OOP) software design. Dependency refers to this required resource, which is frequently an element of the application itself.
What is Containerization?
Containerization is the process of packaging software code with all of its required components, such as libraries, frameworks, and other dependencies, so that they can be isolated in their own “container.”
Containers are an alternative to coding on a single platform or operating system, which makes moving their application difficult because the code might not be compatible with the new environment. This could result in bugs, errors, and glitches that needed to be fixed (meaning more time, less productivity, and a lot of frustration).
To know more about Containerization, refer to our blog: https://www.workfall.com/learning/blog/how-to-install-and-run-docker-container-on-amazon-ec2-instance-part-1/
API Gateway with Proven Performance
API gateways encrypt and mediate traffic between your backend services and API consumers.
The NGINX Plus API gateway authenticates API calls, routes requests to appropriate backends applies rate limits to prevent service overload and DDoS attacks, offloads SSL/TLS traffic to improve performance, and handles errors and exceptions.
Simply put, the NGINX Plus API gateway accepts all API requests from clients, determines which services are required, and delivers the result in a high-performance manner. NGINX provides lightning-fast APIs in under 30 milliseconds and can handle thousands of requests per second.
The NGINX Plus API gateway can be configured to protect APIs with rate-limiting policies, enforce specific request methods, and provide fine-grained access control.
Hands-On
Source code of this hands-on for your reference: https://github.com/workfall/nest-microservices
In this example, we will create two microservices. They can be as many as you wish depending on the extent you want your services to be granular. We shall have acl-service which will handle access control and test-service which will depend on the acl-service for access control to ensure that the users are authenticated.
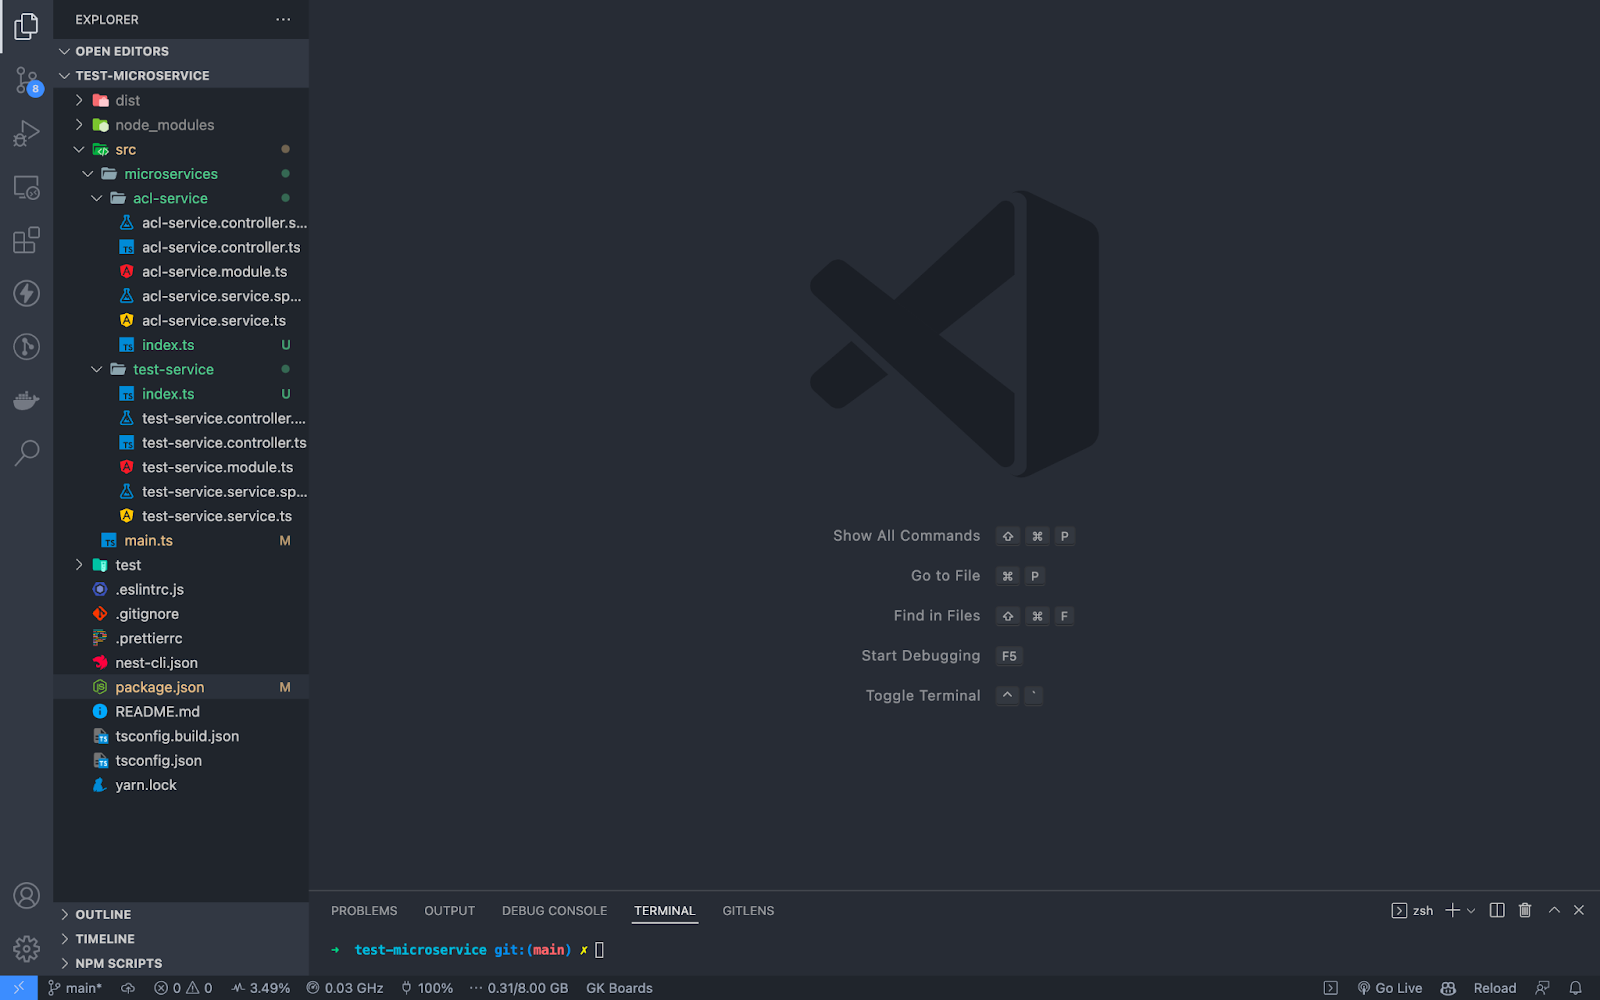
Folder structure:
Create a new application using Nest CLI. Inside the src directory, create a directory called microservices and in it generate your Nest modules using the Nest CLI. Also, do the same for the controllers and services in each module.
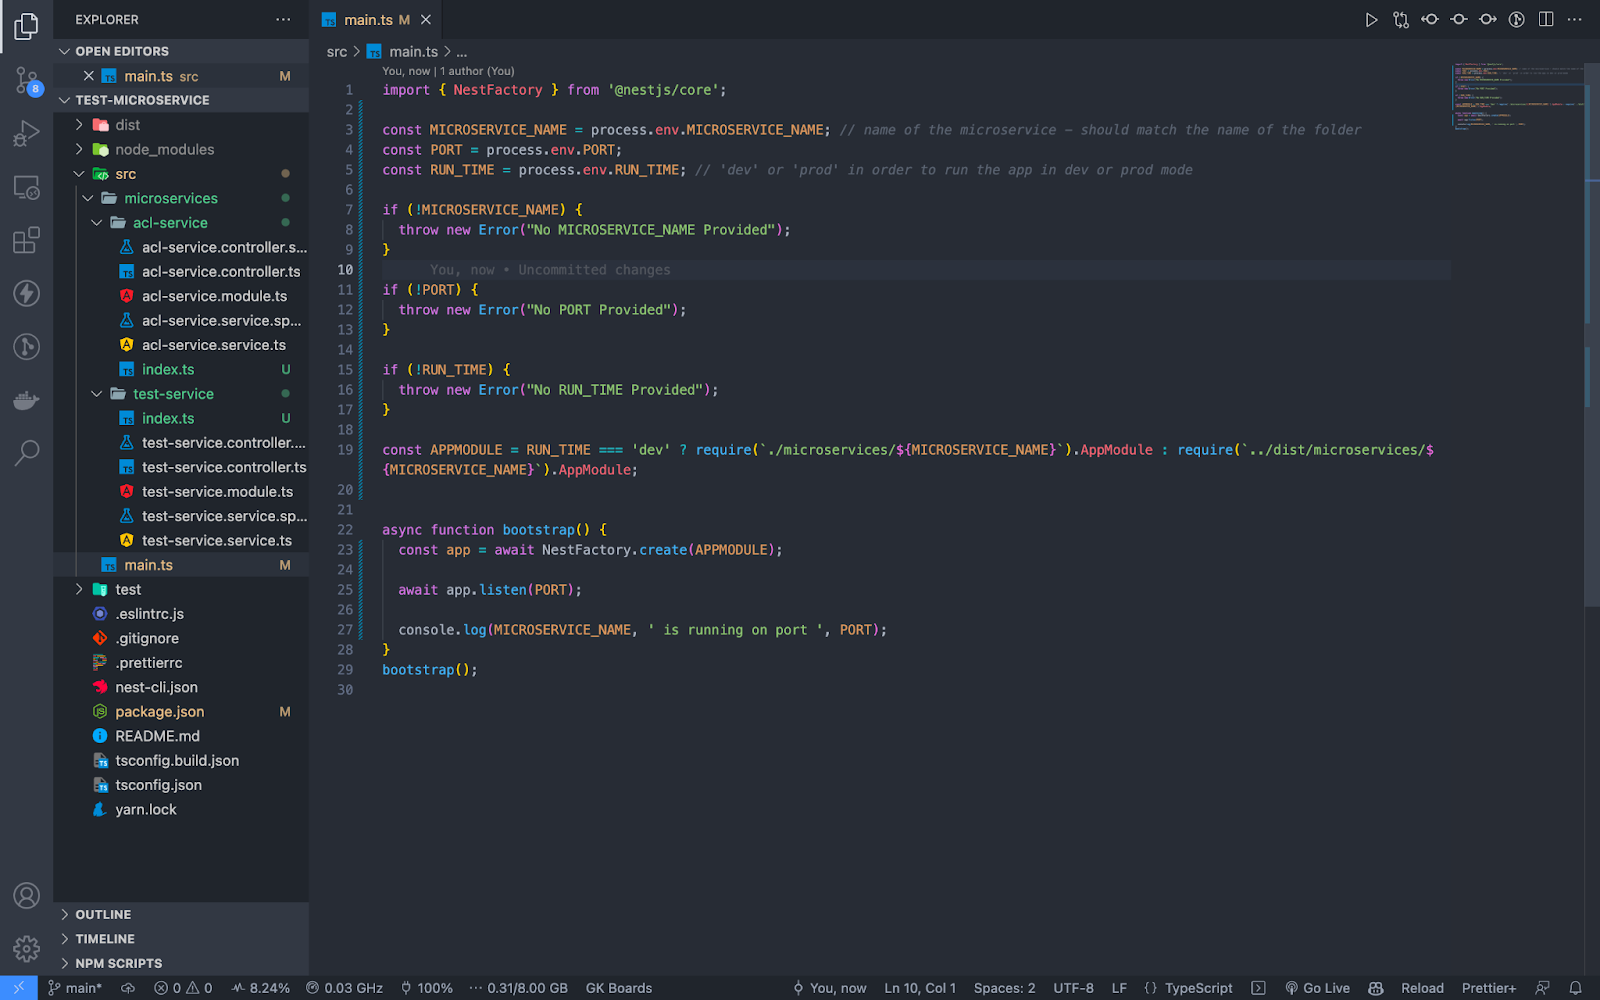
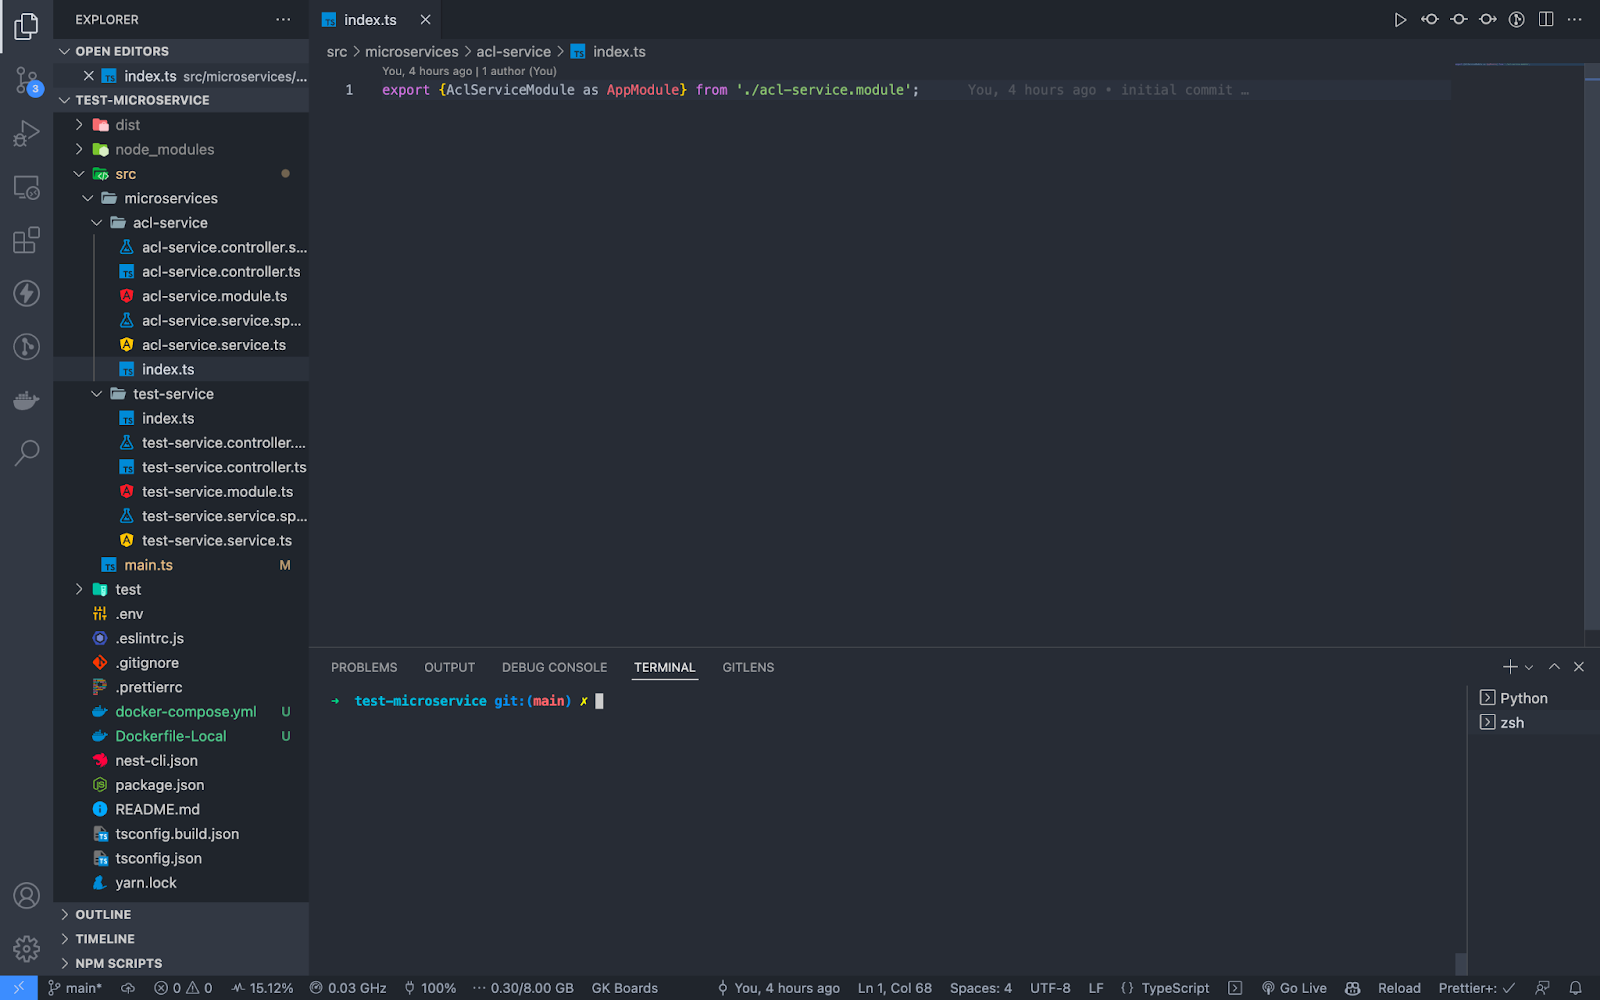
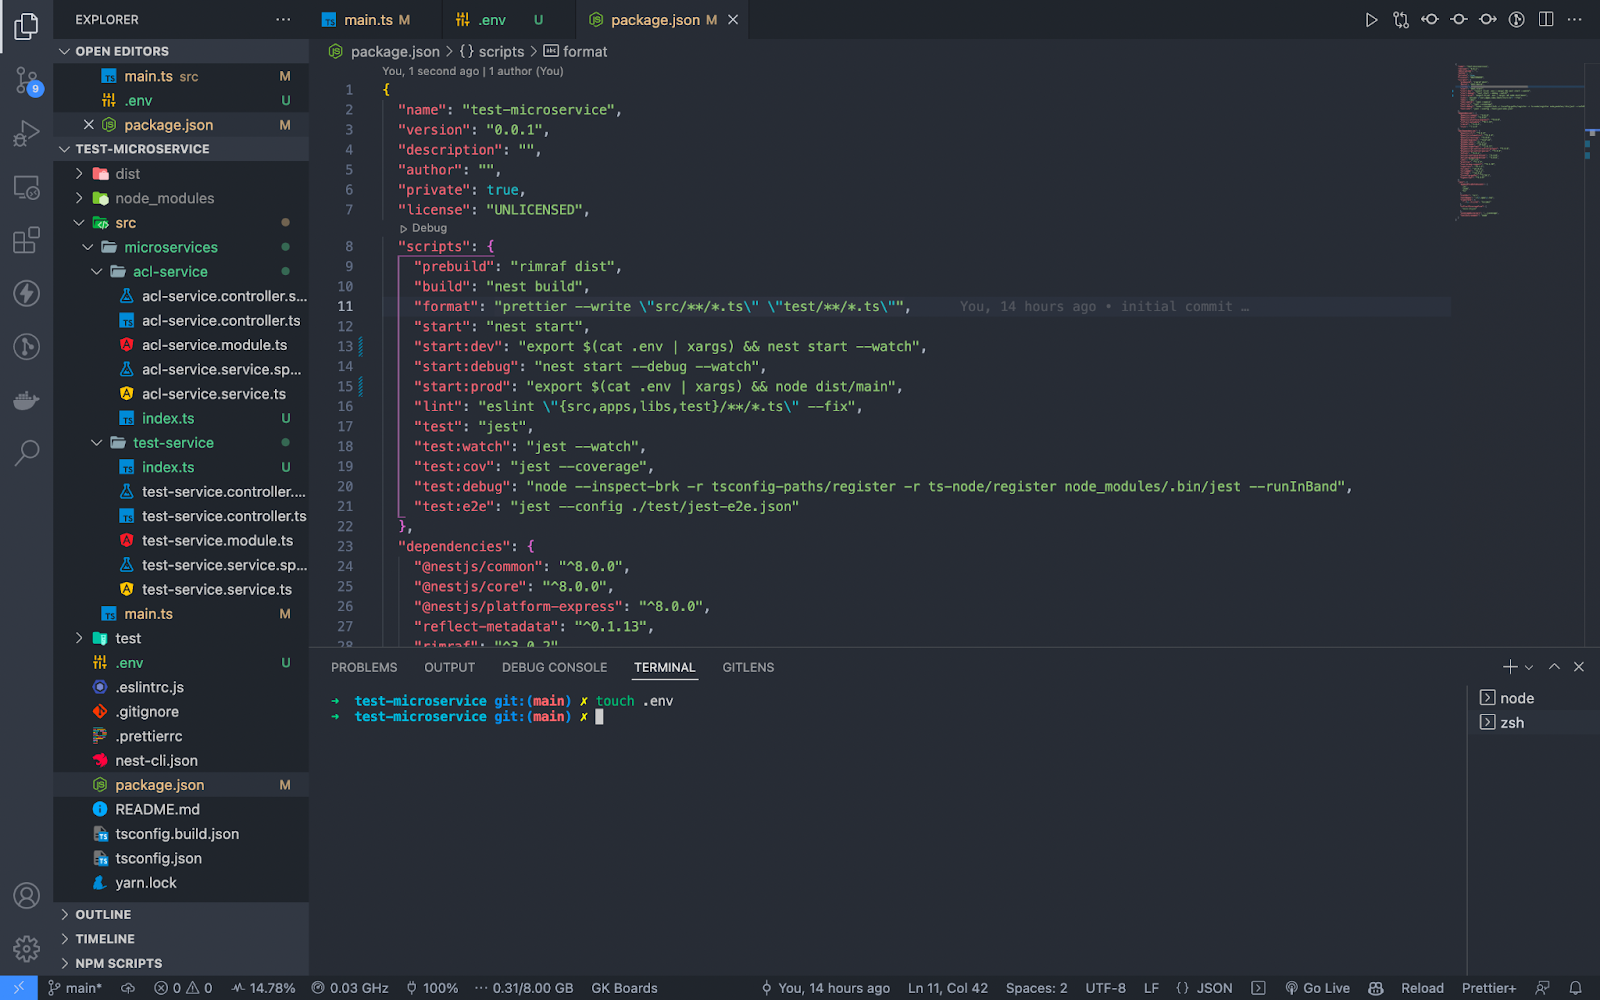
You will notice that we have done away with the root module (app.module.ts) and its subsequent files. Do the same so that you have only the main.ts file at the root level of the src directory. After this change, we shall have to modify how the application is bootstrapped in main.ts since we do not have the root module anymore. You will also note that we have a index.ts file in each module so that we have uniformity in module resolution in main.ts. Let us demystify this by looking at the main.ts file.
We can try running the app on dev runtime using yarn start:dev command:

The error in the terminal clearly indicates that the required environment variables have not been provided for the Node.js runtime. You are required to export these variables in the same shell you will run the start script.
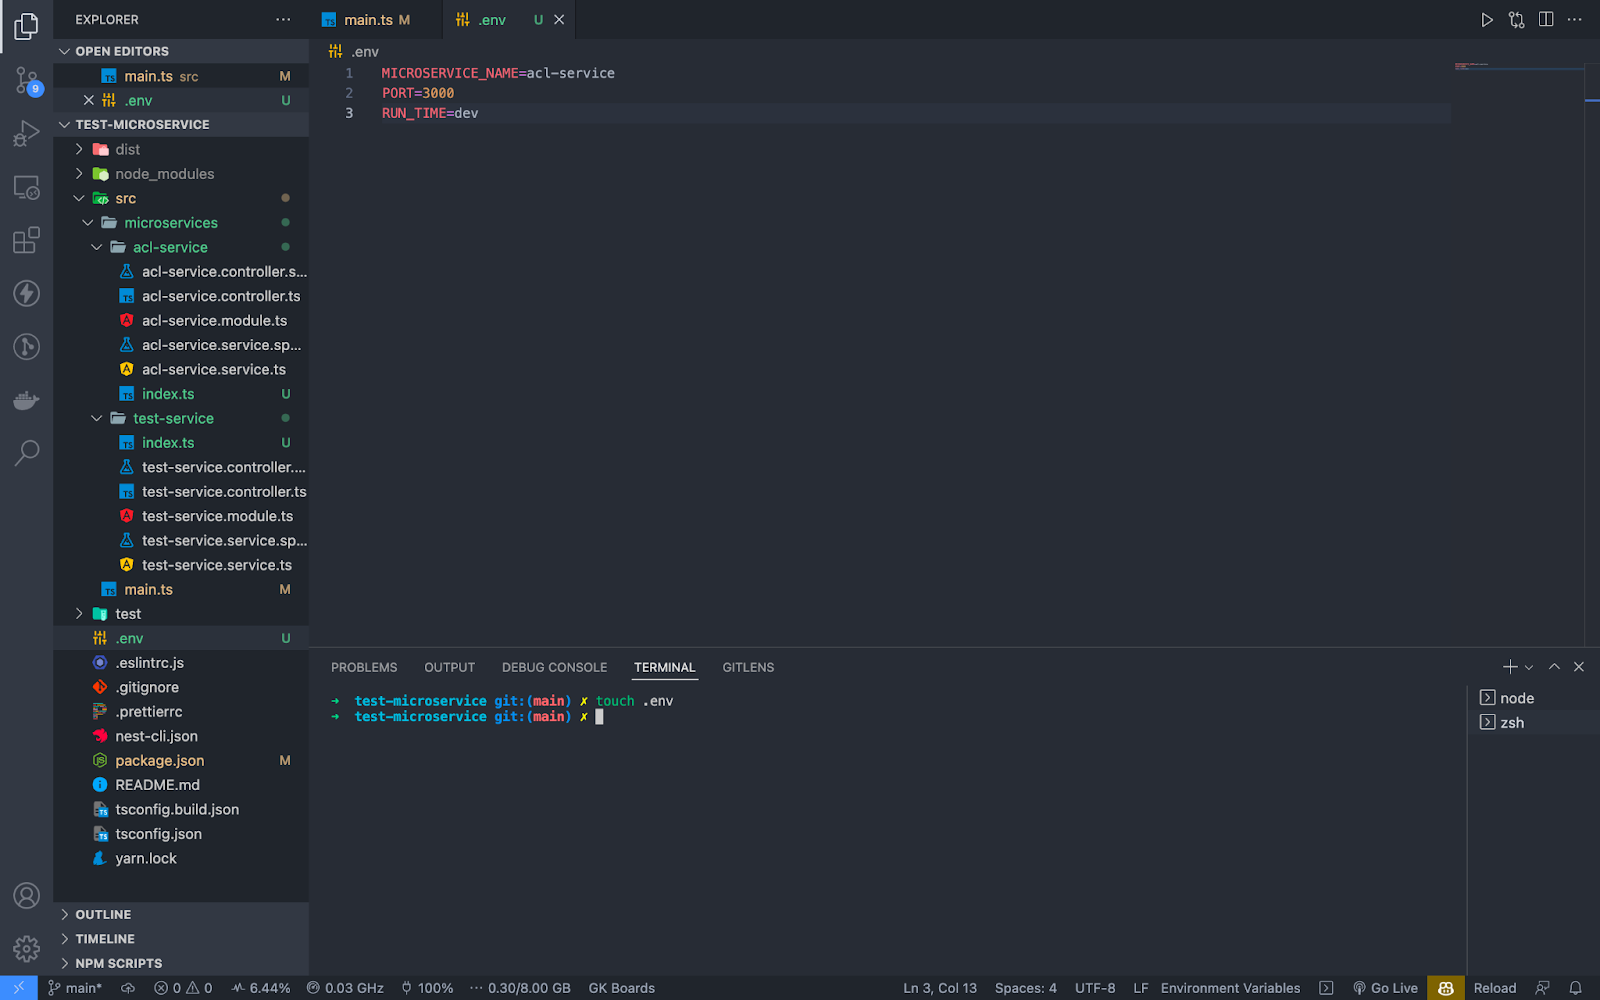
The easiest and hassle free way to do this is to have a .env file that has the environment variables required by the application or microservices in this case. We will then have the variables exported to the shell before running the start scripts, we will have to modify the start scripts.
N/B: All this will change when we are deploying to AWS but we will try and make our application as portable as possible. We will also containerize the application using docker-compose on local development for easy integration and management of ports and environment variables.
We shall go ahead and test if the services can run independently by going into the .env file and changing the values.
Modify start:dev and start:prod as shown in the previous image by exporting the environment variables to the Node.js runtime.
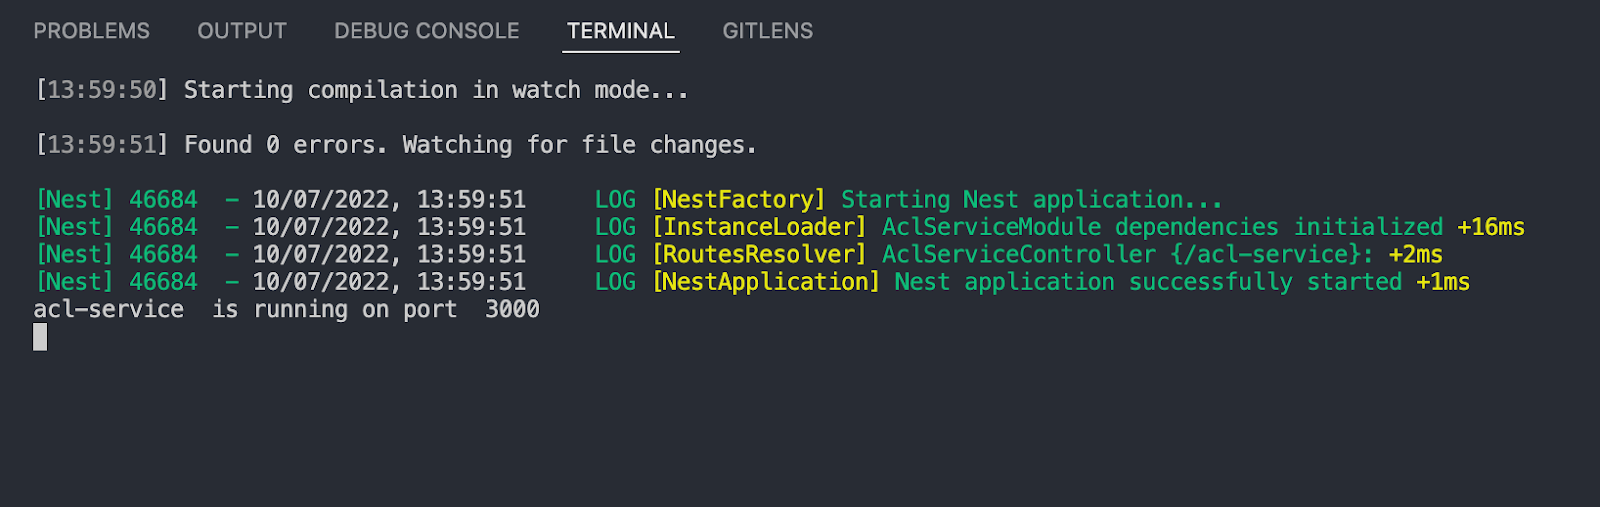
Run yarn start:dev command in the terminal
We shall have to first alter the .env file by replacing the MICROSERVICE_NAME with test-service. Use Ctrl + C in the terminal, then run yarn start:dev command again.

So that shows both the services are working. To test the prod runtime, run yarn build command followed by yarn start:prod. You can commit your changes at this point.
Containerizing the application using docker-compose
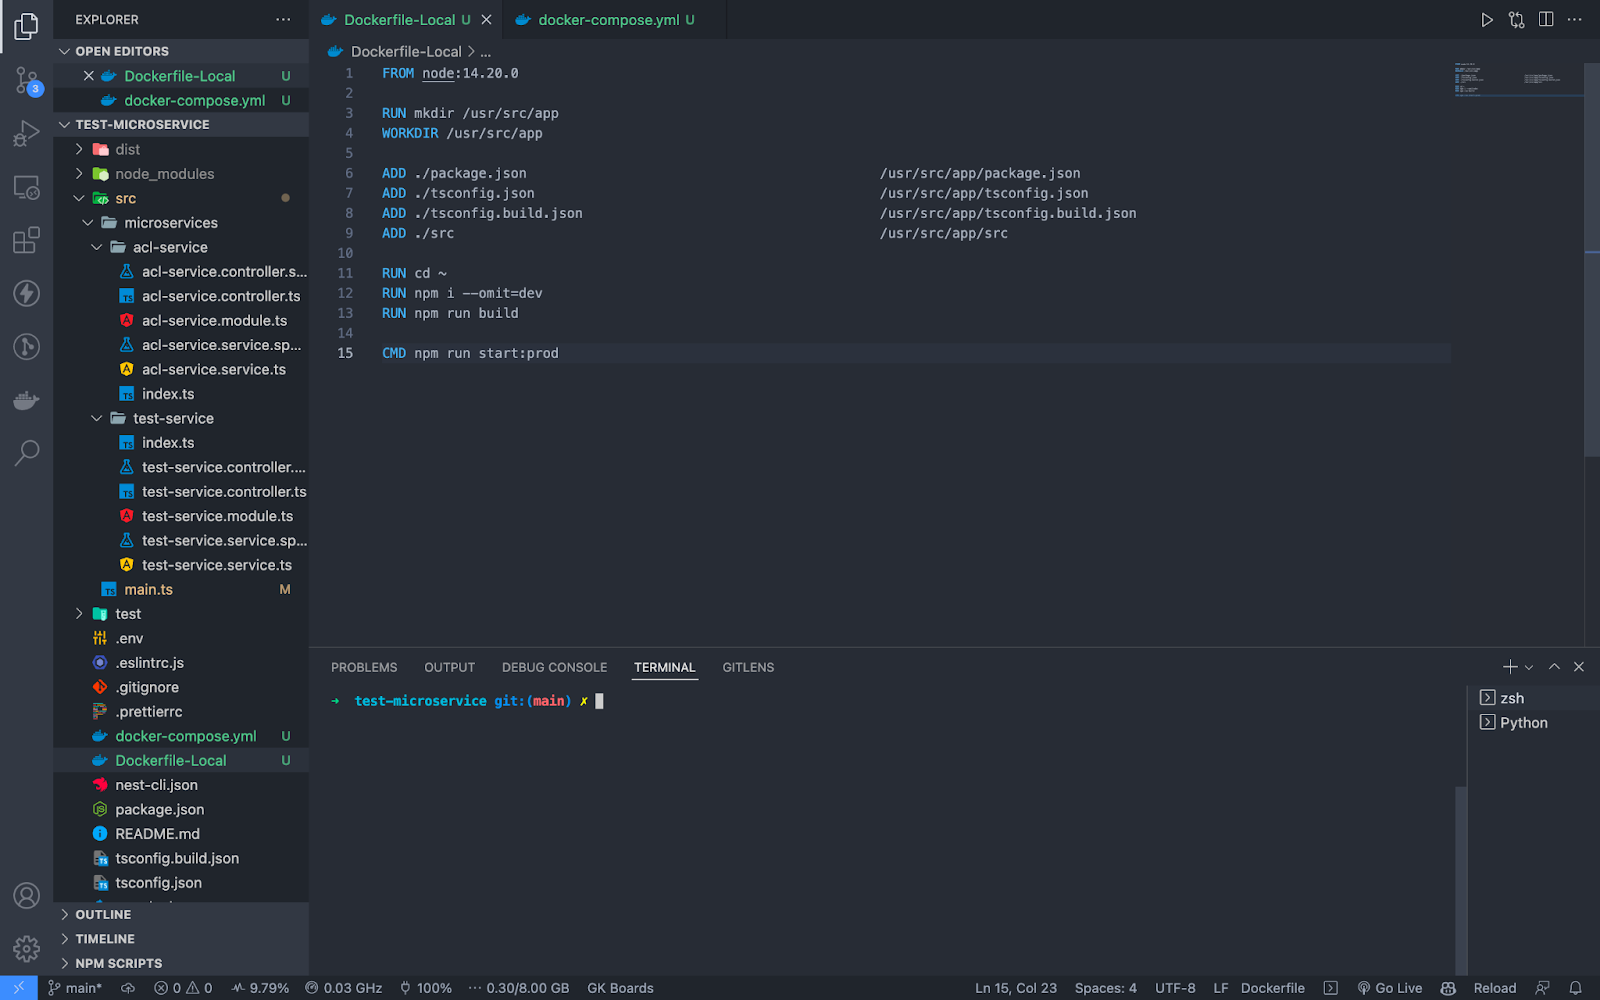
The main requirement to containerize an application is a Dockerfile. A Dockerfile contains all the resources/artifacts and commands required to create a docker image. A docker container is a runtime instance of a docker image. We shall also use Docker compose because our application will run multiple containers.
Run the command docker-compose up in your terminal:

Integration
For the microservices to function as needed, we need to have the microservices communicating with each other and this is where integration comes in.
There are several integration techniques ranging from RESTful endpoints, gRPC, and Message brokers such as Kafka. In this case, we will go with a simple RESTful endpoint approach.
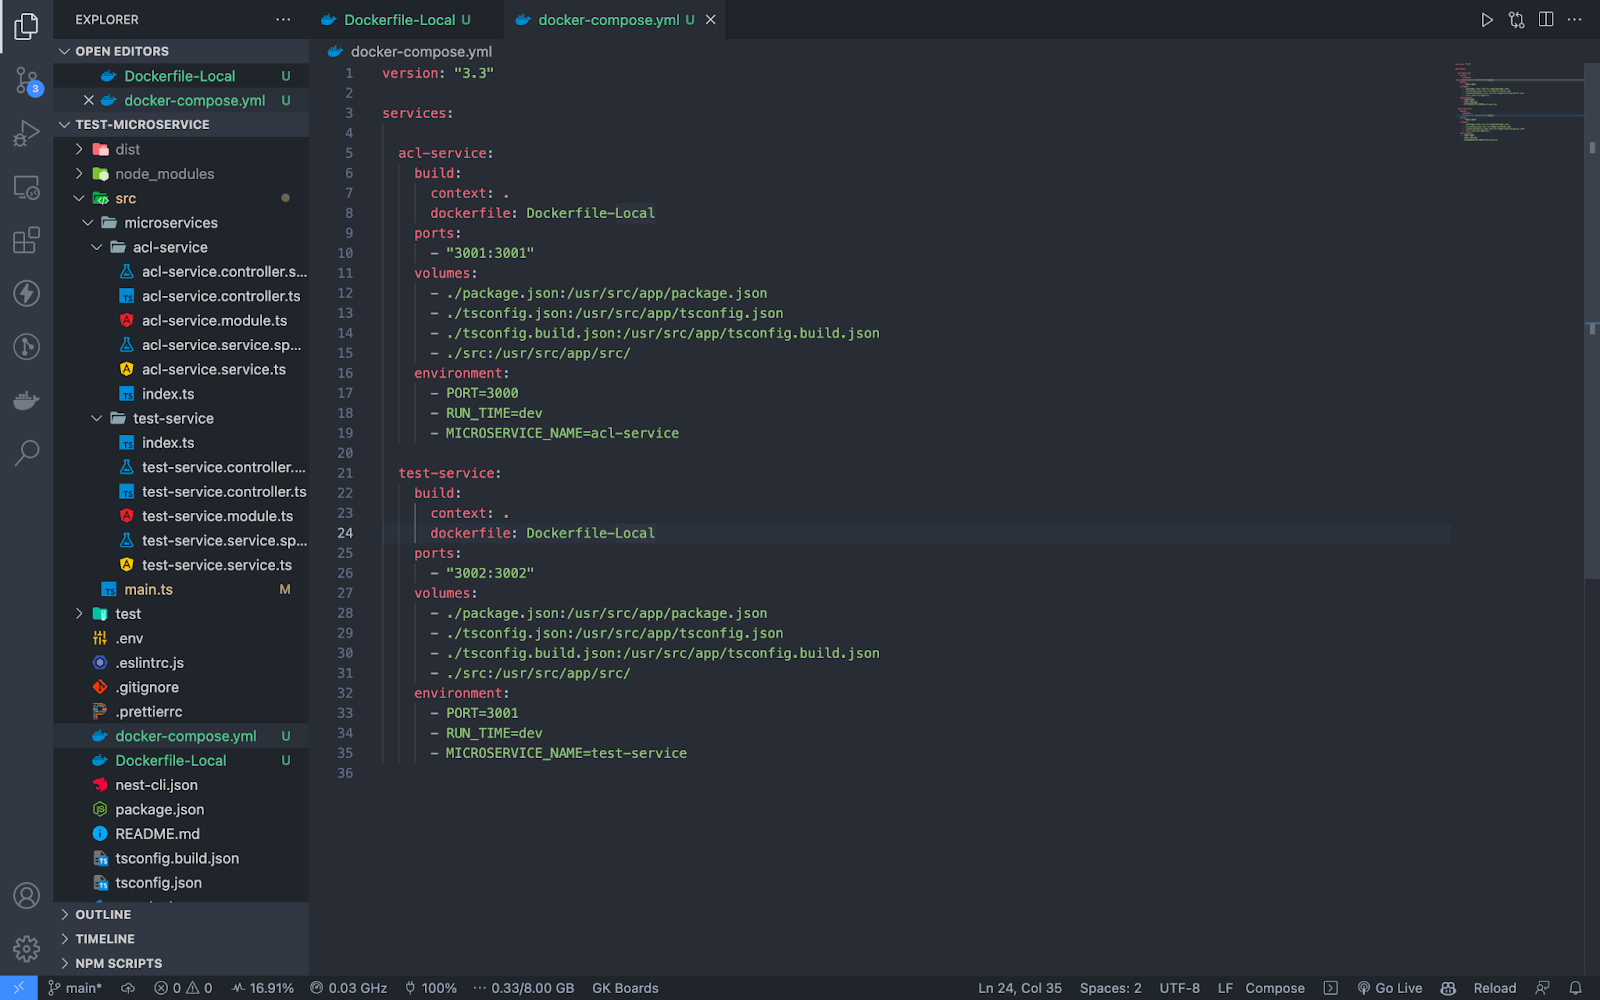
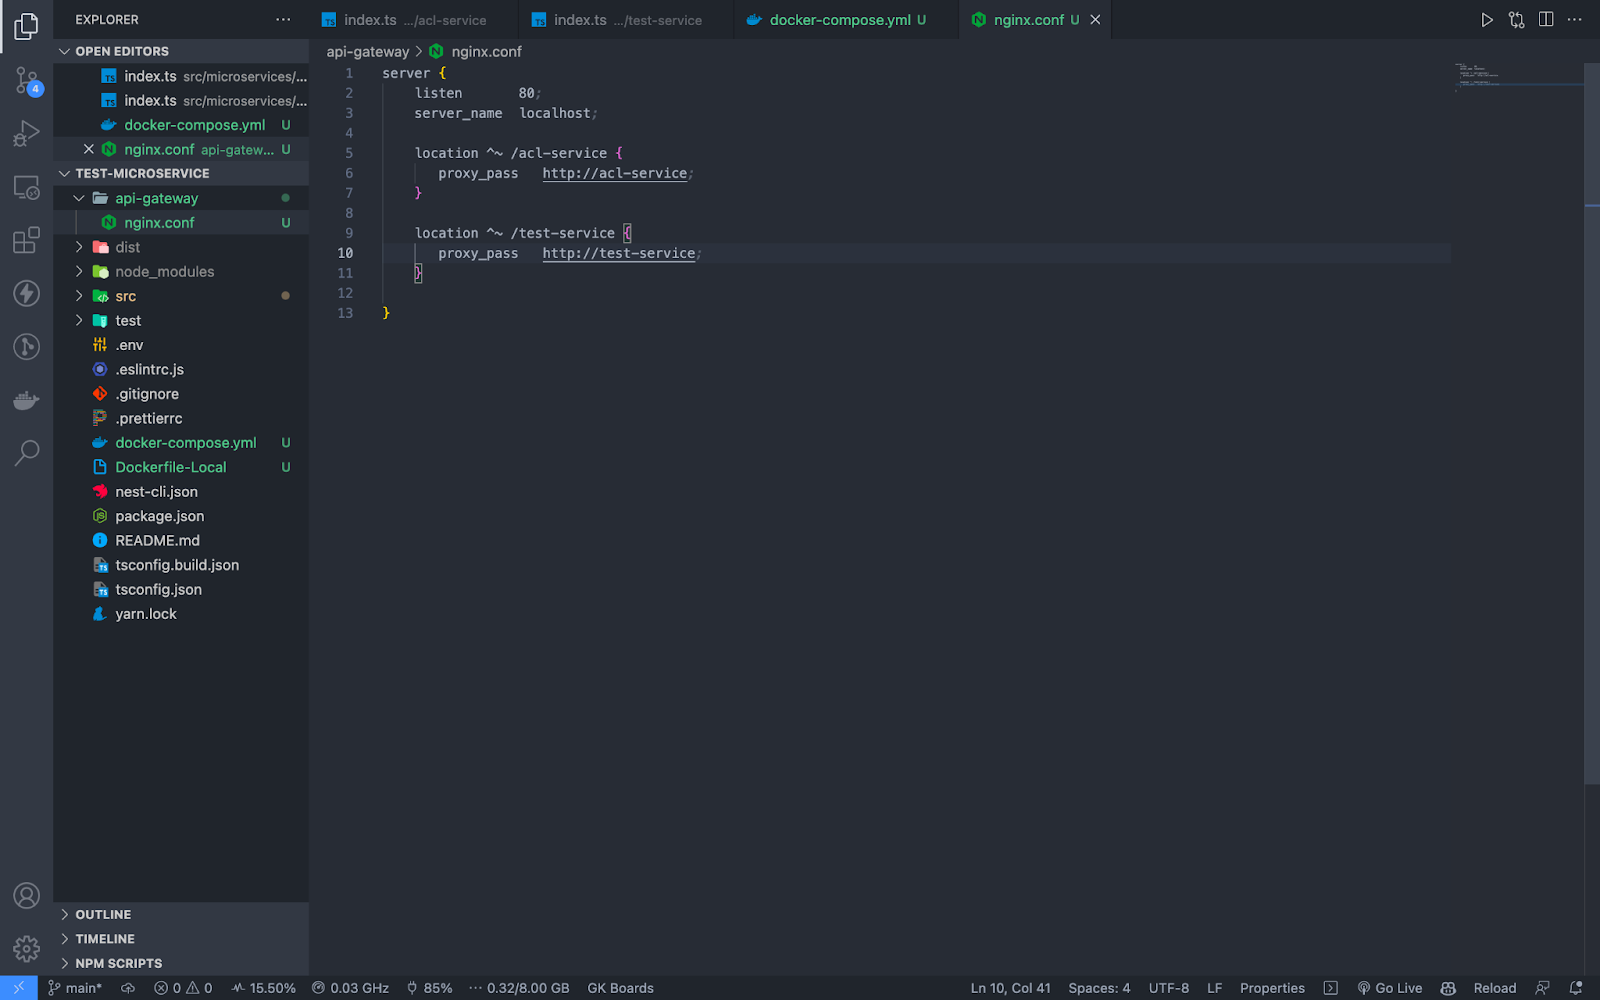
For this, we will use an API gateway and our choice will be NGINX. It will sit behind our services and allocate the ports for our services. So this is the updated docker-compose.yml file.

We also have to add a default nginx.conf for the NGINX service to use. Which will also appear as follows:


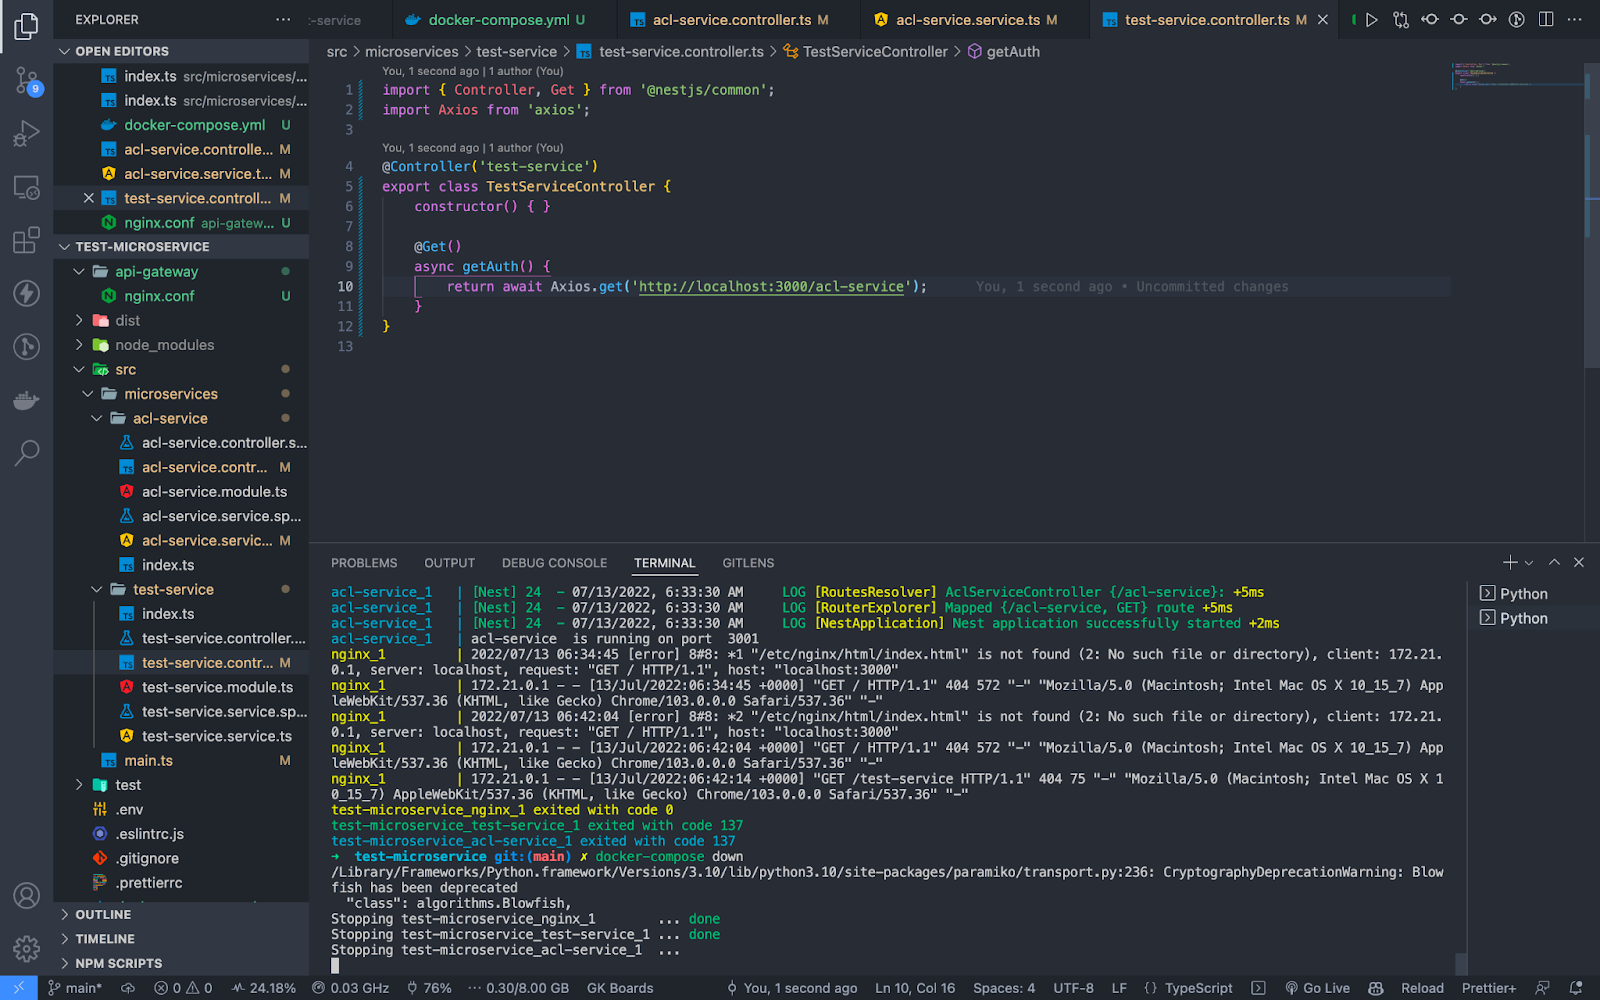
You will note that the services are communicating, happy hacking.
Conclusion
In this blog, we first began with the creation of a Nest CLI application. Thereafter, we created main.ts the source directory, followed by placing an index.ts file in each module, so that we have uniformity in module resolution.
We then created a .env file and tested if the services can run independently or not by changing values in it.
We then exported the variables onto the Node.js runtime. We then successfully started the Nest application and checked if the services are working. Post this, we containerized the application using Dockerfile and docker-compose.
Lastly, we used the RESTful endpoints integration technique via NGINX for the microservices to communicate with each other.
In Part 2 of this blog, we shall deploy the microservices on AWS Elastic Beanstalk. We will come up with more such use cases in our upcoming blogs.
Meanwhile …
If you are an aspiring Node.js developer and want to explore more about the above topics, here are a few of our blogs for your reference:
- https://www.workfall.com/learning/blog/how-to-send-customized-emails-by-integrating-sendgrid-with-a-node-js-application/
- https://www.workfall.com/learning/blog/how-to-send-webhooks-using-python-and-receive-via-node-js-applications/
- https://www.workfall.com/learning/blog/how-to-connect-to-mysql-database-and-run-crud-operations-in-node-js/
Stay tuned to get all the updates about our upcoming blogs on the cloud and the latest technologies.
Keep Exploring -> Keep Learning -> Keep Mastering
At Workfall, we strive to provide the best tech and pay opportunities to kickass coders around the world. If you’re looking to work with global clients, build cutting-edge products and make big bucks doing so, give it a shot at workfall.com/partner today!