Using Amazon Transcribe, AWS customers can easily add speech-to-text capabilities to their applications via an automatic speech recognition service. In short, Amazon Transcribe helps in redacting all the Personally Identifiable Information (PII) instead of doing it manually which is a very tedious effort. A transcription job helps to analyze the audio files that contain voice into text with the use of advanced machine learning techniques to perform the conversion. The automatic redaction feature (that is enabled while creating a new transcription job) redacts all the personally identifiable information from the output results and replaces any such information with a [PII] tag in the output result. The Amazon Transcribe service can be integrated with multiple other services. We can also make use of Amazon Lambda to create a transcription job and trigger the job for a file in an S3 bucket. In this blog, we will learn how to add privacy to the transcriptions via the content removal redaction feature of Amazon Transcribe to hide the confidential information in the fetched text from an audio file.
Refer to part 1 of the blog here.
Amazon Transcribe – Recap
Amazon Transcribe makes converting speech to text simple for customers. It can be used for a variety of business applications, including transcription of voice-based customer service calls, generation of subtitles on audio/video content, and conducting (text-based) content analysis on audio/video content, using Automatic Speech Recognition (ASR) technology.
Any device having an on-device microphone, such as phones, PCs, tablets, and IoT devices, can use Amazon Transcribe. The Amazon Transcribe API will be able to detect the quality of the audio stream being input to the device and will choose the appropriate acoustic models for speech-to-text conversion accordingly. Additionally, developers can use the Transcribe API to access speech-to-text conversion capabilities in their applications.
Hands-on

In this blog, we will see how we can add privacy to transcriptions with Amazon Transcribe. The service will in-turn take an audio file as an input and provide us with the text in the audio with all the confidential information hidden. Navigating to the provided link, we will first download the sample audio file. We will then navigate to the Amazon S3 dashboard and create a new S3 bucket. After the creation of a new bucket, we will upload the downloaded sample audio file to the bucket with bucket versioning enabled. Navigating to the uploaded object dashboard, we will copy its S3 URI. Navigating to the Amazon Transcribe dashboard, we will create a new transcription job with content removal enabled for the job and with the input data as the S3 URI of the newly added object in the bucket. We will then traverse to the created job dashboard to test out the working and to see if the service has hidden all the confidential information from the text fetched from the audio file. Downloading the unredacted and the redacted JSON files, we will note down the difference. We will then navigate to the Amazon Lambda dashboard and create a new Lambda function with the runtime as Python 3.9. Copying the provided Amazon Transcribe API code and pasting it into the functions code editor pane, we will create a new test event. The pasted code will in-turn create a new transcription job, fetch the audio file from the provided S3 URI, pass it to the transcribe job and then store the results in the form of JSON outputs in the provided S3 buckets. We will then navigate to the Lambda function configuration IAM role portal to attach the Amazon S3 and Amazon Transcribe services required policies. Refreshing the lambda function page, we will test out the code. We will then navigate to the Transcription jobs dashboard and check if the lambda function successfully created a new job. Then we will navigate to the Amazon S3 bucket to check if the function stored the required output files in the bucket. Finally, we will download both the output files and review it with the previous jobs output files.
To implement this, we will do the following:
- Login to your AWS console and navigate to the dashboard.
- Navigate to the provided link and download the audio file.
- Navigate to the S3 dashboard.
- Create a new bucket and add the downloaded audio file in it with bucket versioning enabled.
- Copy the S3 URI for the uploaded object.
- Navigate to the Amazon Transcribe dashboard.
- Create a new job with the copied S3 URI and with the content removal enabled.
- Navigate to the newly created transcription job dashboard.
- Test out the functionality of Amazon Transcribe to see if the service has detected the text and has hidden all the confidential information in the audio.
- Download the unredacted and redacted JSON files to check out the difference.
- Navigate to the Amazon Lambda dashboard.
- Create a new Lambda function with runtime as Python 3.9.
- Copy paste the provided code into the editor pane.
- Deploy the code and create a new Test Event.
- Navigate to the function configuration and the IAM role dashboard created for the function.
- Attach the Amazon S3 and Amazon Transcribe required policies.
- Refresh the lambda function dashboard and test the code with the new test event.
- Navigate to the Transcription jobs dashboard and check if the Lambda function created a new job.
- Navigate to the S3 dashboard and download both the output files and compare it with the various jobs output files.
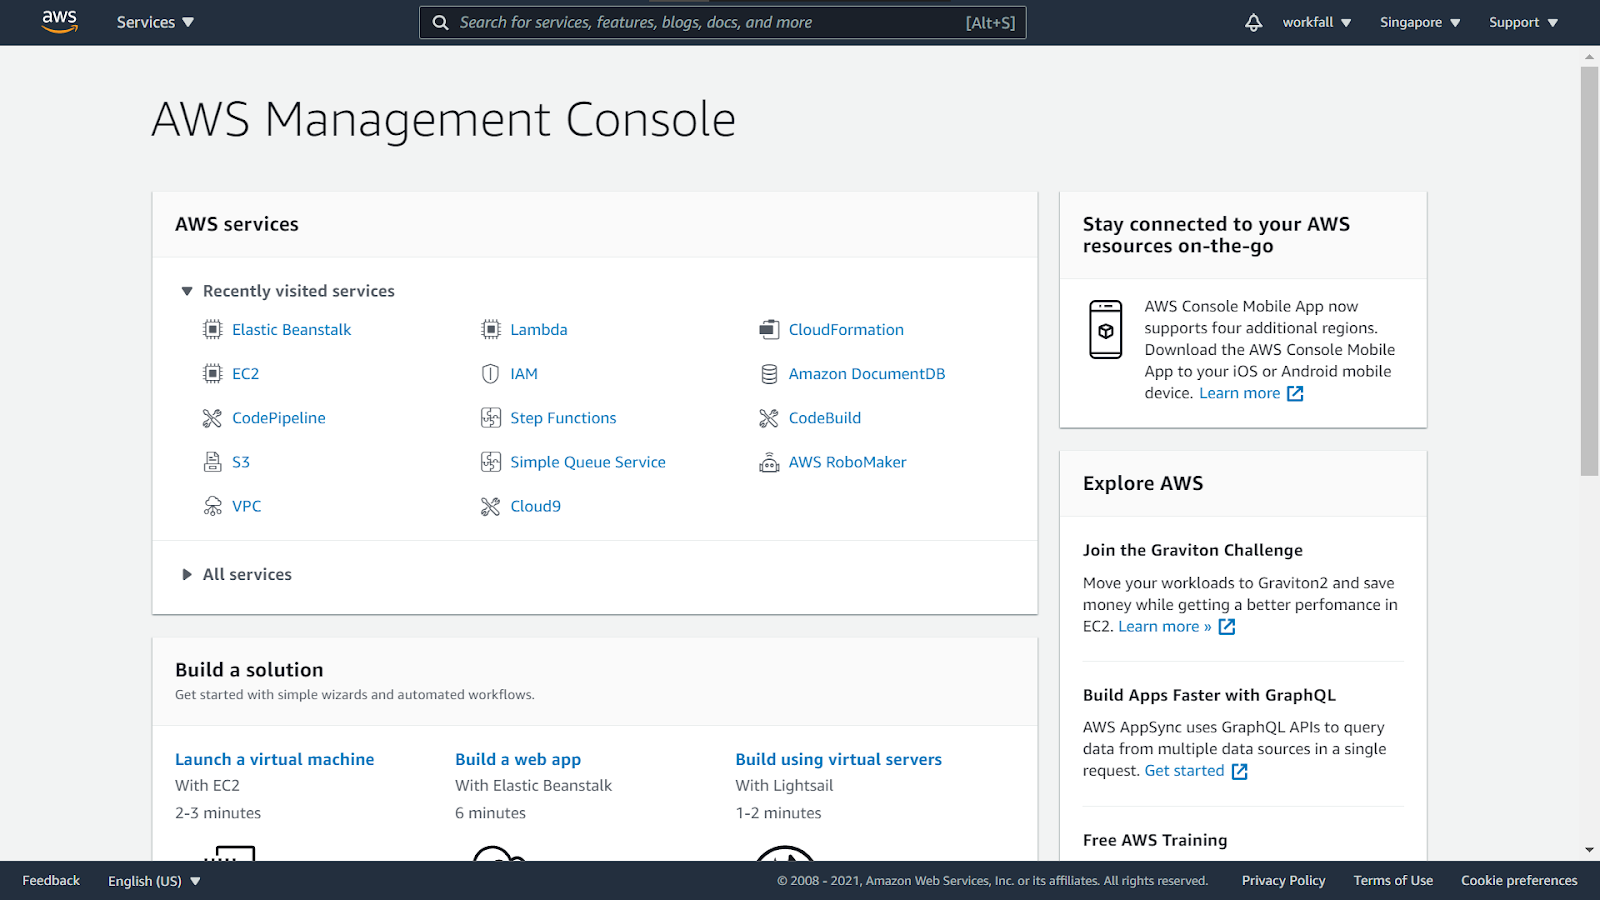
Login to your AWS account and navigate to the AWS console.
Navigate to the below link and download the .wav audio file that we will make use of in this blog.

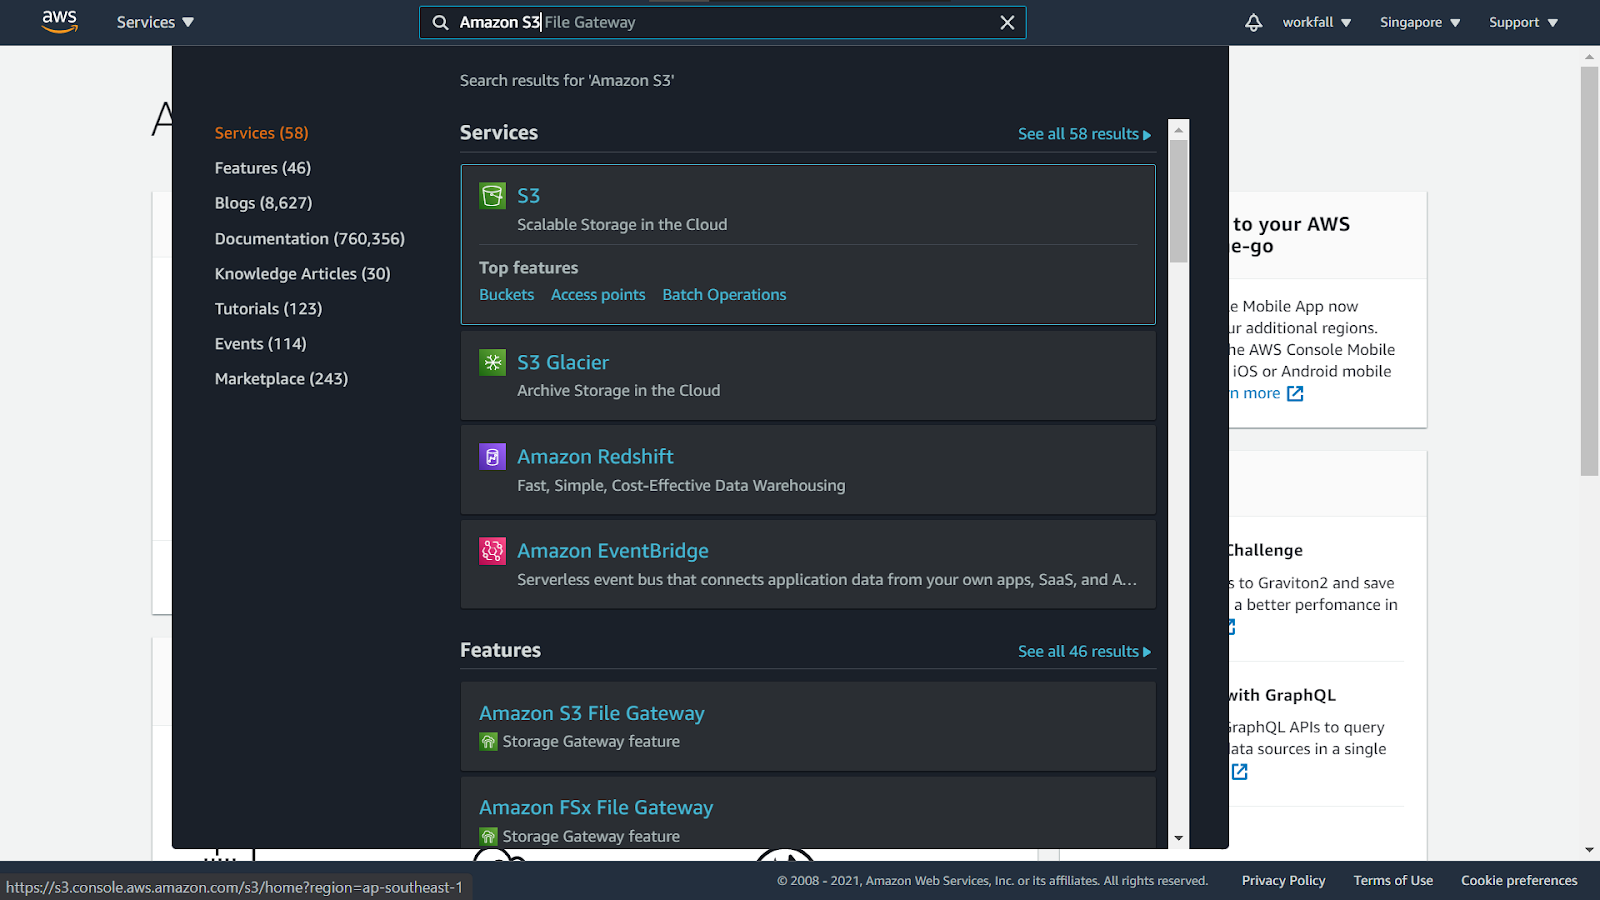
On the AWS console, search for the Amazon S3 service and click on it.
Click on Create bucket to create a new bucket.

Enter a name for the bucket and leave the other configurations as default.
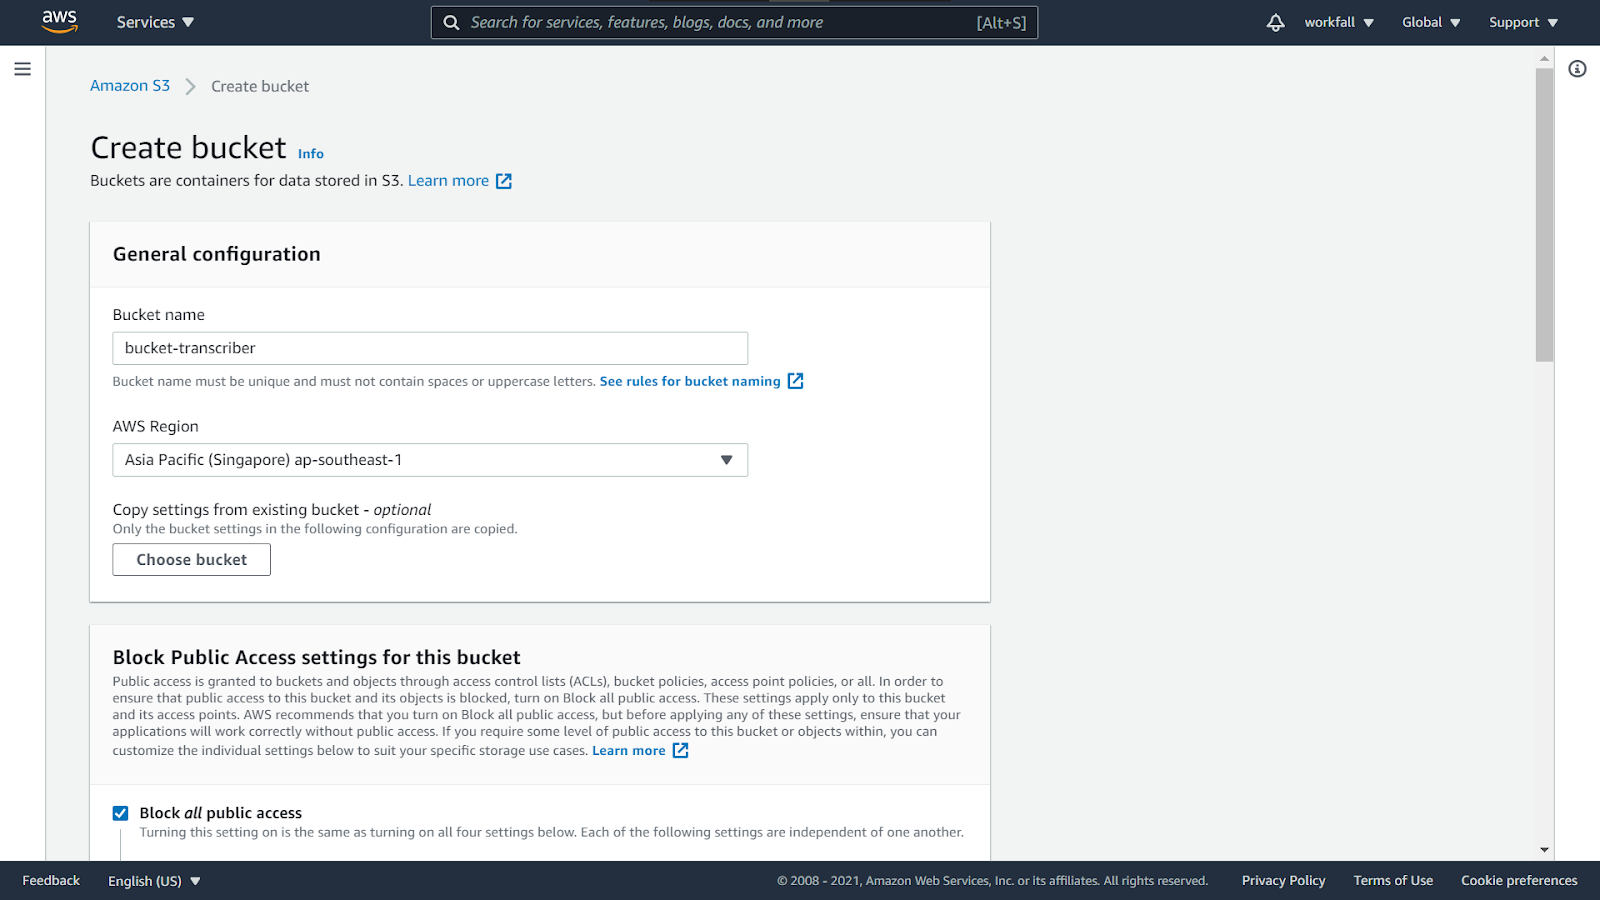
Navigate to the bottom and click on Create bucket.

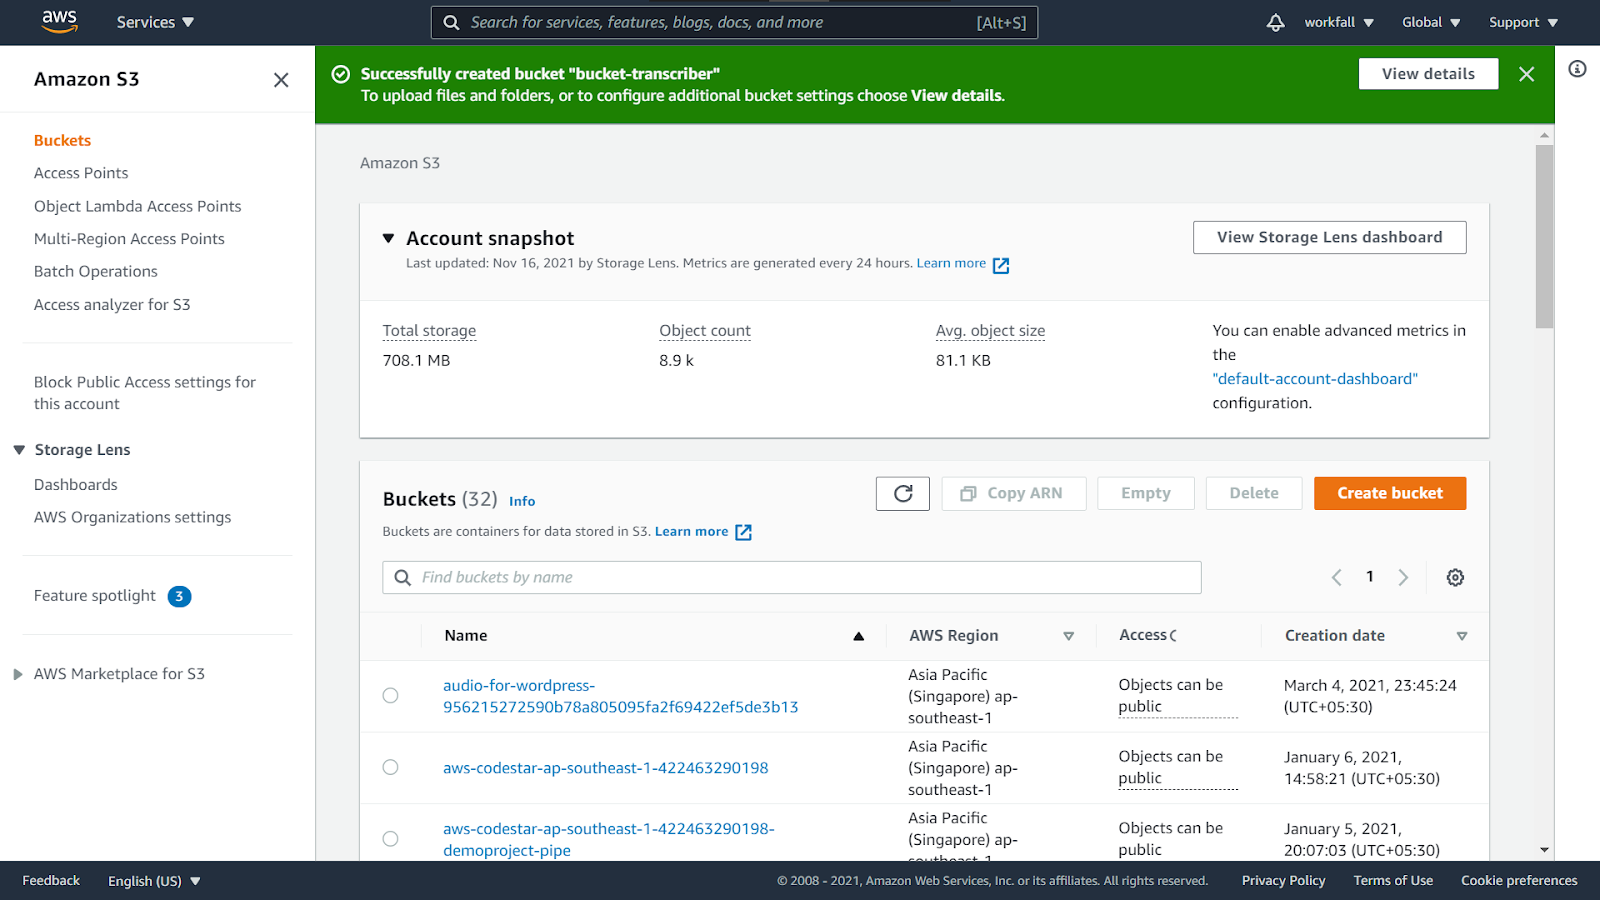
On success, you will see the message as shown in the image below.
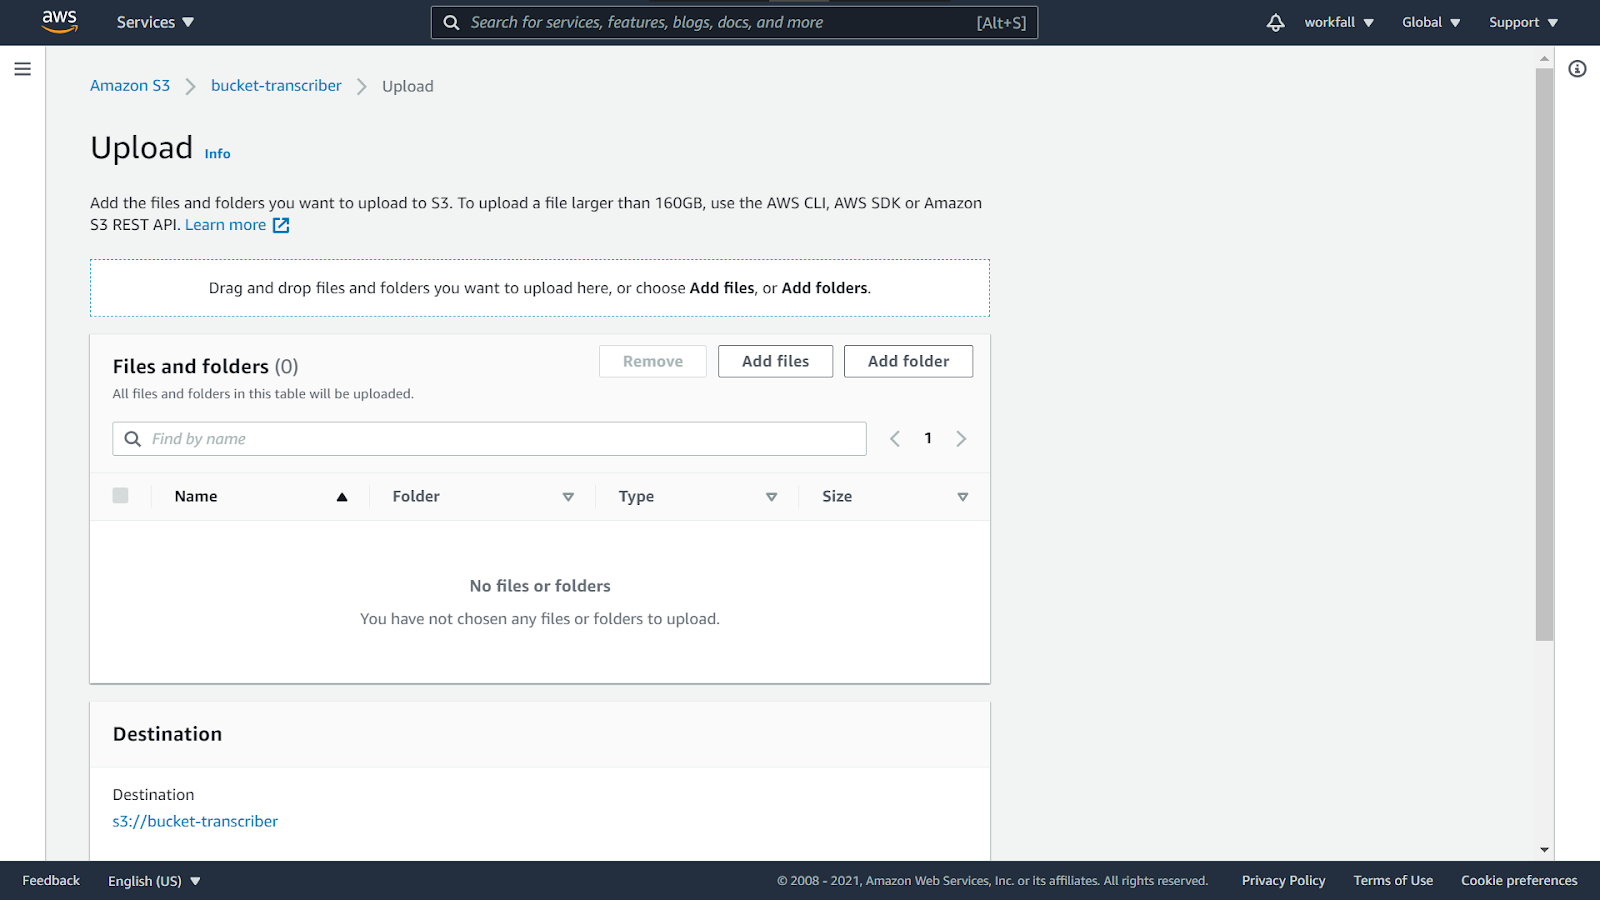
Navigate to the newly created bucket dashboard and click on Upload.

Click on Add files to add the downloaded audio file.
Add the file from the local machine and then expand destination details.

Click on Enable Bucket Versioning.

Post enabling it, click on Upload.

You will see the progress bar as shown in the image below. The upload might take some time.

On success, you will see the message as shown below. Now, click on Close.

Click on the newly added object in the bucket.
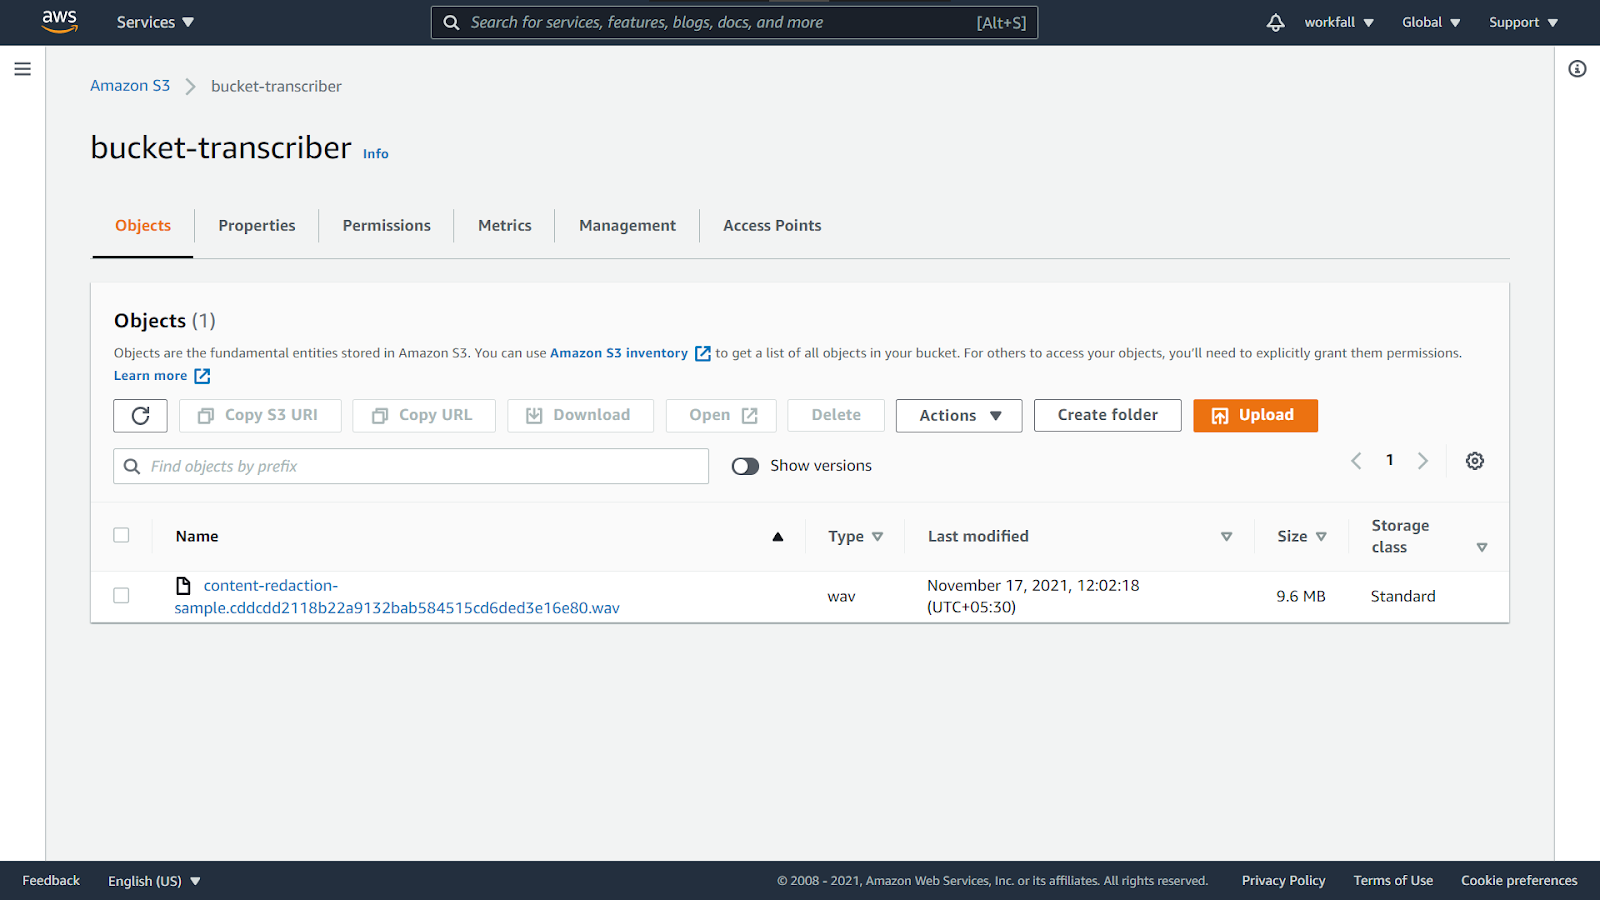
Click on Copy S3 URI.

Search for the Amazon Transcribe service and navigate to its dashboard.

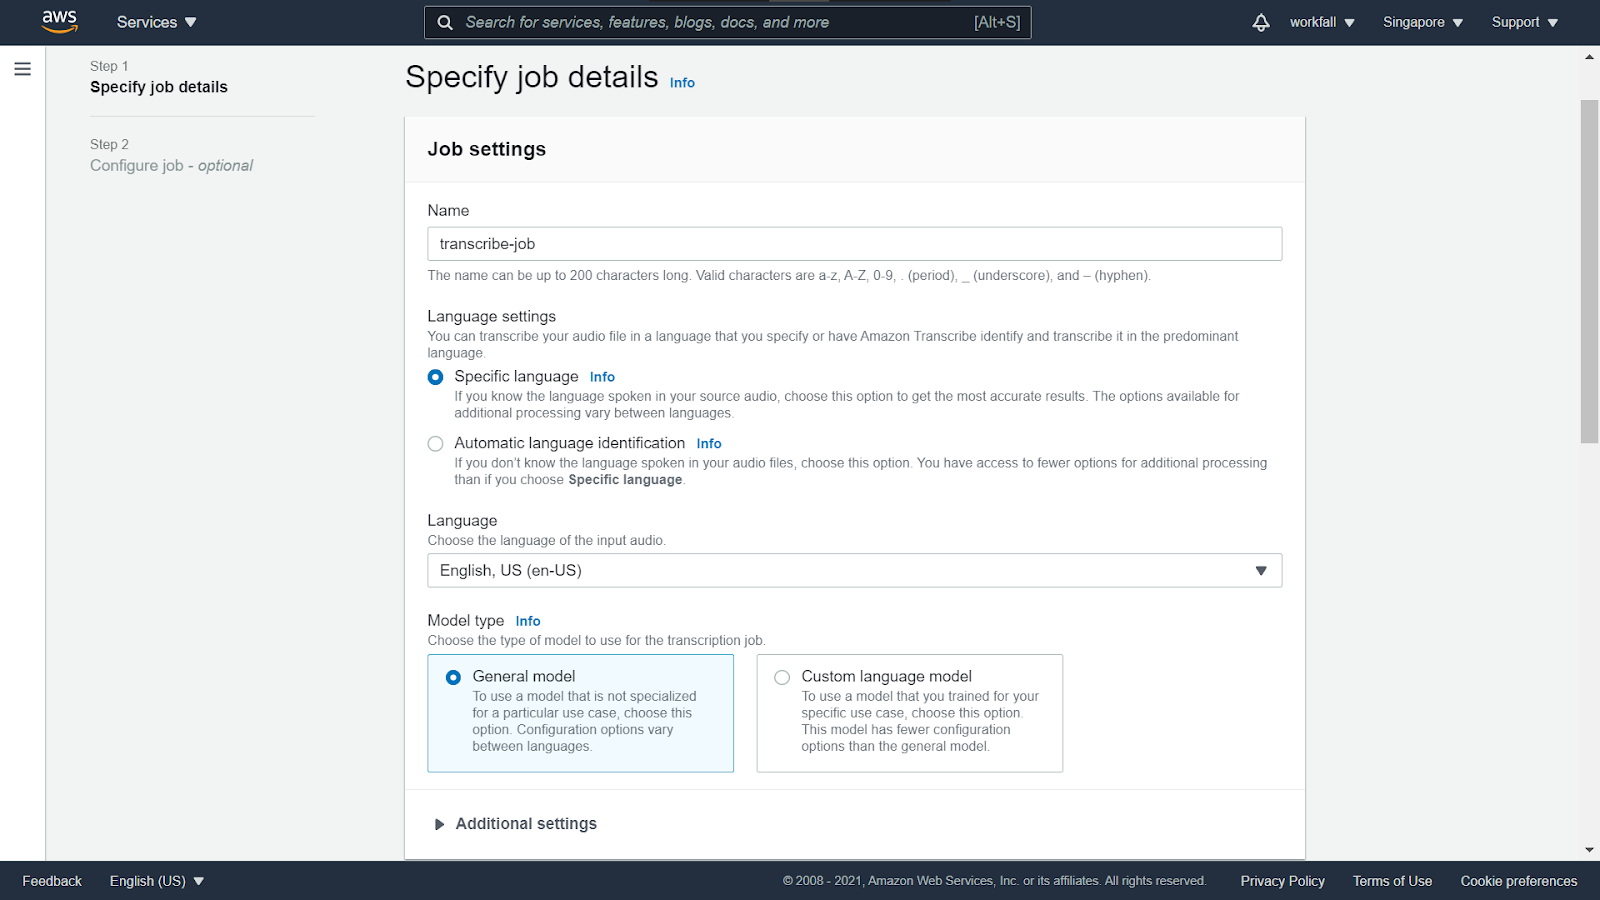
Click on Create job.

Enter a name for the new job. For the language settings and the model type, select the options as shown in the image below.
Under the Input data section, paste the S3 URI that you copied above.

For output data, select Service-managed S3 bucket. Click on Next.

Enable the Automatic content redaction option and check the checkbox below that option.
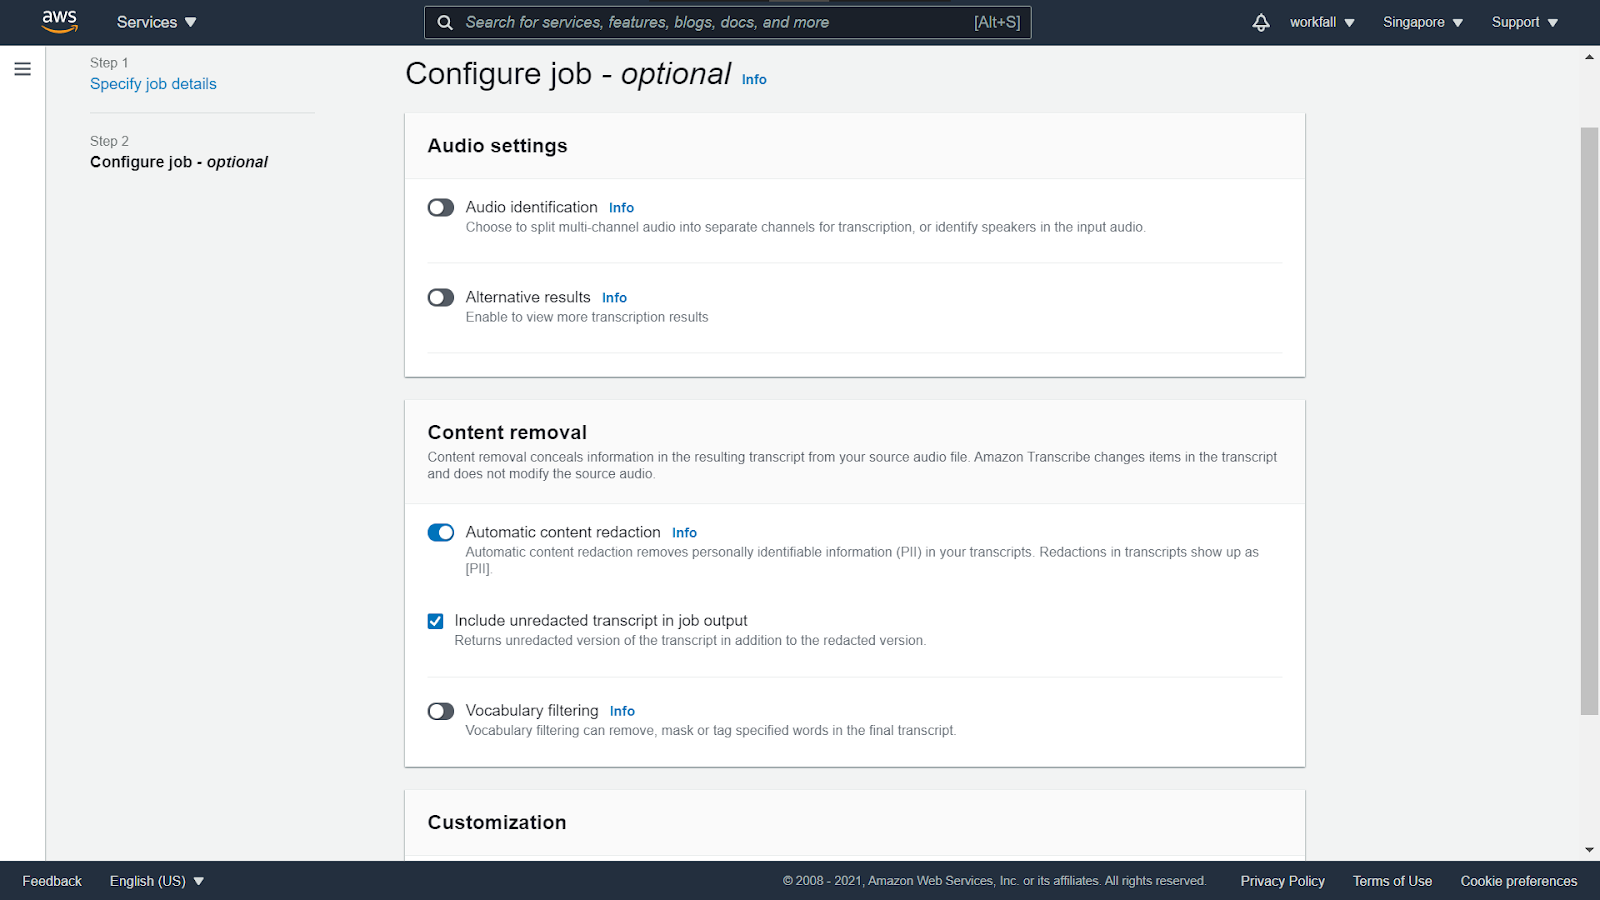
Click on Create job.

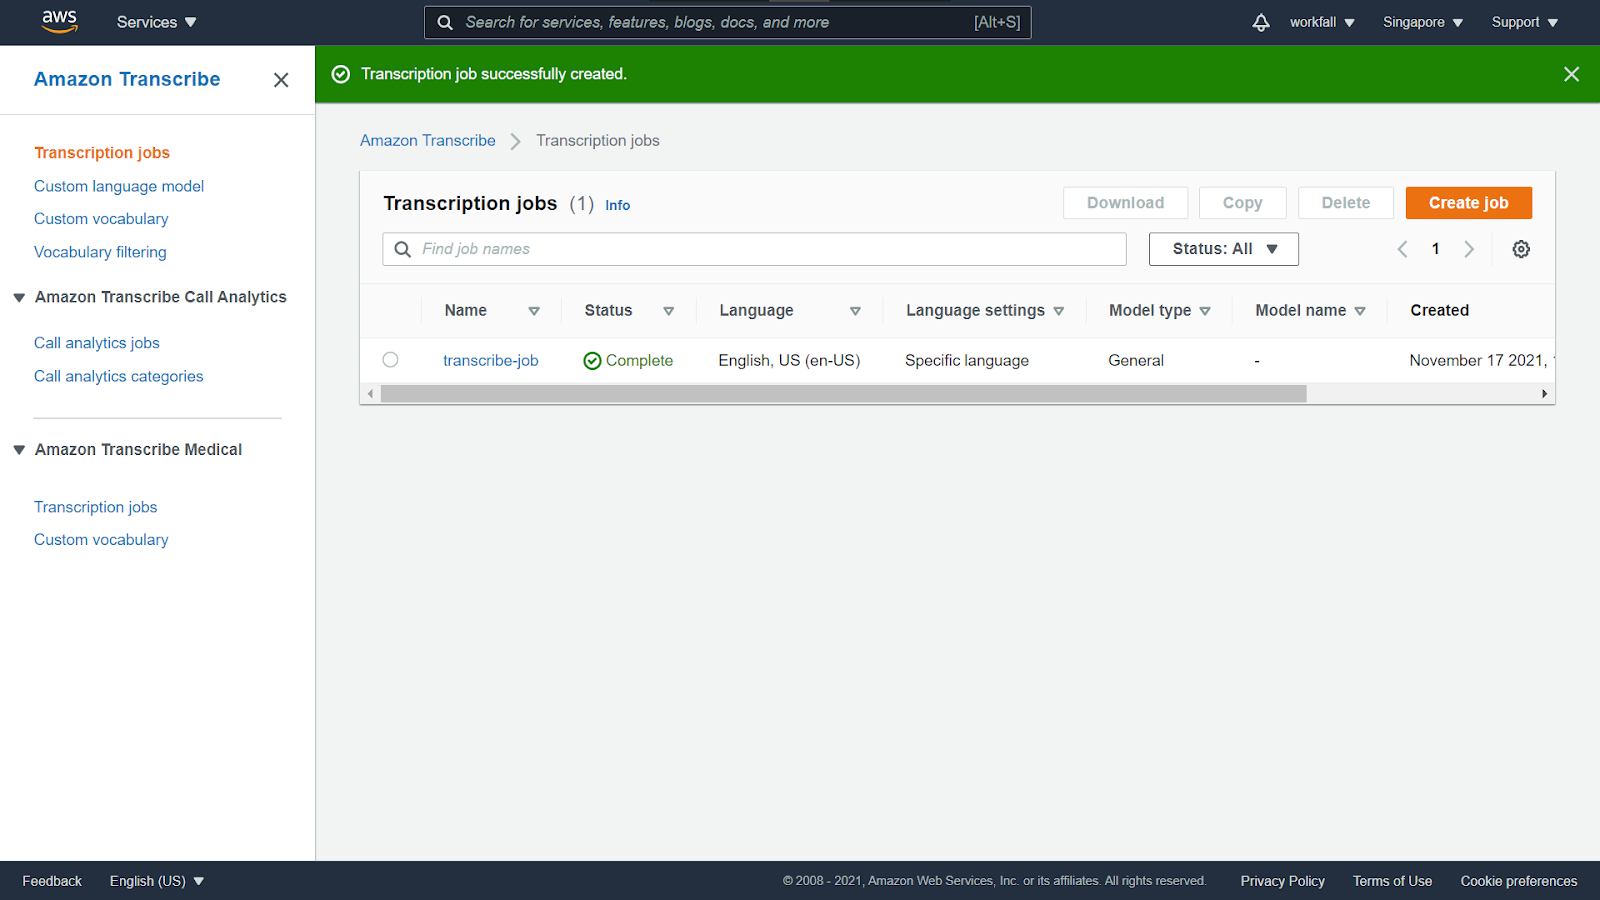
You will notice the status to be In progress. It might take some time for the status to be changed.

Once the status turns to complete, click on the newly created job.
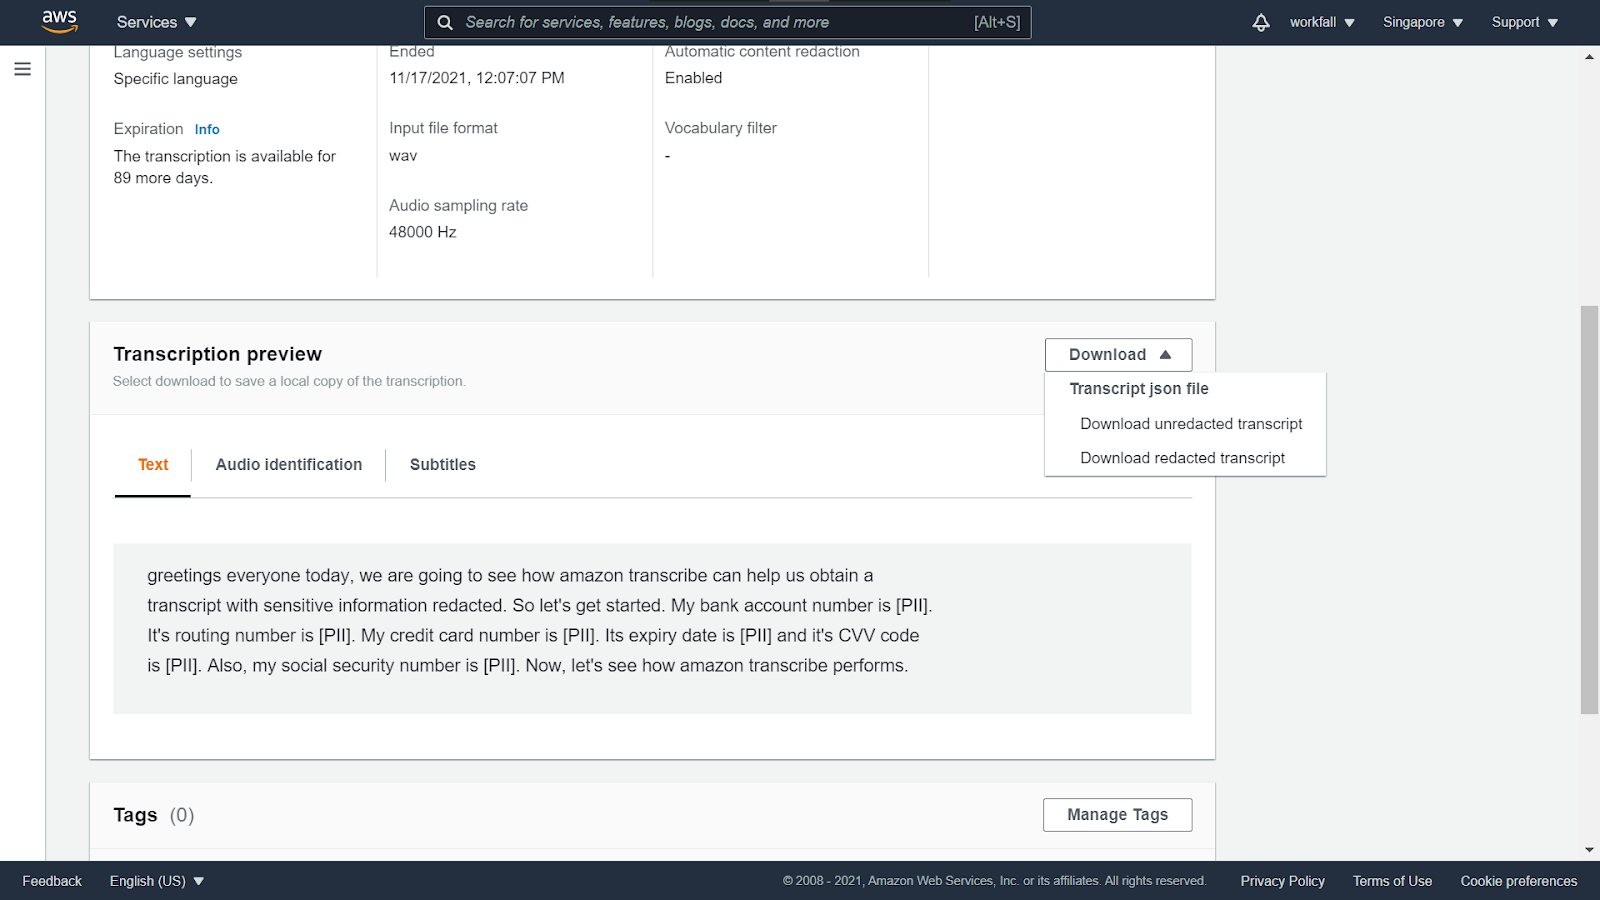
Scroll down and under the Transcription preview, you will see the Text as expected with the confidential information hidden and denoted by [PII].

Click on download and download both scripts.
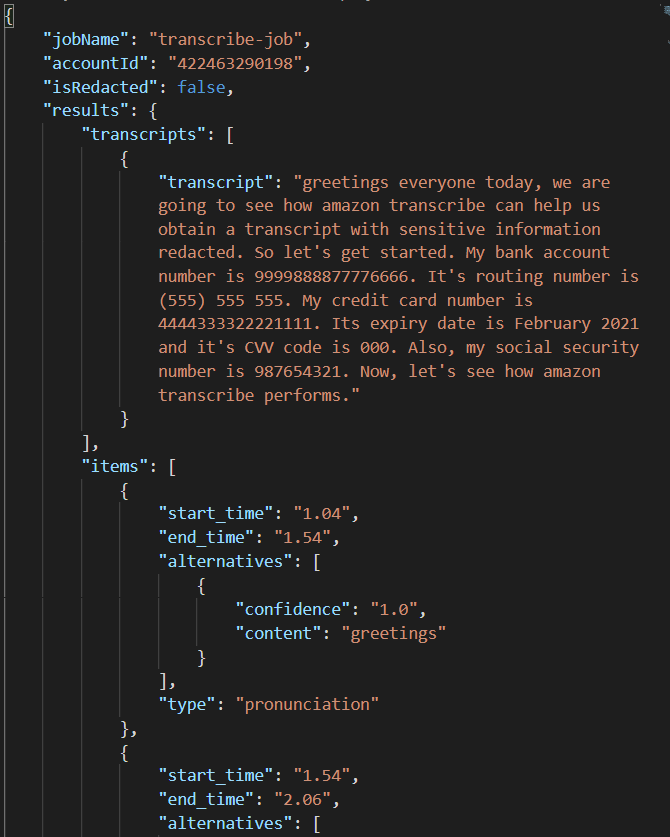
Open the unredacted json file and you will notice that the confidential information is not hidden.
Open the redacted json file and you will notice that the confidential information is hidden and replaced by [PII].

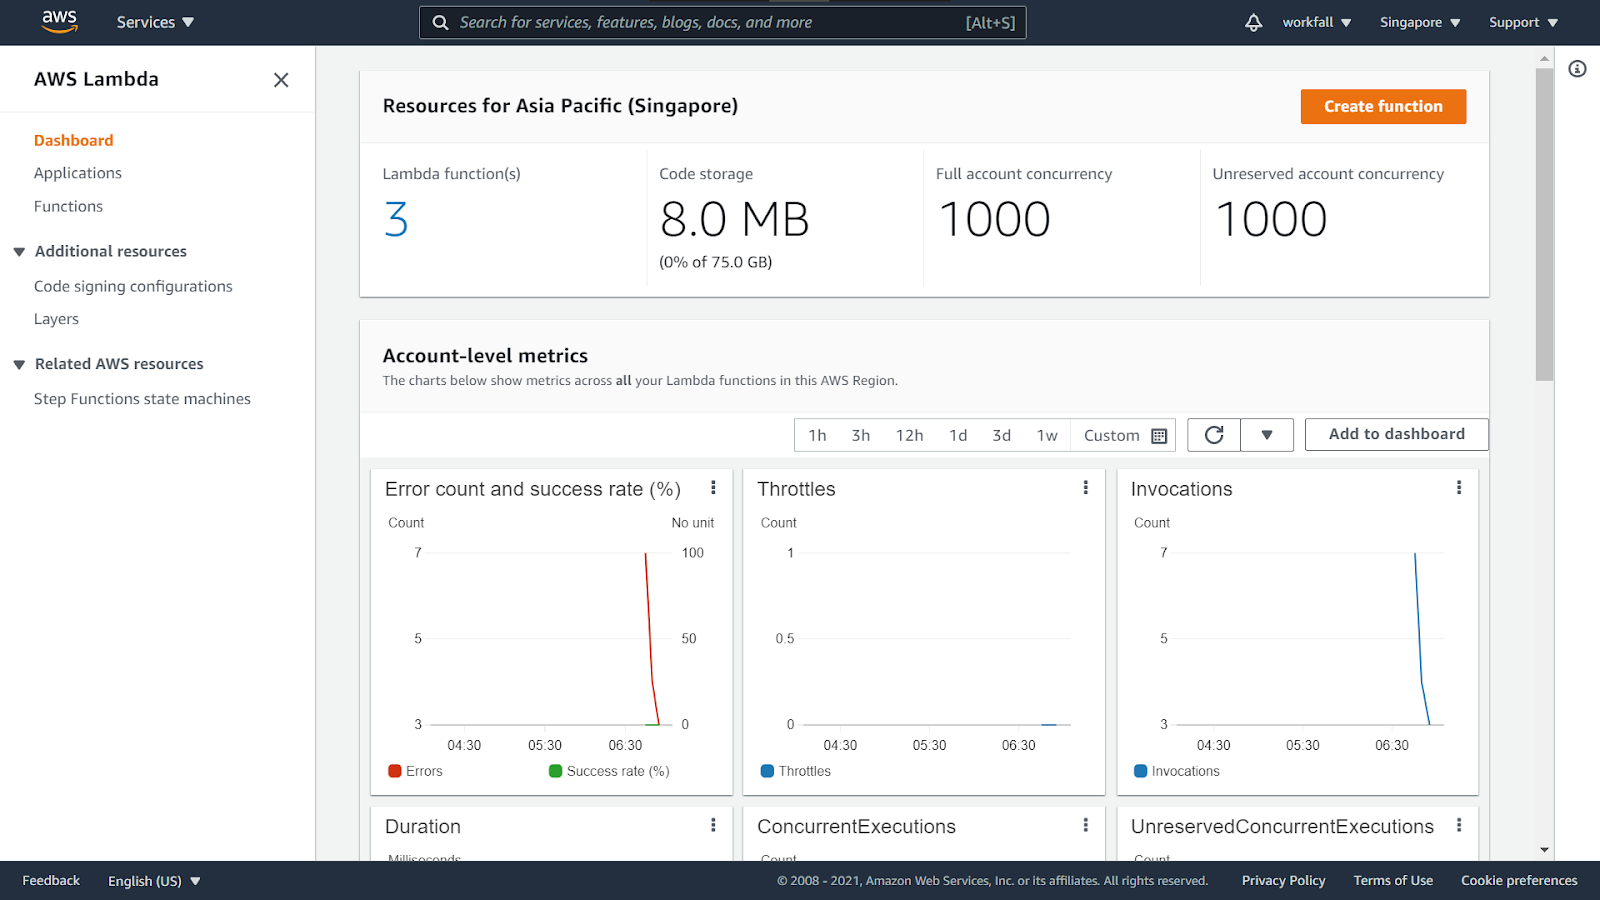
Navigate back to the Transcribe dashboard and search for the Amazon Lambda service dashboard.
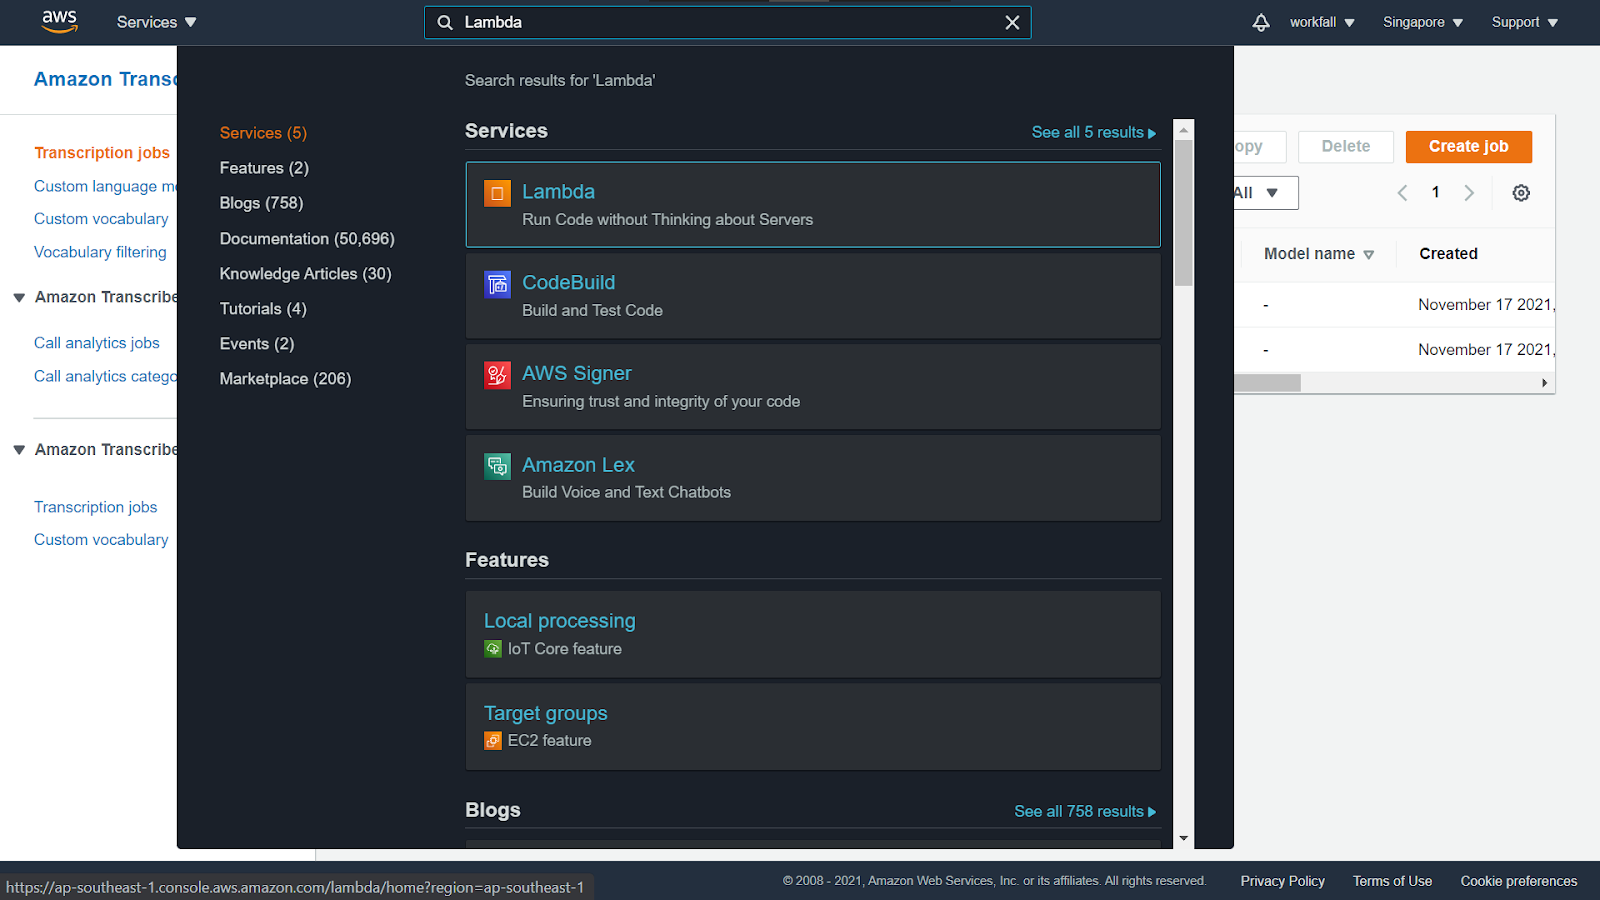
Click on Create function.
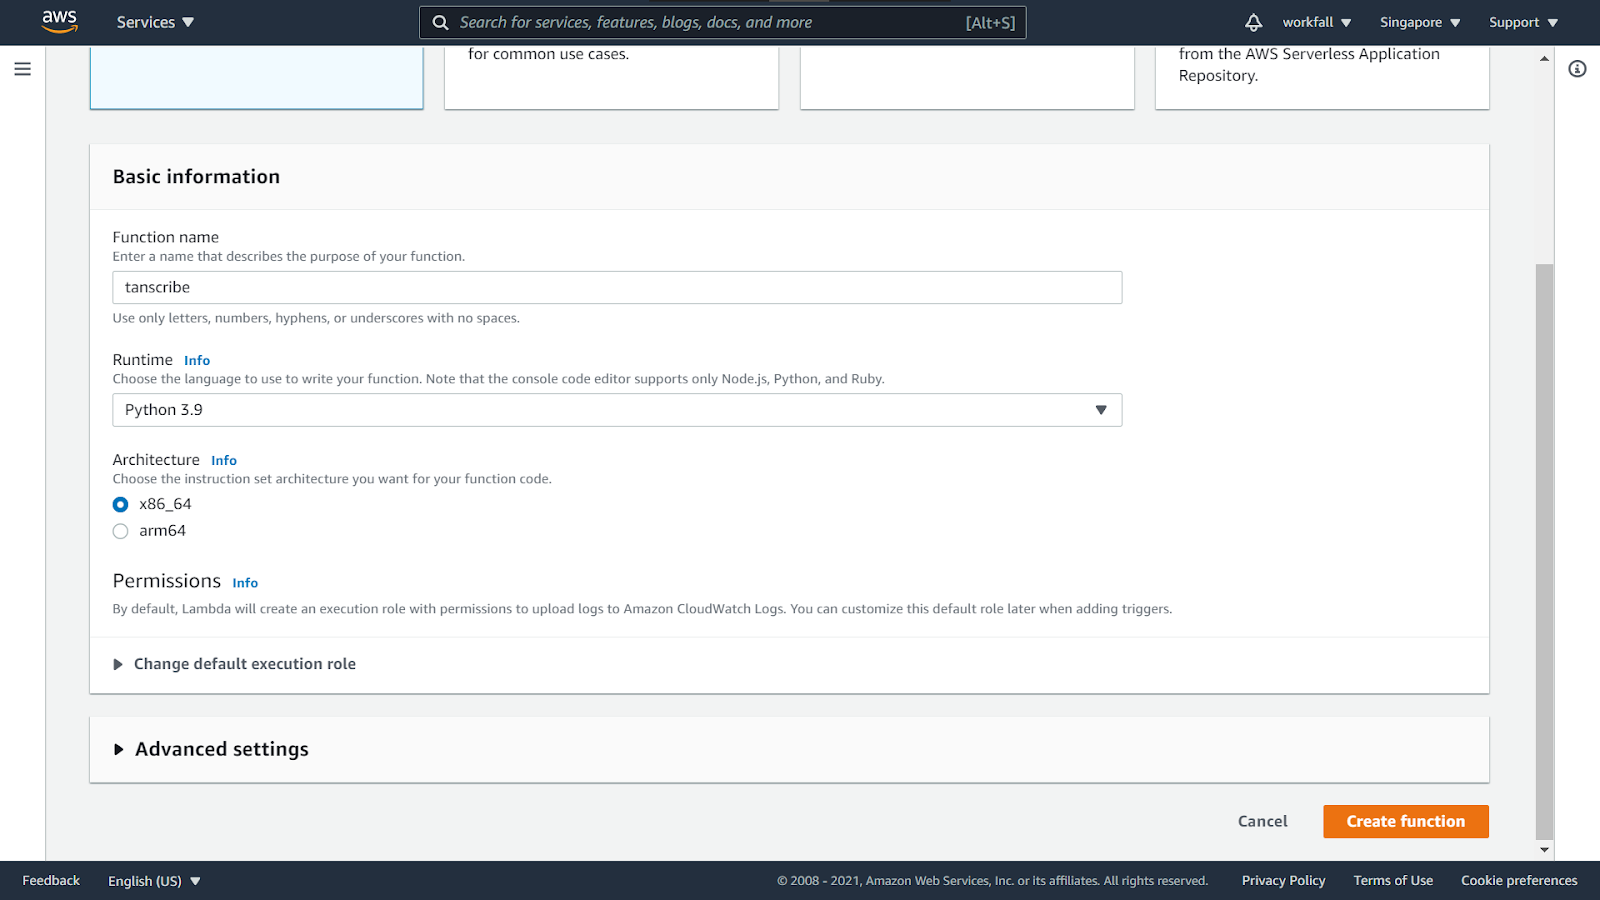
Enter a name for the function and select the run time as Python 3.9. Click on Create function.
Scroll down to the code editor.
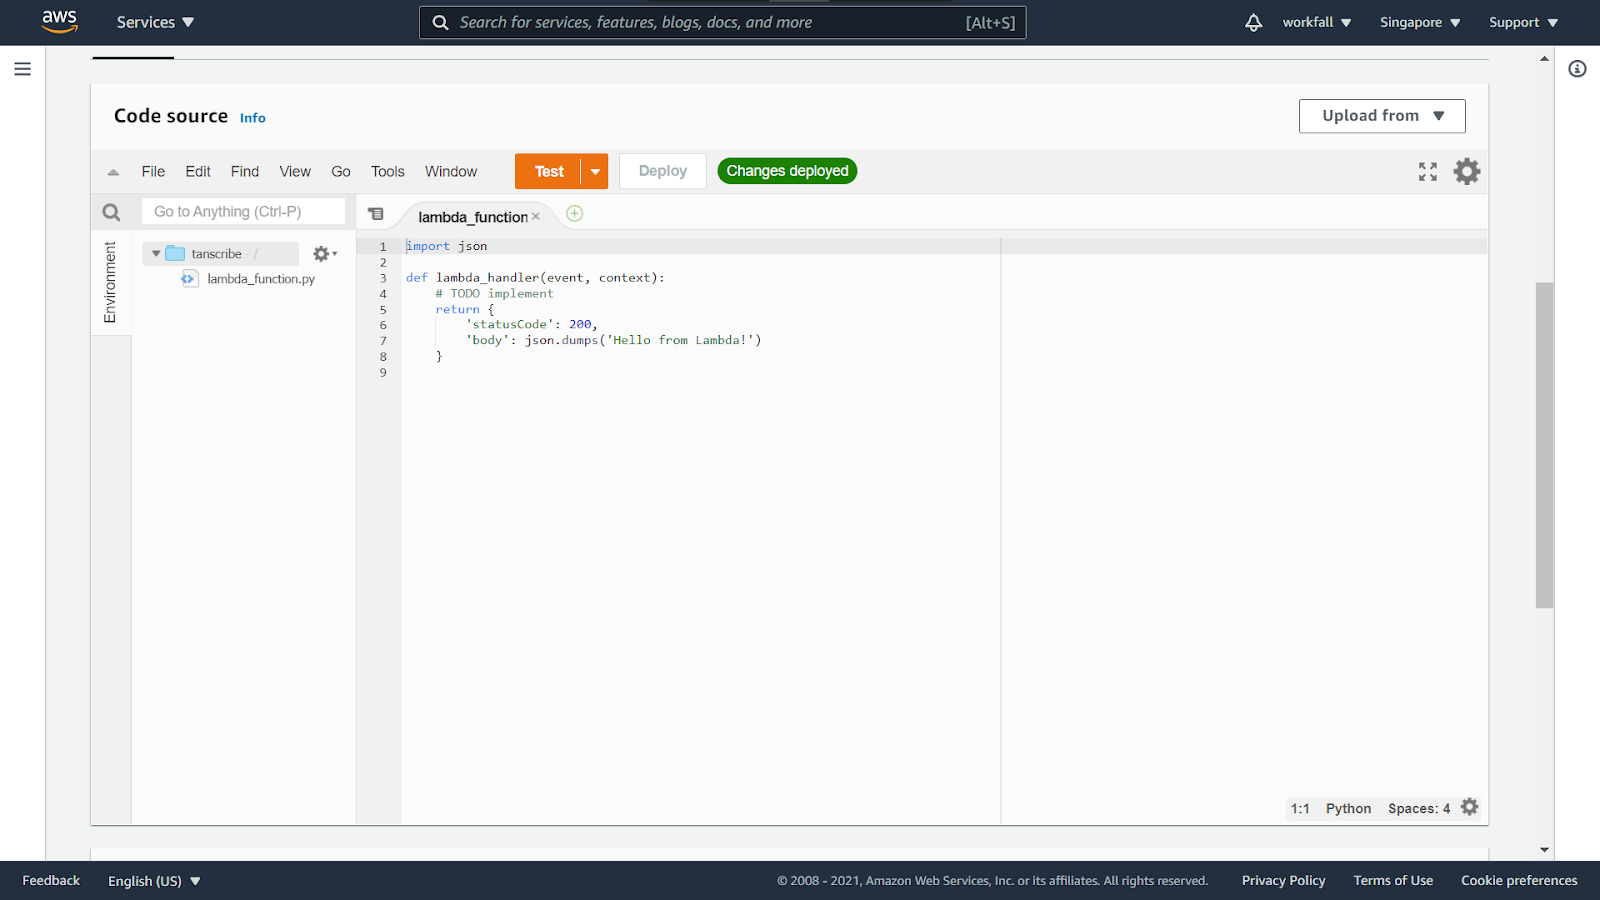
Copy the below code and paste it into the editor pane.
import boto3
import time

transcribe = boto3.client('transcribe')
job_name = "<Job Name>"
audio_file = "s3://<bucket-name>/<object-key of the audio file to be transcribed>"
transcribe.start_transcription_job(
    TranscriptionJobName=job_name,
    Media={'MediaFileUri': audio_file},
    LanguageCode='en-US',
    ContentRedaction={
        'RedactionType': 'PII',
        'RedactionOutput': 'redacted_and_unredacted'
    }
)
while True:
    status = transcribe.get_transcription_job(TranscriptionJobName=job_name)
    if status['TranscriptionJob']['TranscriptionJobStatus'] in ['COMPLETED', 'FAILED']:
        break
    print("Not ready yet...")
    time.sleep(5)
if status['TranscriptionJob']['TranscriptionJobStatus'] == 'COMPLETED':
    print("Full Transcript available at -> "+status['TranscriptionJob']['Transcript']['TranscriptFileUri'])
    print("Redacted Transcript available at -> "+status['TranscriptionJob']['Transcript']['RedactedTranscriptFileUri'])
else:
    print("Transcription Job Failed.")
Now, enter in a new job name and the audio file URI in the respective variables.

Click on Deploy to deploy the changes. Once done, click on Test.

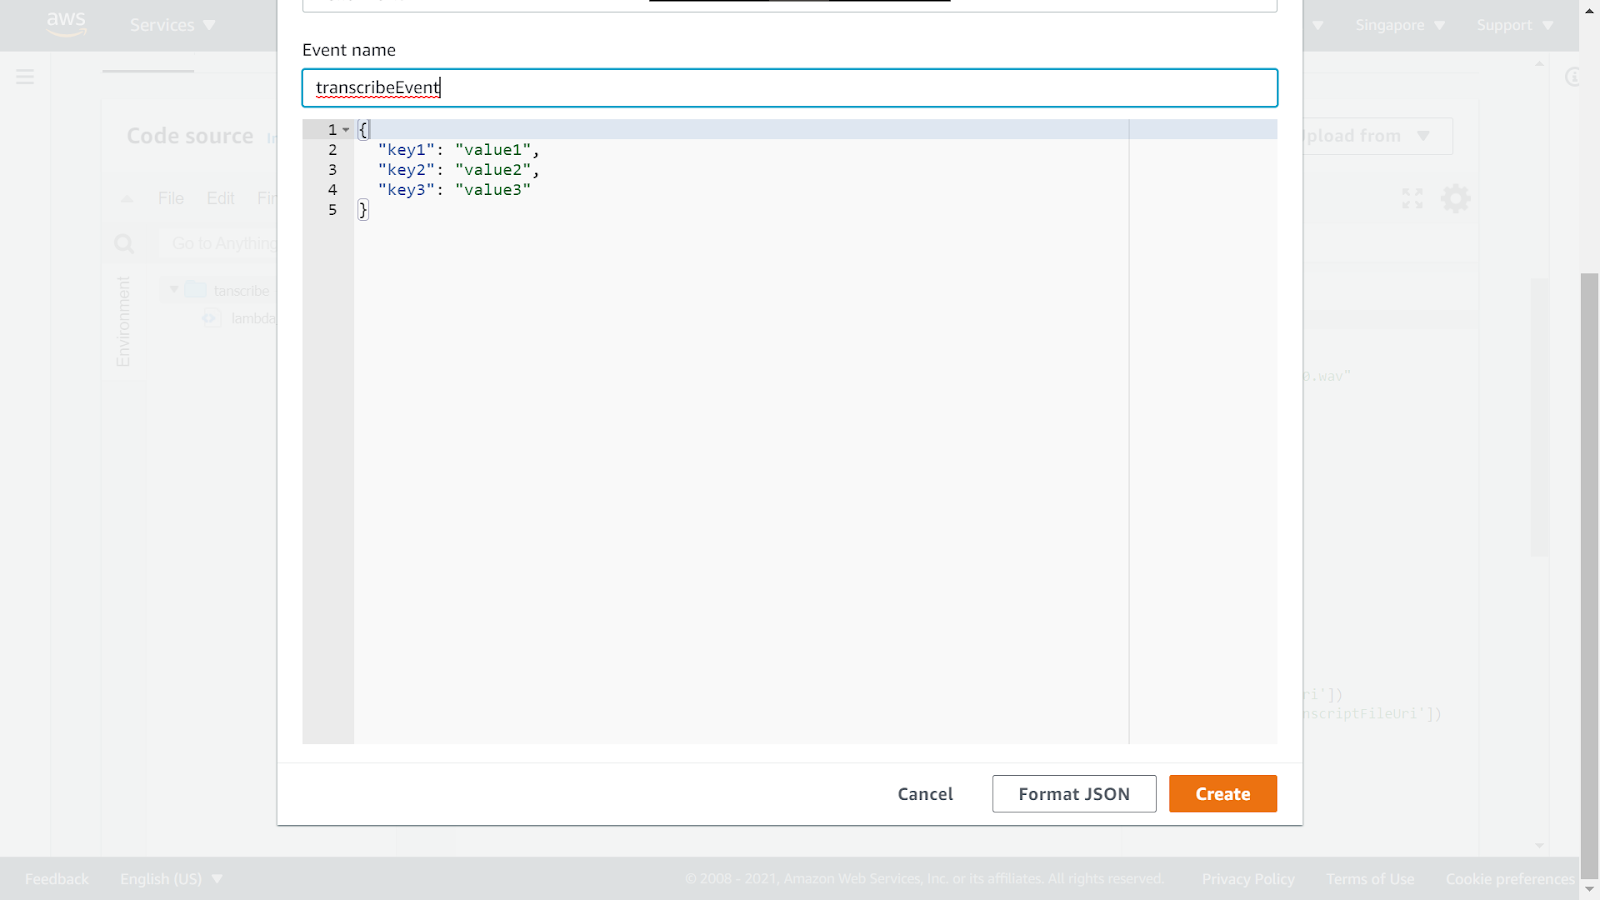
Enter in a new event name and click on Create.
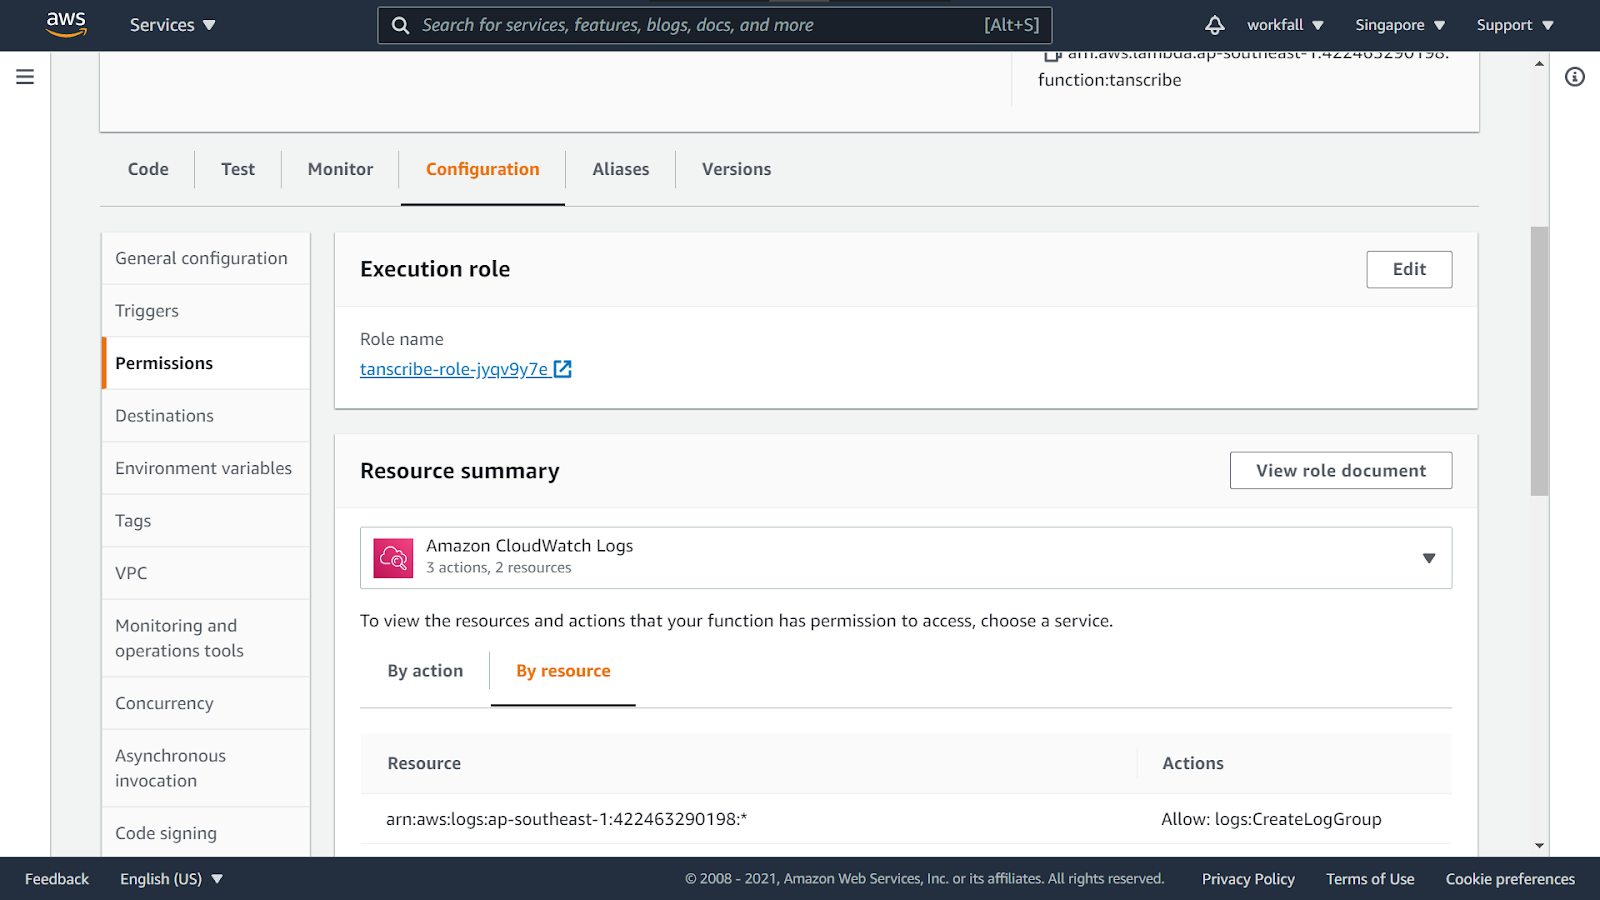
Now, navigate to the Configuration section of the function. Click on the role link.
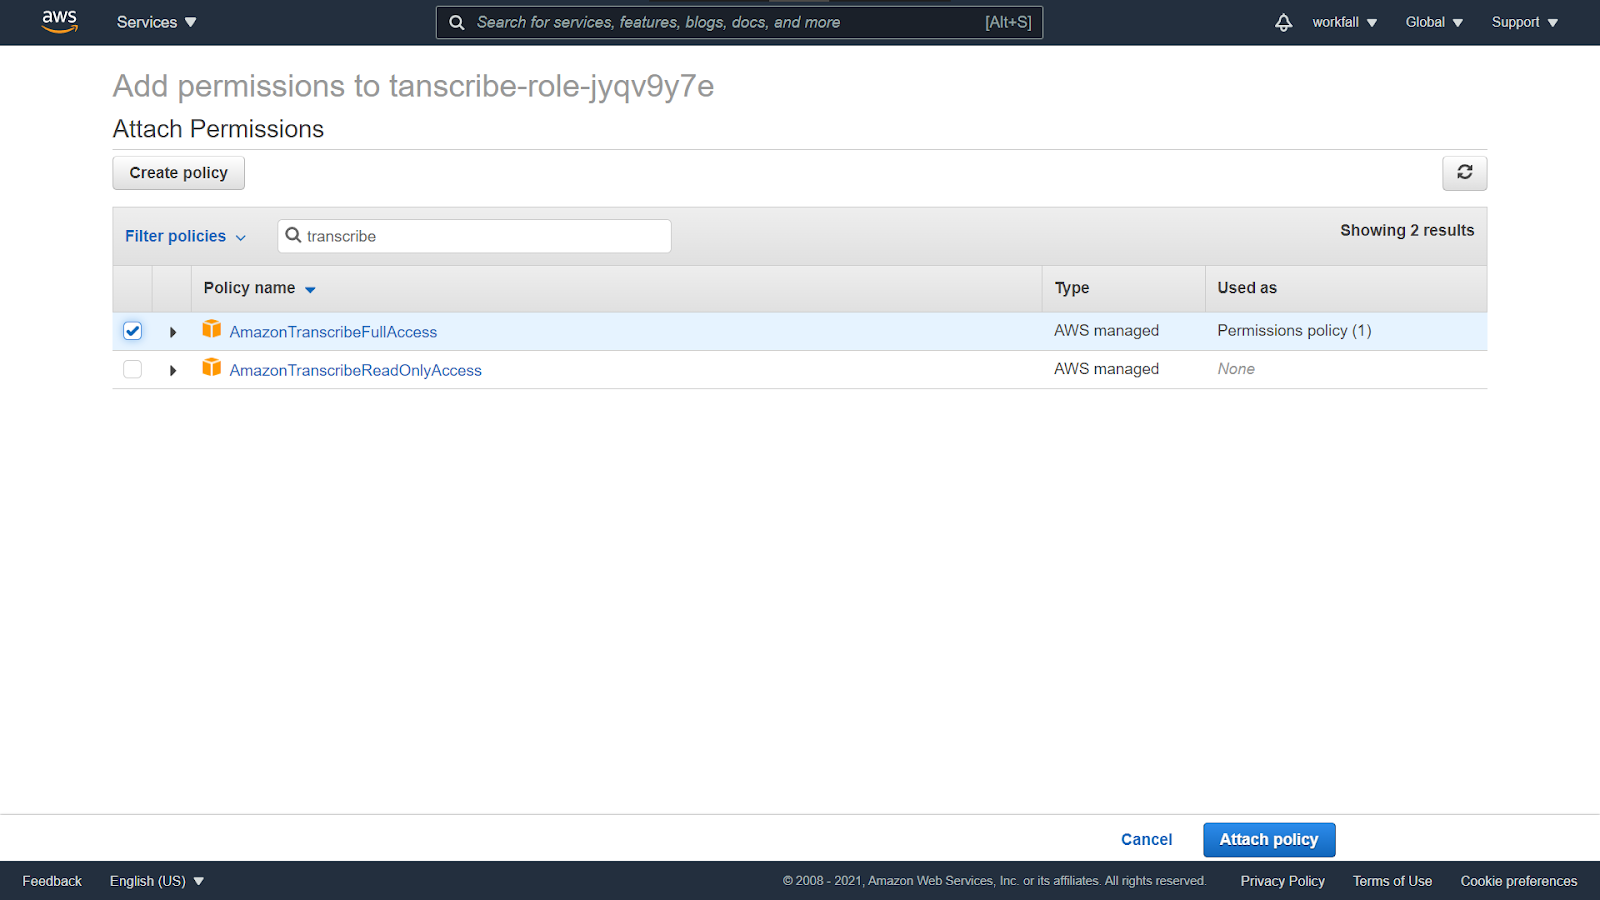
On the IAM dashboard, click on Attach policies.

Search for transcribe and check the AmazonTranscribeFullAccess policy.
Search for S3 and check the AmazonS3FullAccess policy. Click on Attach policy.

Once done, refresh the Lambda function page and click on Test.

On success, you will see the message as shown below.

Now, if you navigate to the Transcription jobs dashboard, you’ll see the newly created job in the list.

If you navigate to the newly created S3 bucket, you will see a new folder created with the job name in the lambda function.
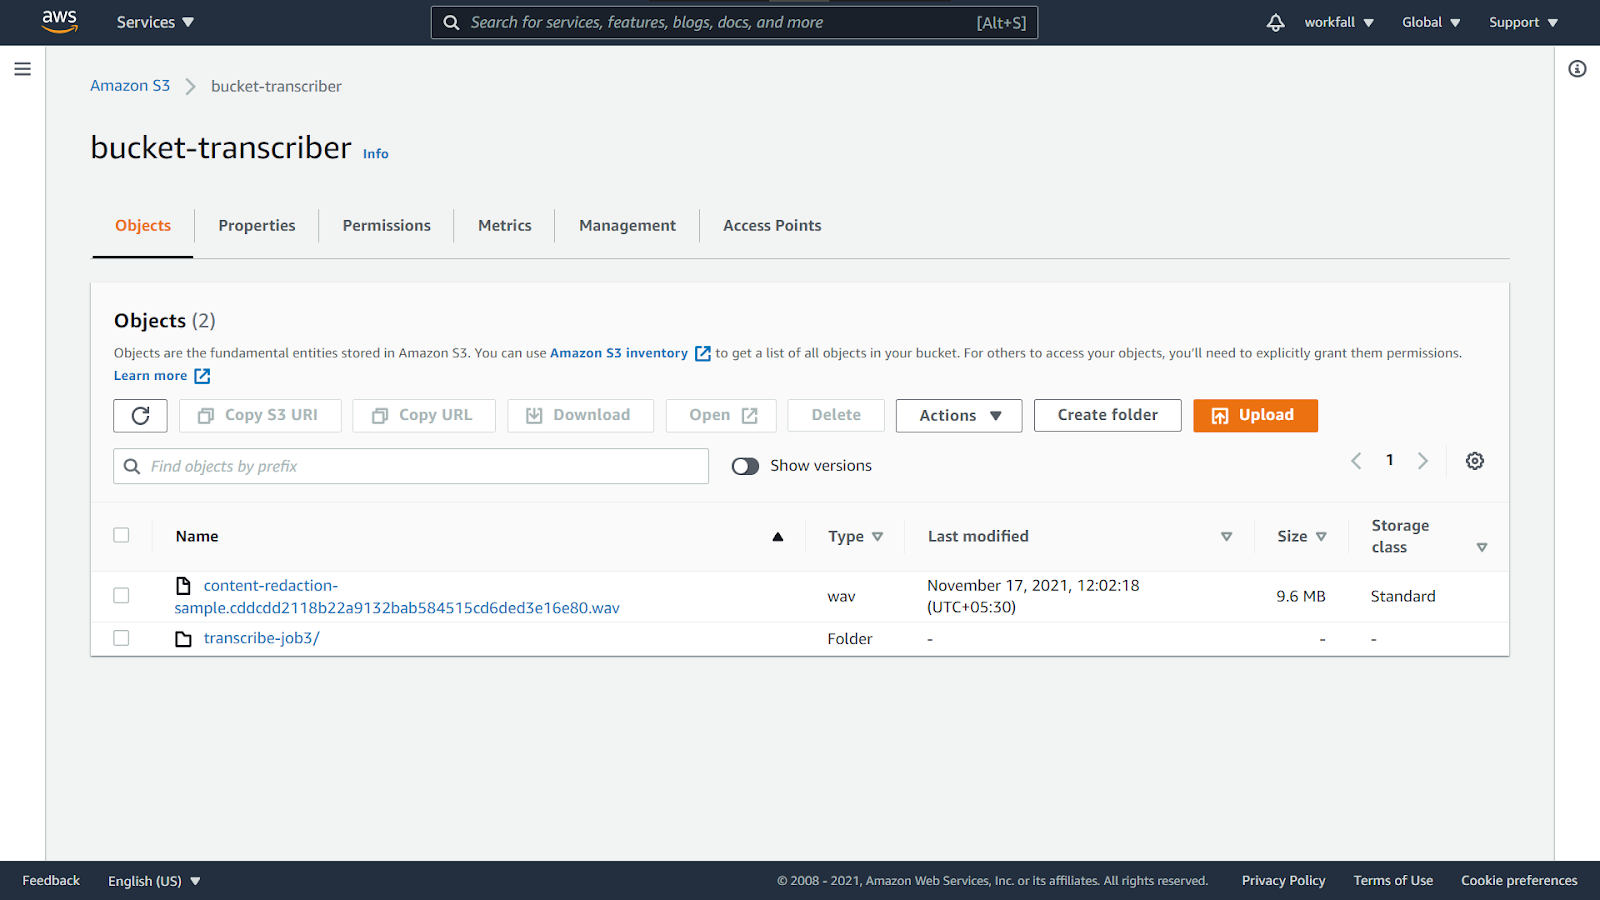
Inside the folder, you’ll see the new files created as shown in the output above. Download both the files.

Open the first JSON file and compare it with the previous job json file.
Open the second JSON file and compare it with the previous job json file.
Conclusion
In this blog, we saw how we can add privacy to transcriptions with Amazon Transcribe. Navigating to the provided link, we first downloaded the sample audio file. We then navigated to the Amazon S3 dashboard and created a new S3 bucket.
After the creation of a new bucket, we uploaded the downloaded sample audio file to the bucket with bucket versioning enabled.
Navigating to the Amazon Transcribe dashboard, we created a new transcription job with content removal enabled for the job and with the input data as the S3 URI of the newly added object in the bucket.
We then traversed to the created job dashboard to test out the working and to see if the service had hidden all the confidential information from the text fetched from the audio file.
Downloading the unredacted and the redacted JSON files, we noted down the difference. We then navigated to the Amazon Lambda dashboard and created a new Lambda function with the runtime as Python 3.9. Copying the provided Amazon Transcribe API code and pasting it into the functions code editor pane, we created a new test event.
We then navigated to the Lambda function configuration IAM role portal to attach the Amazon S3 and Amazon Transcribe services required policies. We then navigated to the Transcription jobs dashboard to check if the lambda function had successfully created a new job.
Then we navigated to the Amazon S3 bucket to check if the function stored the required output files in the bucket. Finally, we downloaded both the output files to review those with the previous job’s output files.
We will discuss more use cases for the services used in our upcoming blogs. Stay tuned to keep getting all updates about our upcoming new blogs on AWS and relevant technologies.
Meanwhile …
Keep Exploring -> Keep Learning -> Keep Mastering
This blog is part of our effort towards building a knowledgeable and kick-ass tech community. At Workfall, we strive to provide the best tech and pay opportunities to AWS-certified talents. If you’re looking to work with global clients, build kick-ass products while making big bucks doing so, give it a shot at workfall.com/partner today.