Better architecture results from well-tested code. It is always simpler to change and improve. Jest, Jasmine, Mocha, QUnit, Karma, Cypress, and other test-driven development tools are available for JavaScript, just as they are for any other programming language. In this blog, we will show you the full implementation of how to create test cases and start testing the JavaScript code using Mocha. Let’s get started 🚀
What is Mocha?
Mocha is a feature-rich JavaScript test framework that runs on Node.js and in the browser to make asynchronous testing easy and enjoyable. Mocha tests run in a serial fashion, allowing for flexible and accurate reporting while mapping uncaught exceptions to the appropriate test cases.
Why JavaScript unit testing with Mocha is awesome 🤩
- Both Behavior Driven Development (BDD) and Test Driven Development (TDD) are supported: Mocha has a significant advantage over other traditional JavaScript testing tools in this regard. Many businesses today choose behavior-driven development over test-driven development when writing automated test cases. Mocha will work well for you regardless of the testing process you use.
- There are several installation options: Depending on the project requirements, developers can choose how to install and use Mocha JS. For example, if you want to use it with NodeJS, you can install Mocha either locally or globally using specific commands. It is also possible to configure Mocha on the client side and run unit tests in the web browser.
- Any assertion library is supported: Unlike other test frameworks, Mocha does not include an assertion library. On failure, an assertion library throws exceptions. No assertion library out of the box may appear to be both a strength and a weakness. Mocha requires more configuration and may appear intimidating to beginners. On the other hand, this gives Mocha unit test coverage a lot of leeways. Mocha software is compatible with a variety of JavaScript assertion libraries, including Express.js, Should.js, Chai, Unexpected, and Better-Assert, among others.
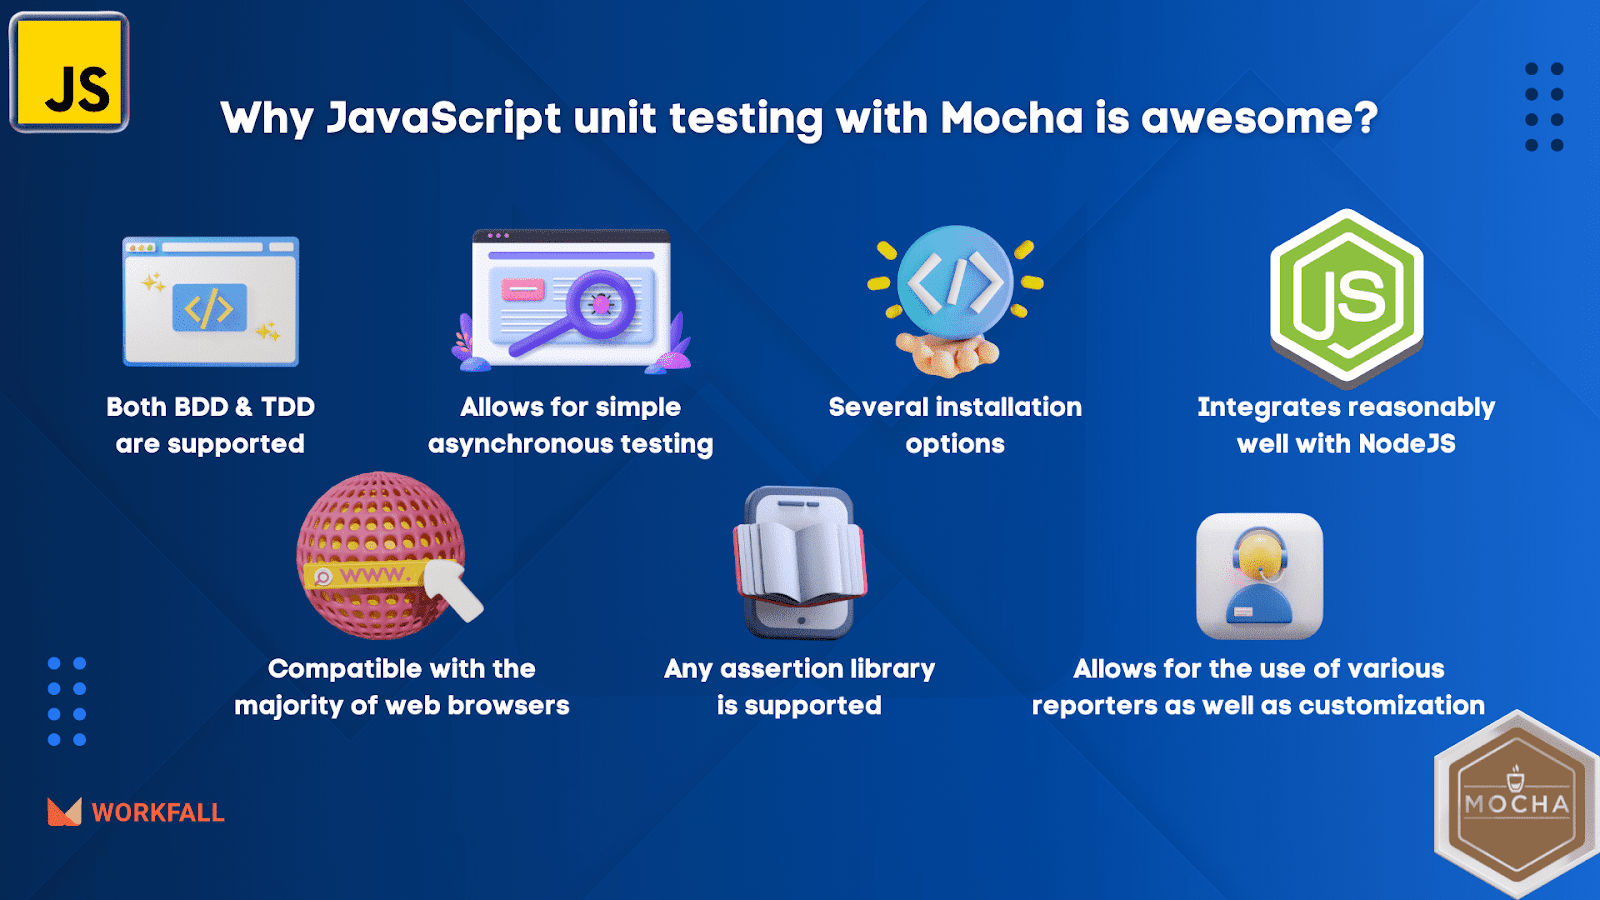
- Allows for simple asynchronous testing: Asynchronous code is required by many Node.js applications. Mocha JS, unlike other JavaScript testing frameworks, allows you to test asynchronous code with a very similar syntax.
- It integrates reasonably well with NodeJS: It is self-evident, given that the Mocha test framework runs on NodeJS. As a result, Mocha’s simple syntax and fast execution make testing your Node.js app a breeze. Mocha also has a plethora of plugins and extensions for testing unique scenarios.
- Allows for the use of various reporters as well as customization: Mocha provides developers with a number of built-in test reporters. You can use dot matrix, nyan, tap, landing strip, list, progress, and JSON reporters. You also have the option of creating your own customized one. The full-color test reporters allow you to check the execution and output.
- Is compatible with the majority of web browsers: Mocha has both a browser build and a node command line program, so you can test in both client and server environments. Developers can run Mocha unit tests on a variety of widely used web browsers, along with browser-specific methods and options. Furthermore, each new version of Mocha includes upgraded JavaScript and CSS builds for a variety of web browsers.
Hands-on
In this hands-on, we will begin with an online compiler for JavaScript called StackBlitz that gives us the flexibility of an already created folder and file structure. We will use this compiler to create flexibility to write test cases and test the JavaScript code using an npm package called Mocha. We will begin by removing the default code from the already created files. We will then import the cdn’s of Mocha (its styling and its functionality) so that we can utilize the functionality to run and test our test cases. We will then add some additional scripts to be able to use the functionality of Mocha to run the test cases.
Then, we will add some scripts in the body tag to add a new function that we will be using for our test cases. Post that, we will import a locally created js file in the same code base inside a script tag. Opening up the js file, we will create a test case that will utilize and test the function created in the script tag. We will then execute the different cases and check out how Mocha passes and fails the test cases. On completion, we will add new test cases to test the asynchronous functionality of a function with hooks. We will first run the test case synchronously and check Mocha’s result. To clear the test case, since it is required to perform an async operation, we will then add a timeout to utilize the async capability and run the test case again which will then return the positive results of the test cases for all the hooks added in the function.
Navigate to the StackBlitz site to start with the implementation quickly and efficiently without having to create a setup locally. Click on JavaScript.
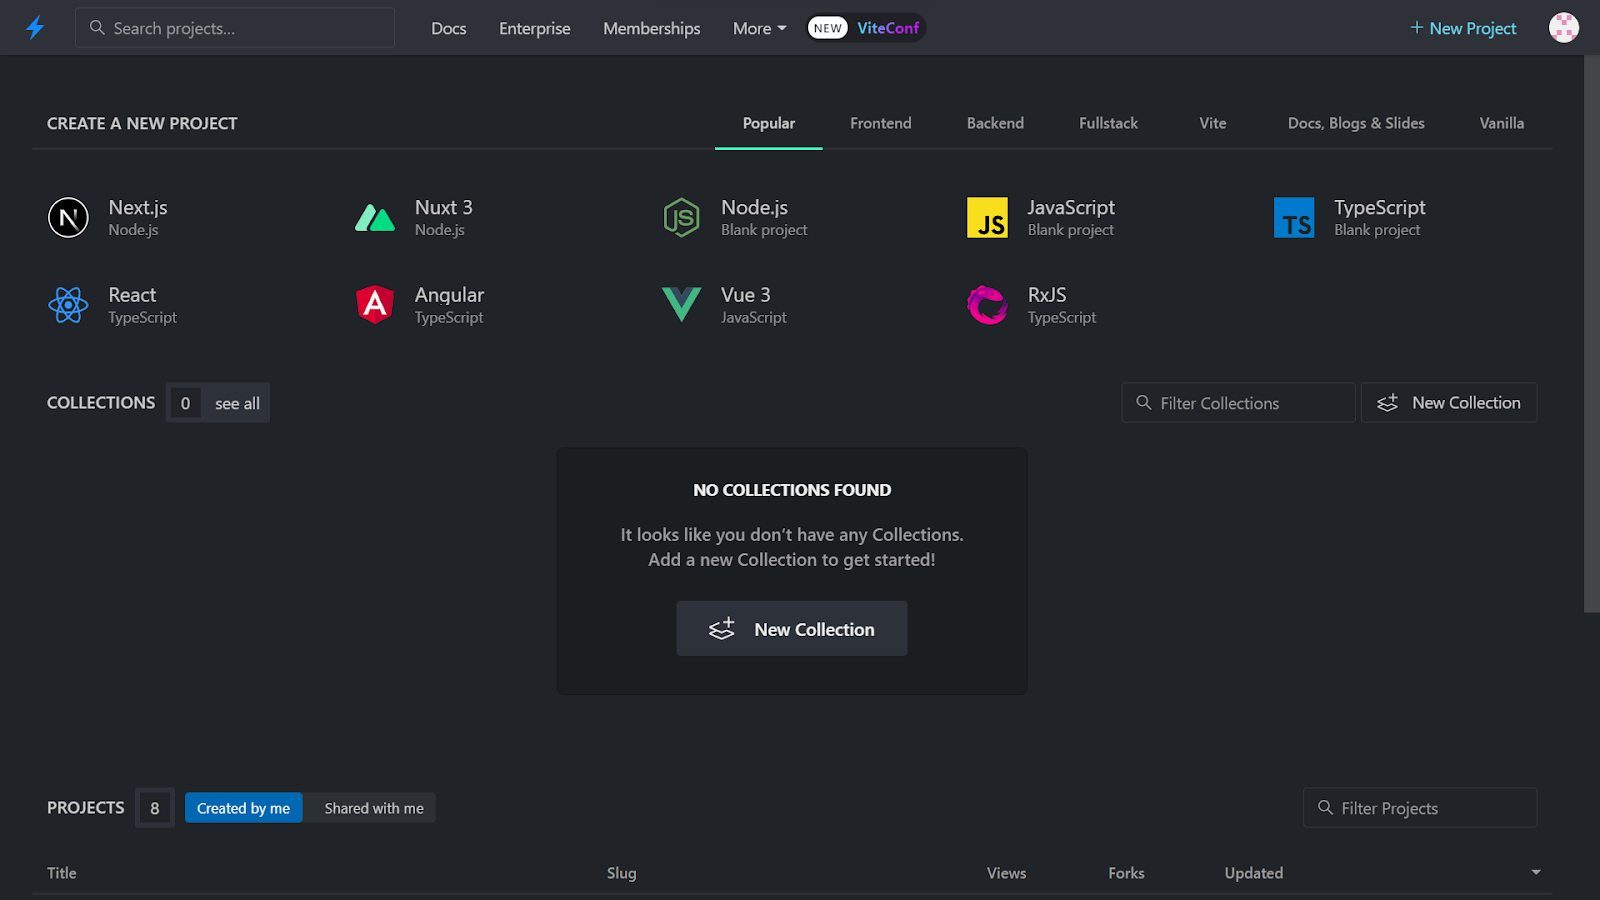
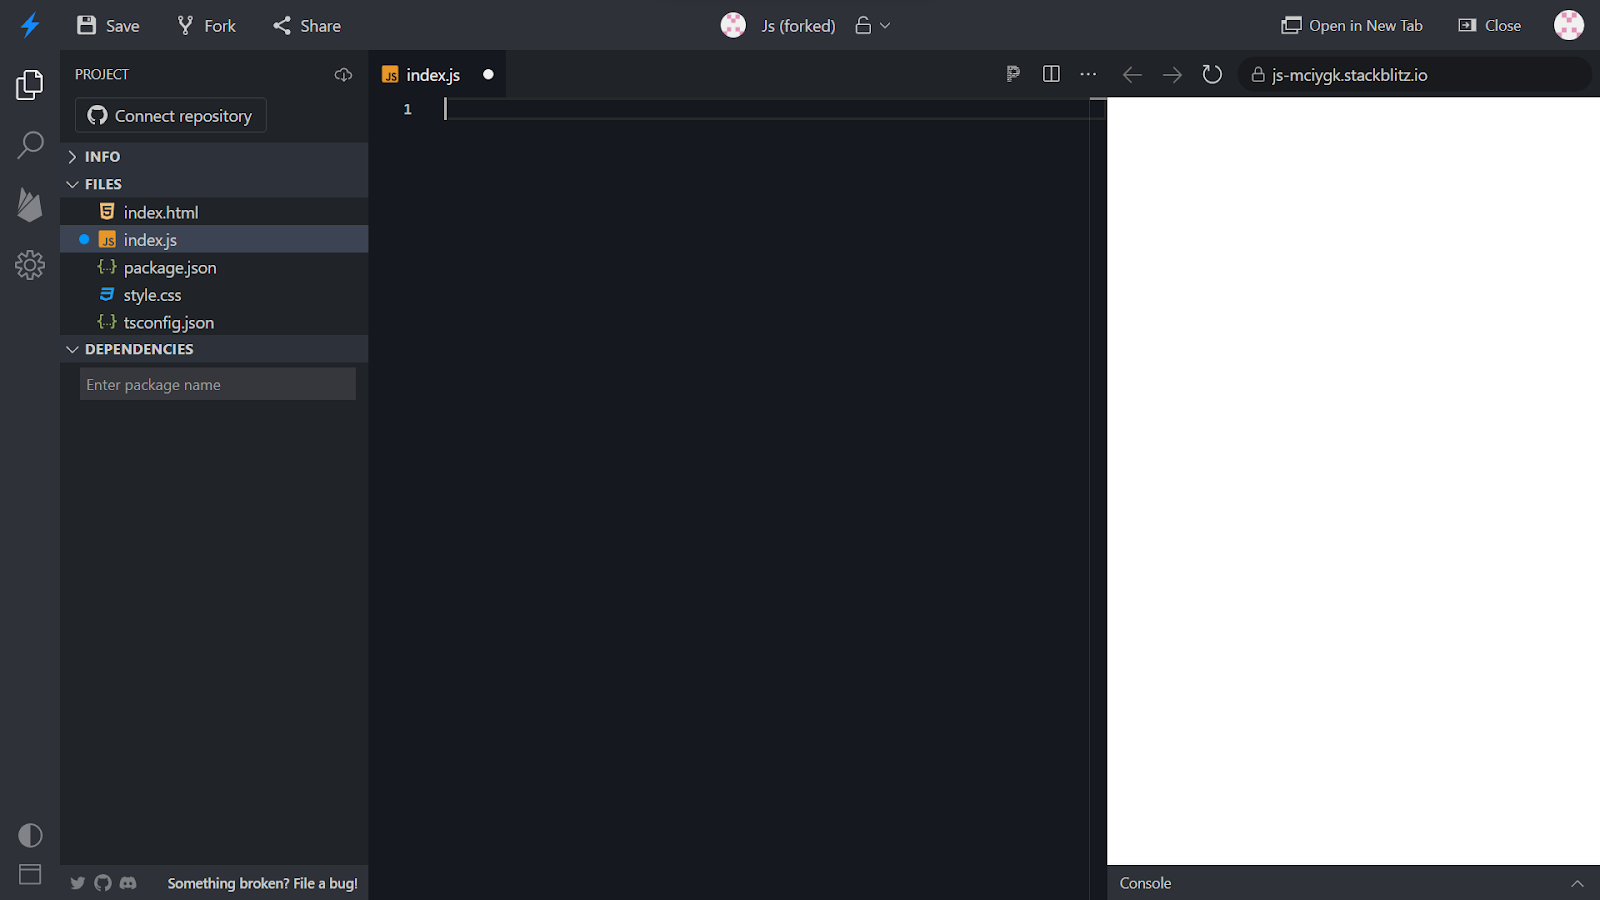
You will be navigated to a dashboard with some default files created.
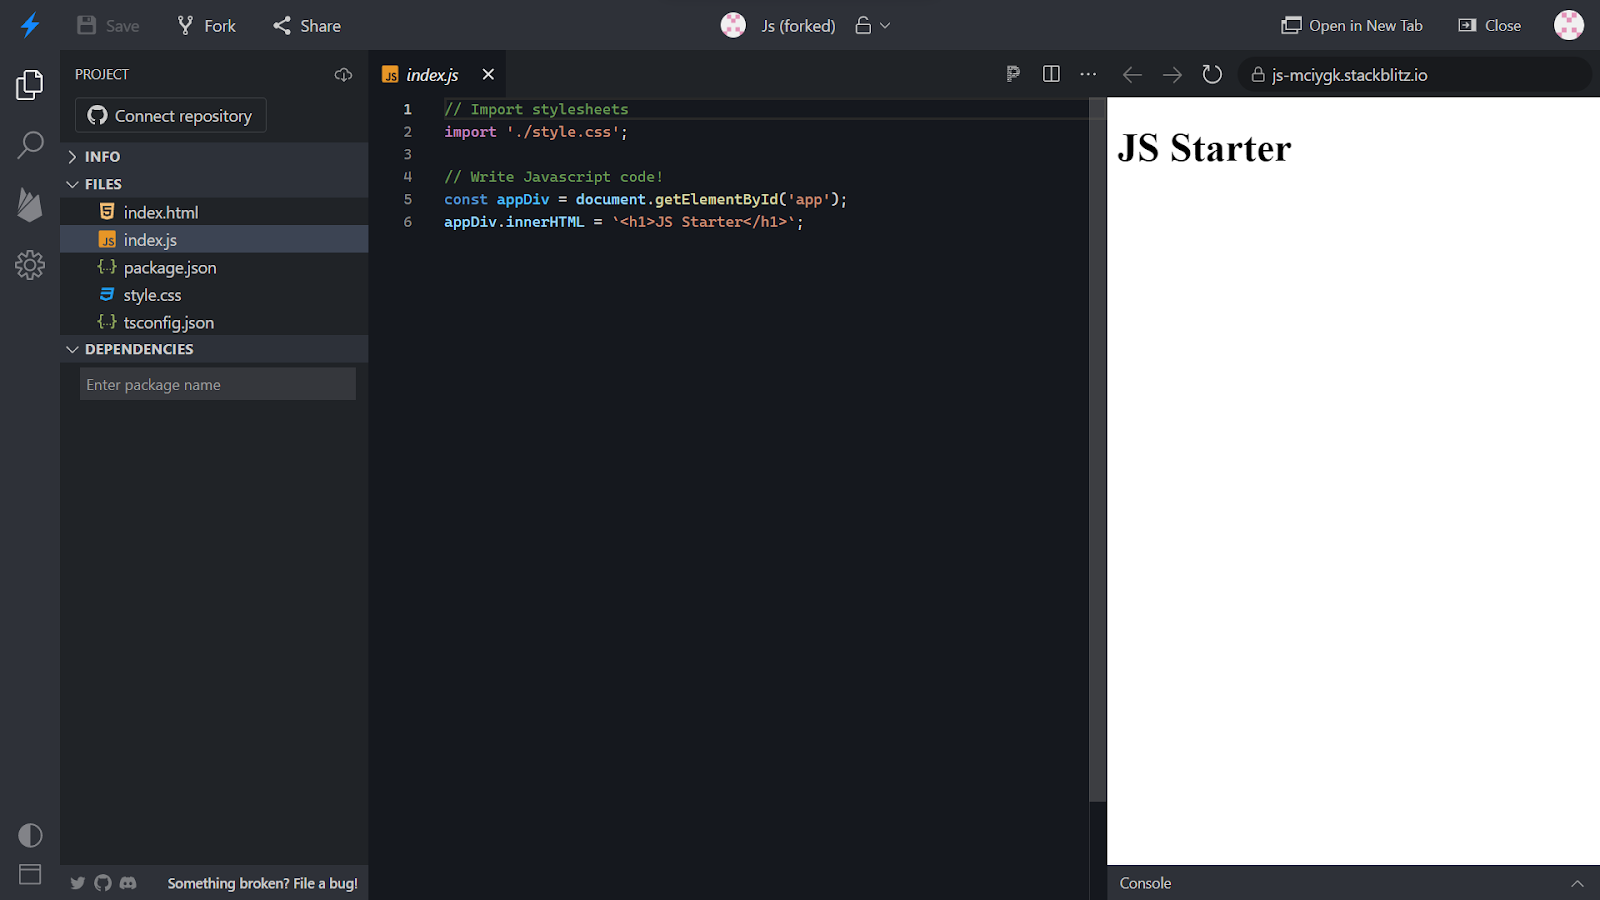
Remove the content from the index.js file.
Open the index.html file and remove the existing content.

Add the HTML opening and closing tags.

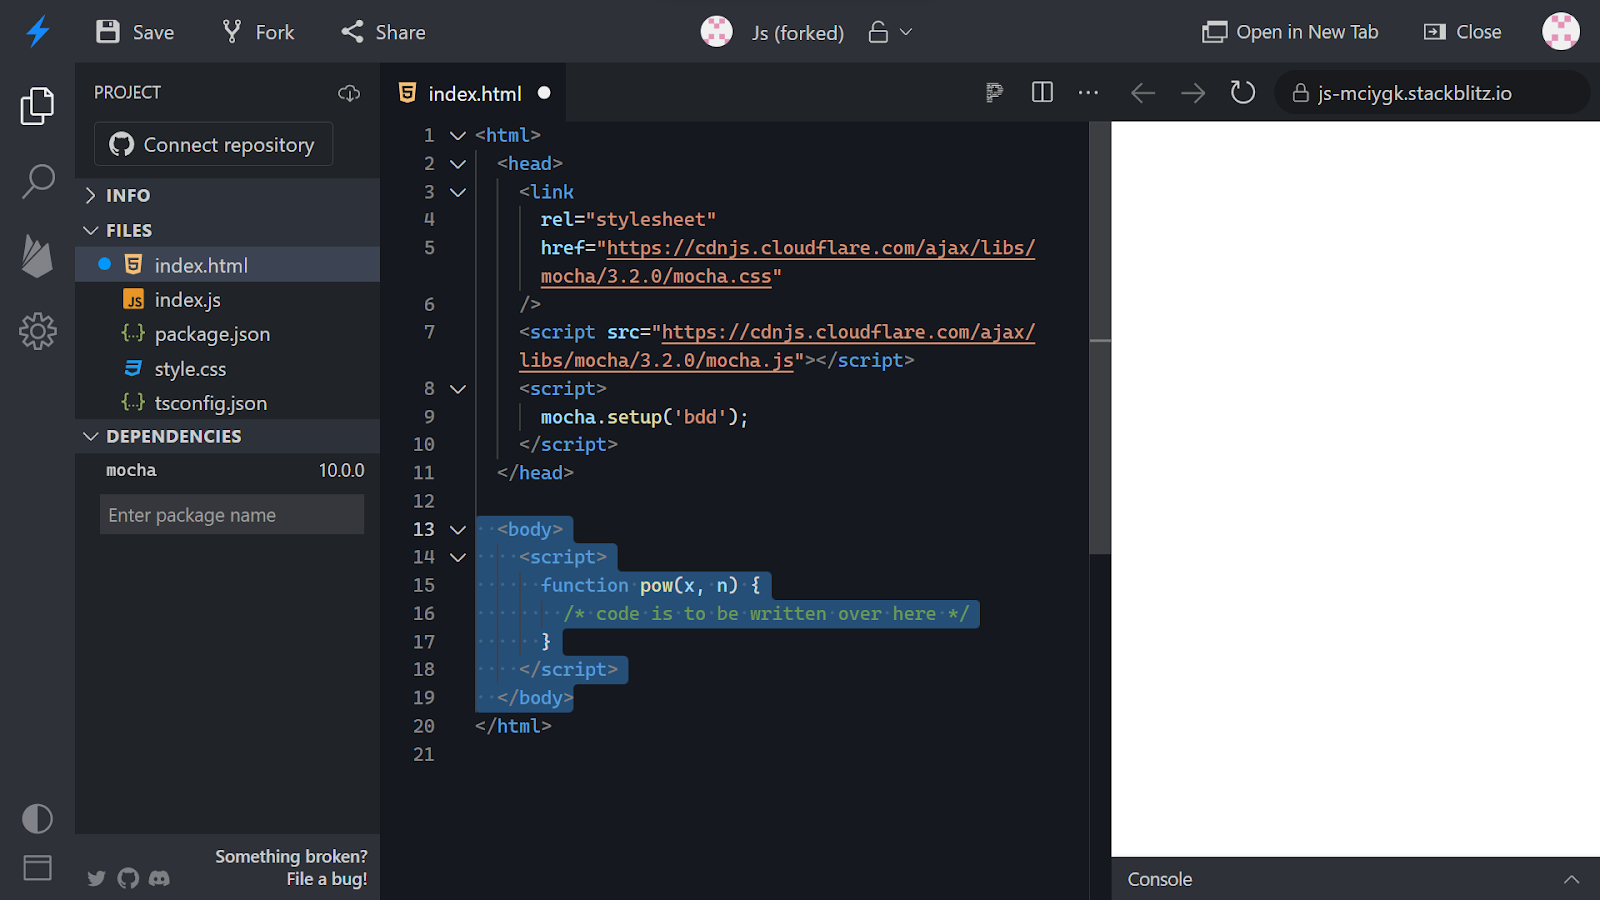
Now, add the following content in the HTML tag. We will import the mocha CSS and the mocha js cdn. Inside the script tag, we will create a setup for mocha using the inbuilt function of mocha.

Under dependencies, enter mocha and press the enter key.

On success, you will see the message Installing Dependencies.

On successful installation, you’ll see the mocha package with its version mentioned in the left navigation pane.

Open the package.json file and you’ll see the mocha package installed with its version.

Now, add a body tag inside which adds a script tag with a function pow in it.
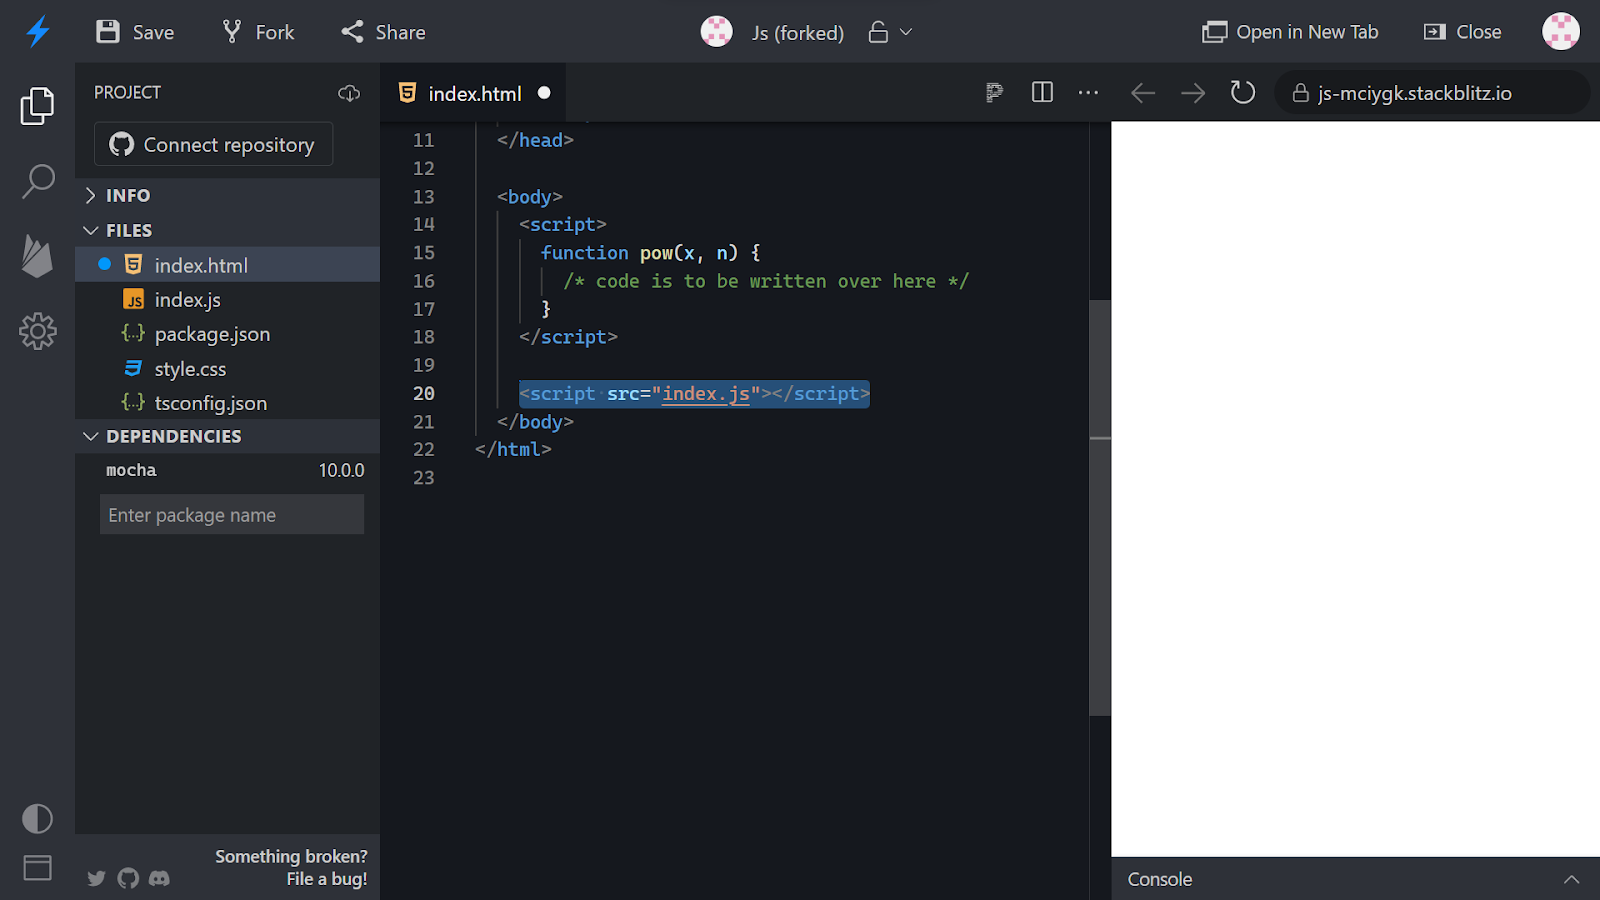
Add another script tag, importing the index.js file.
Add a div tag that will print the output of the pass or fail of tesys in it and then add a script tag inside which adds mocha.run() that will help us run the test cases.
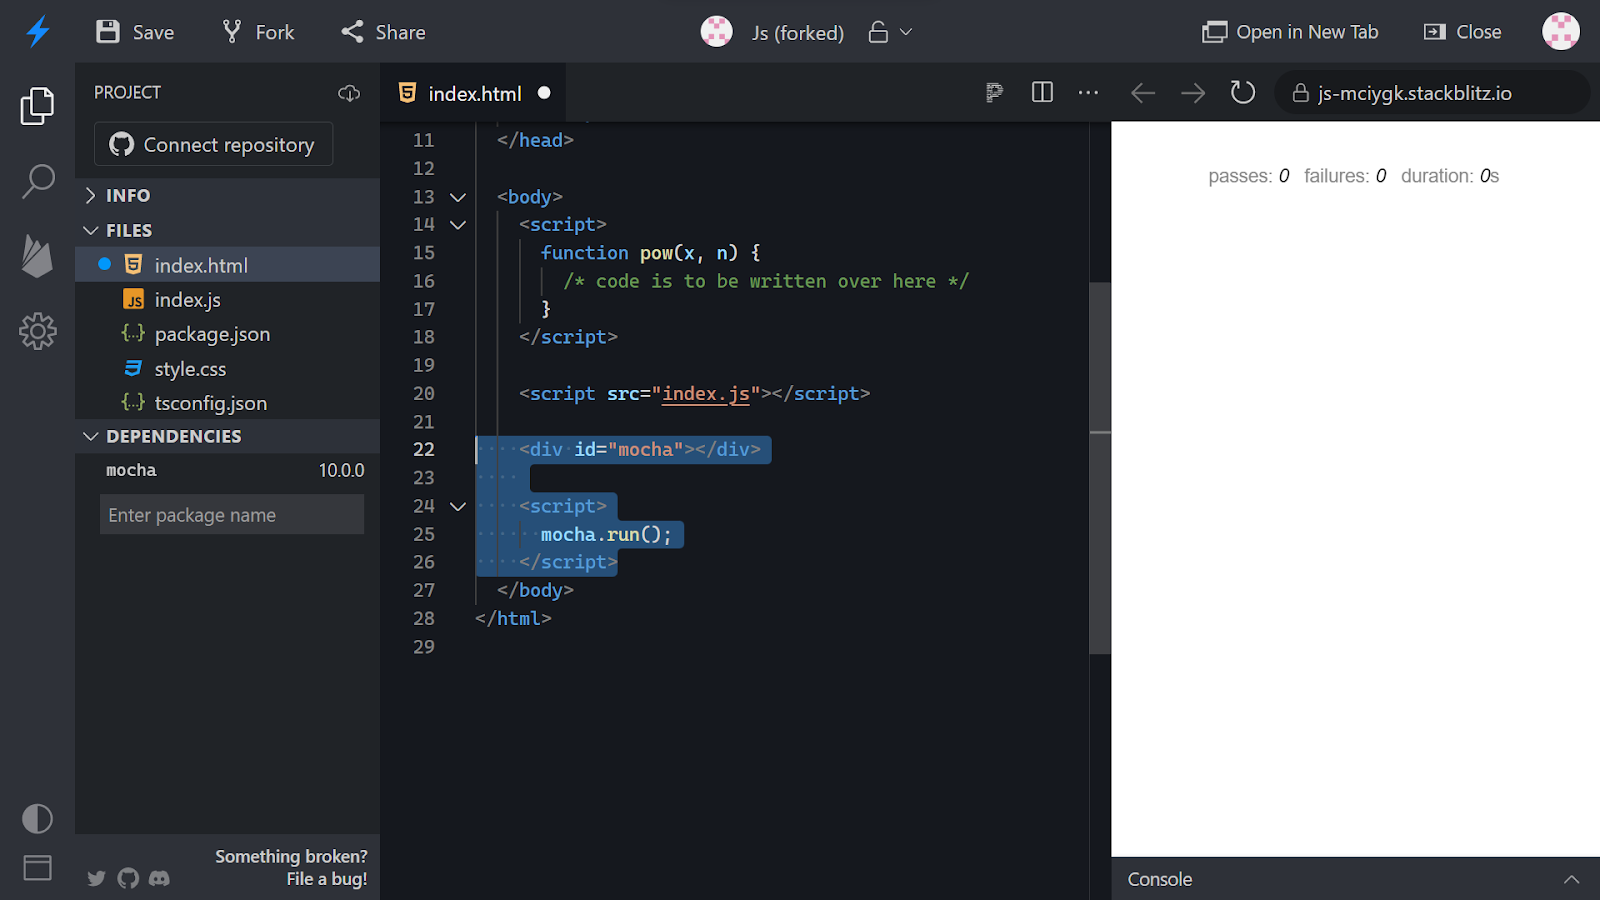
You’ll see the output on the UI as shown in the image below.

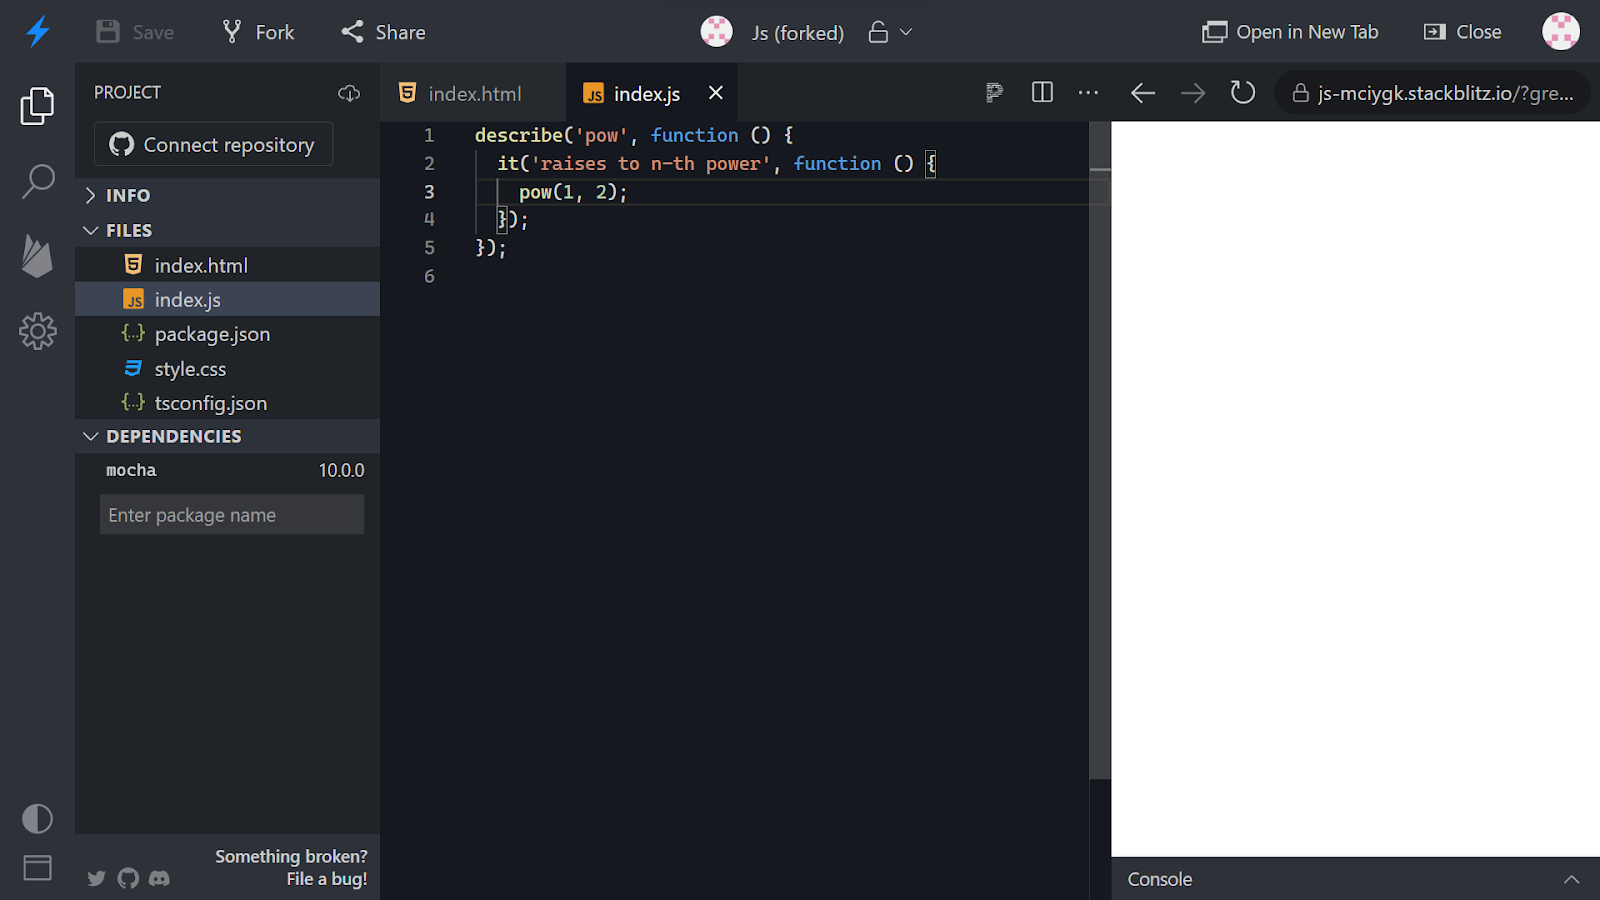
Add the following test case in the index.js file. On saving the file, you will see that the test case failed since assert is not defined. So, the failure count changed to 1 and the following error is displayed on the UI.

Remove the assert key from the code and save the file.
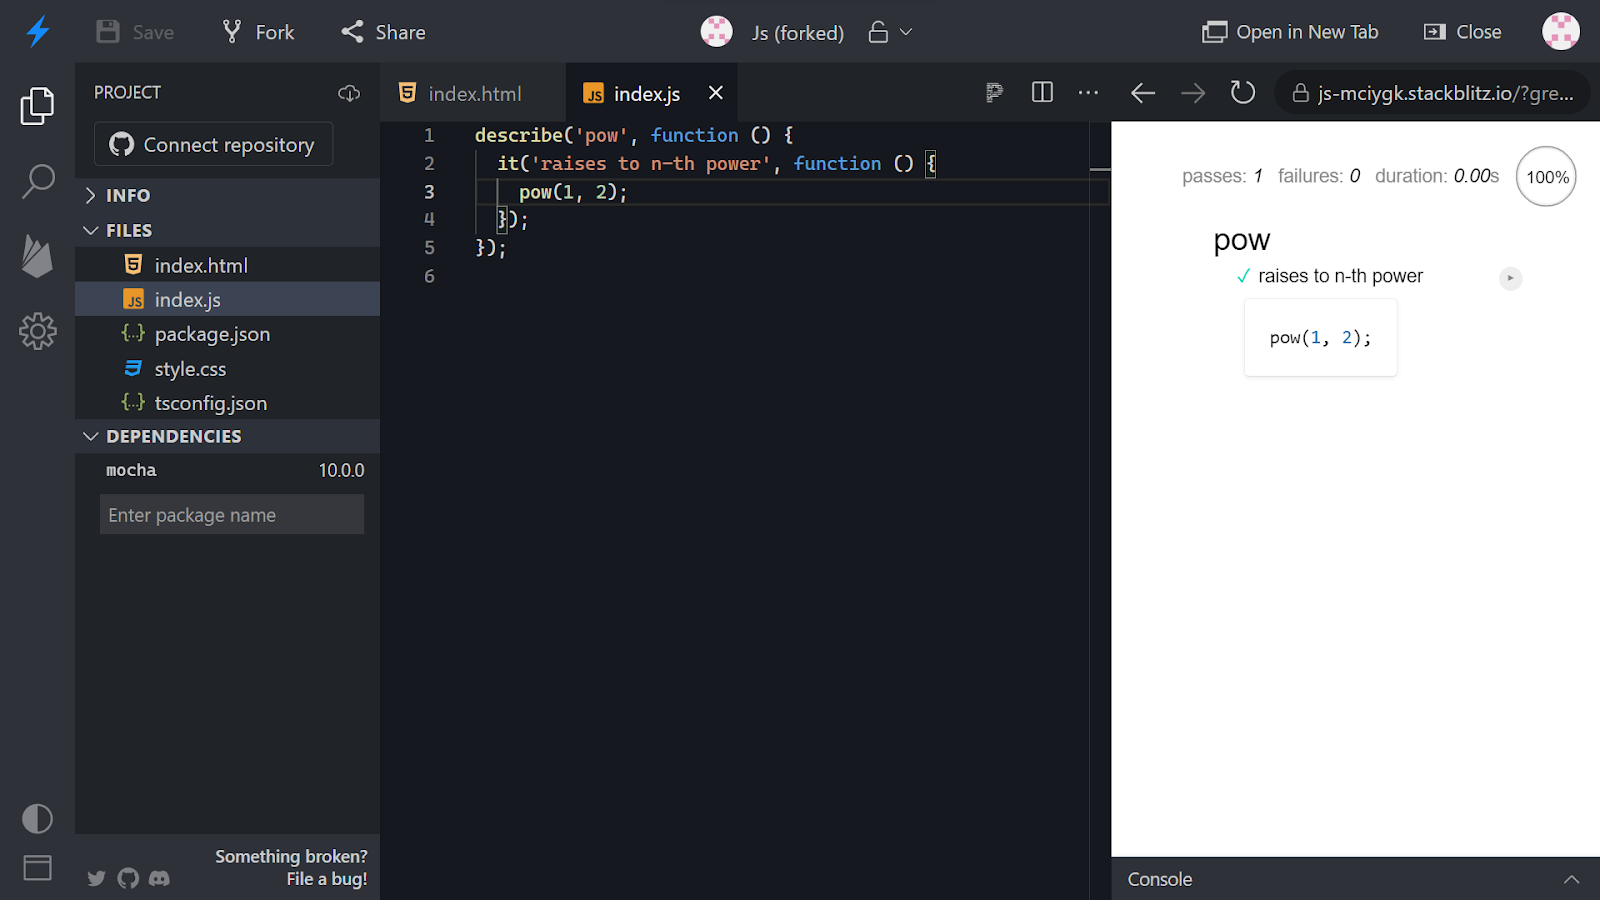
On success, you will see that the test case has now passed and the pass count will increase.

You will click on the expand arrow to see the test case condition.
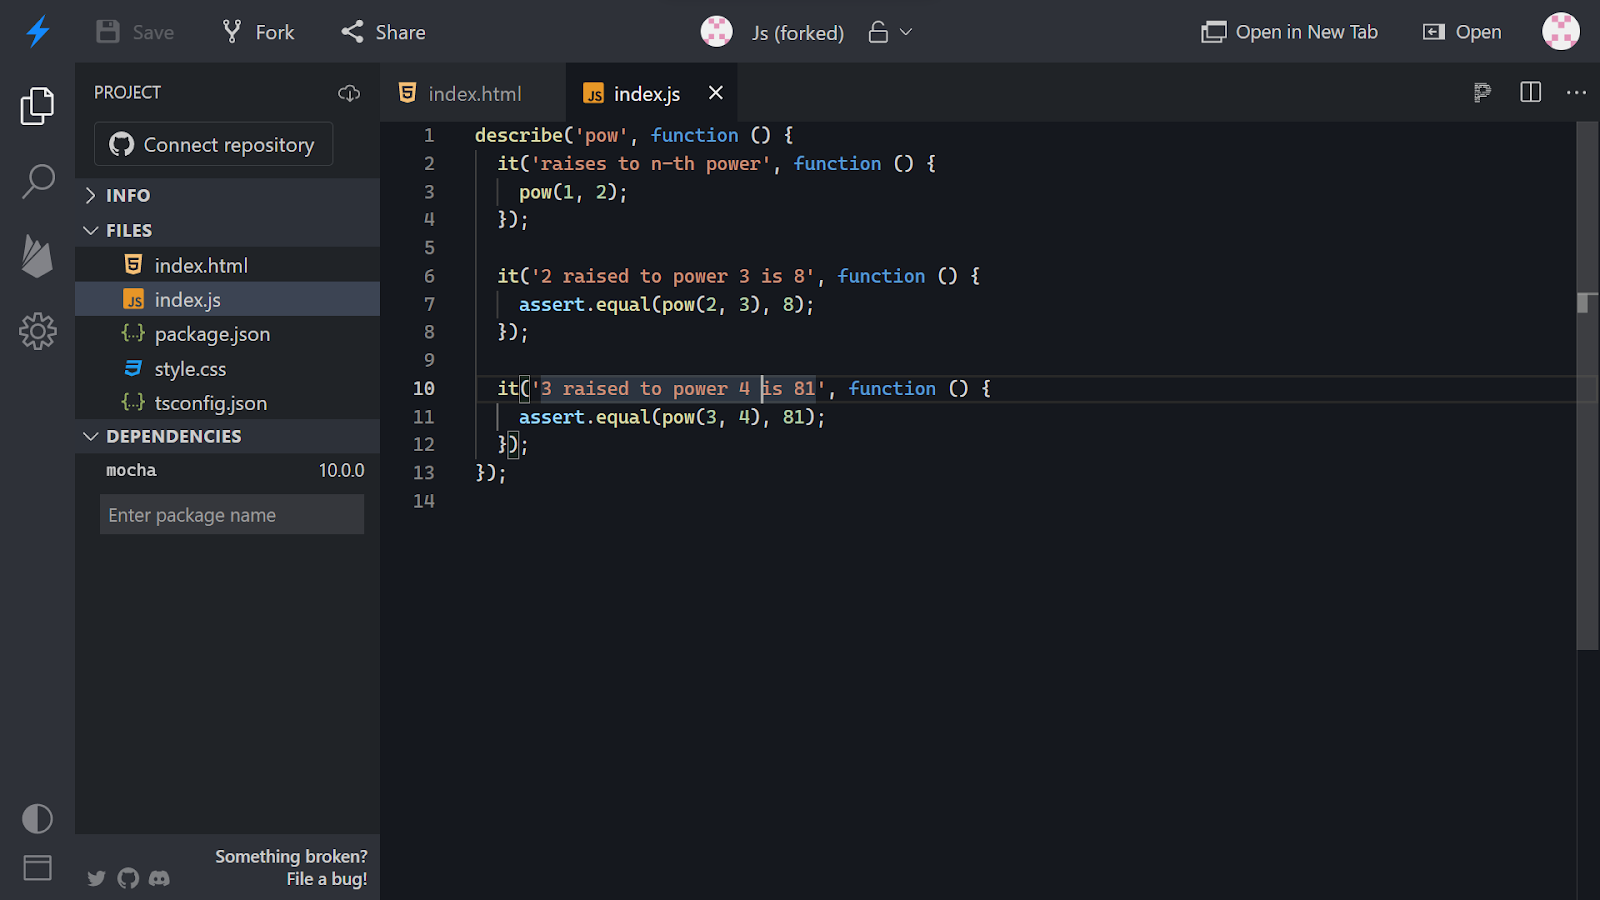
Add a few more test cases in the index.js file and save the file. Click on open in the new tab.
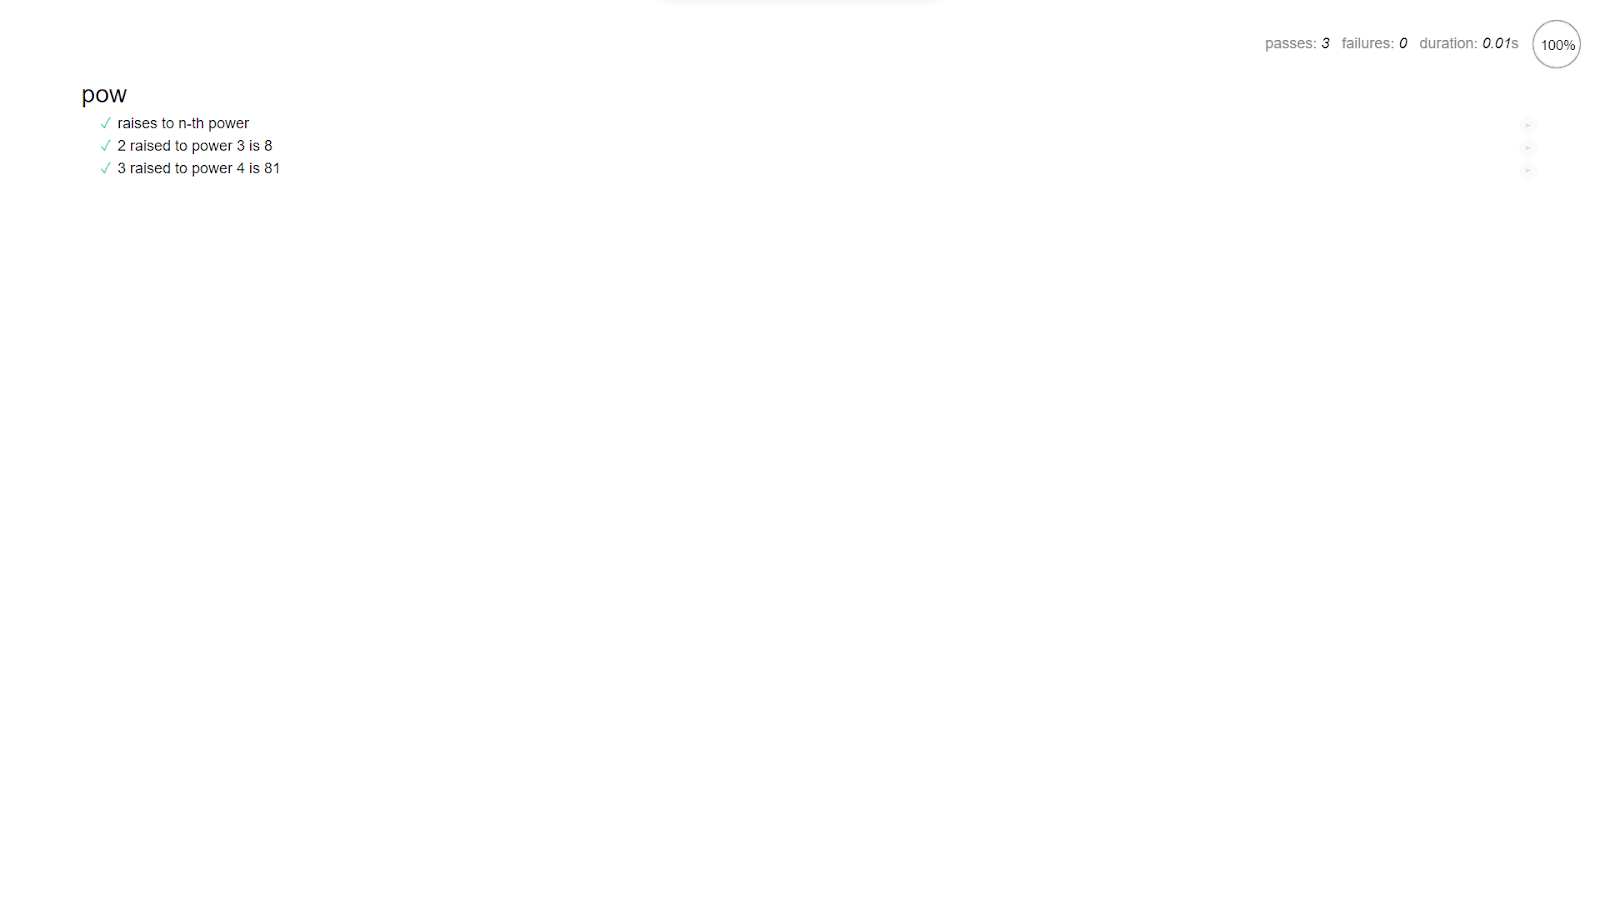
Refresh the UI and you will see the following result with the pass and fail count.

Now, let’s add some logic for the pow function. This will return the required value after the needed calculations. On adding the selected code in the below snippet, save the changes.

Now, refresh the UI and you will see that all the test cases have cleared. The pass counter will thereby increase as well.
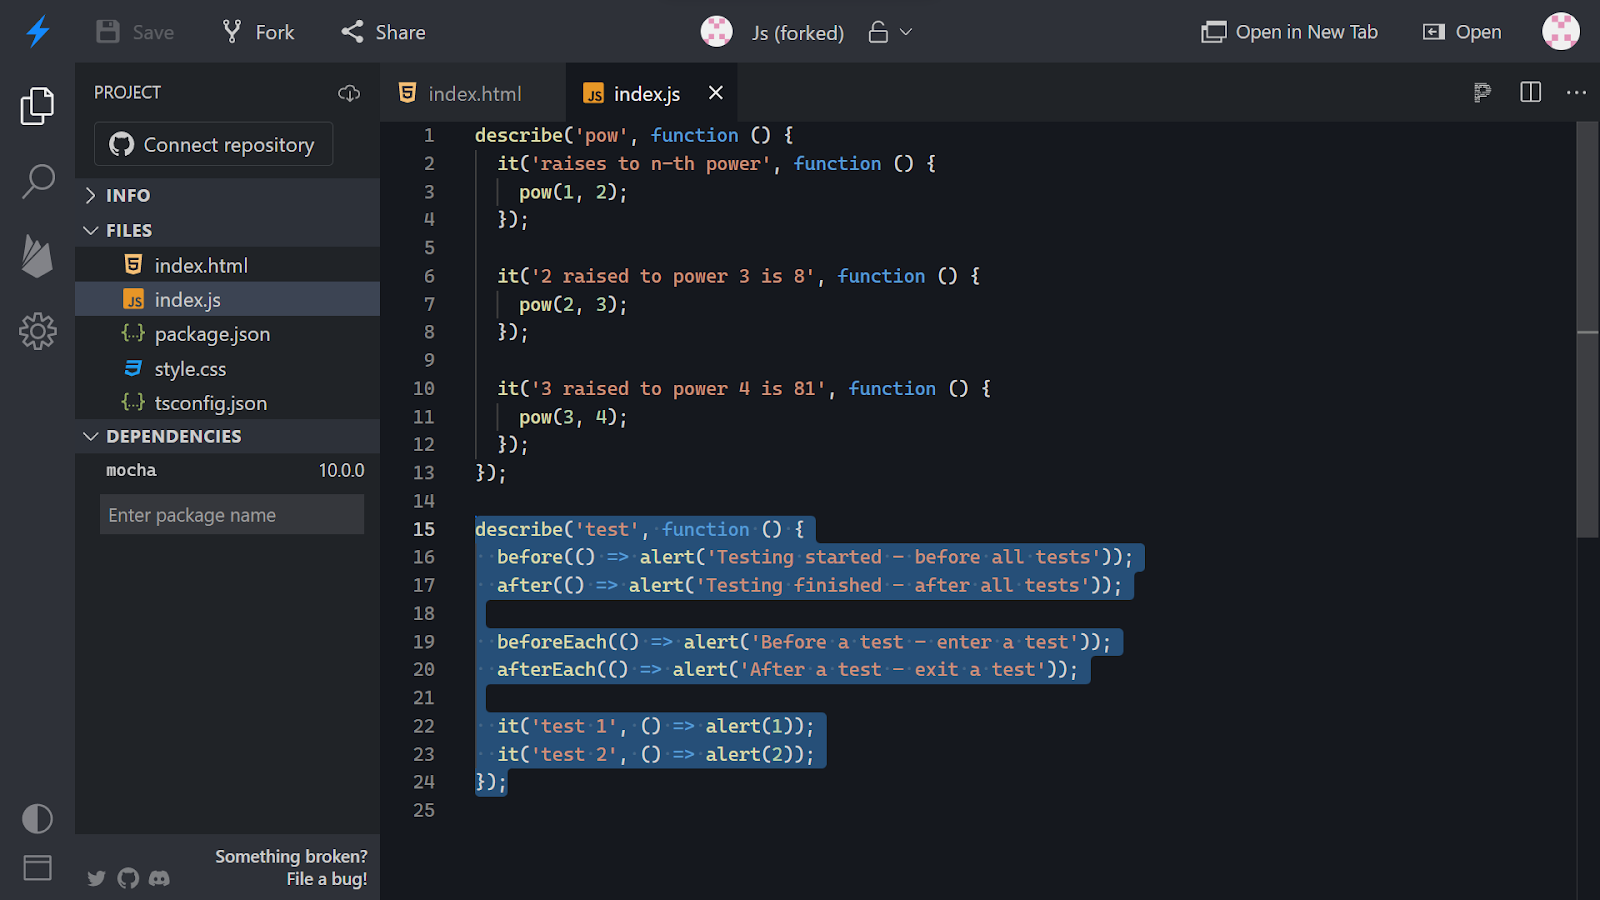
Now, let’s add a new test case for printing the required alert messages based on the hooks and displaying whether the function results in a pass or fail.
On saving the changes and refreshing the UI, you will get the first alert pop-up. Press ok.

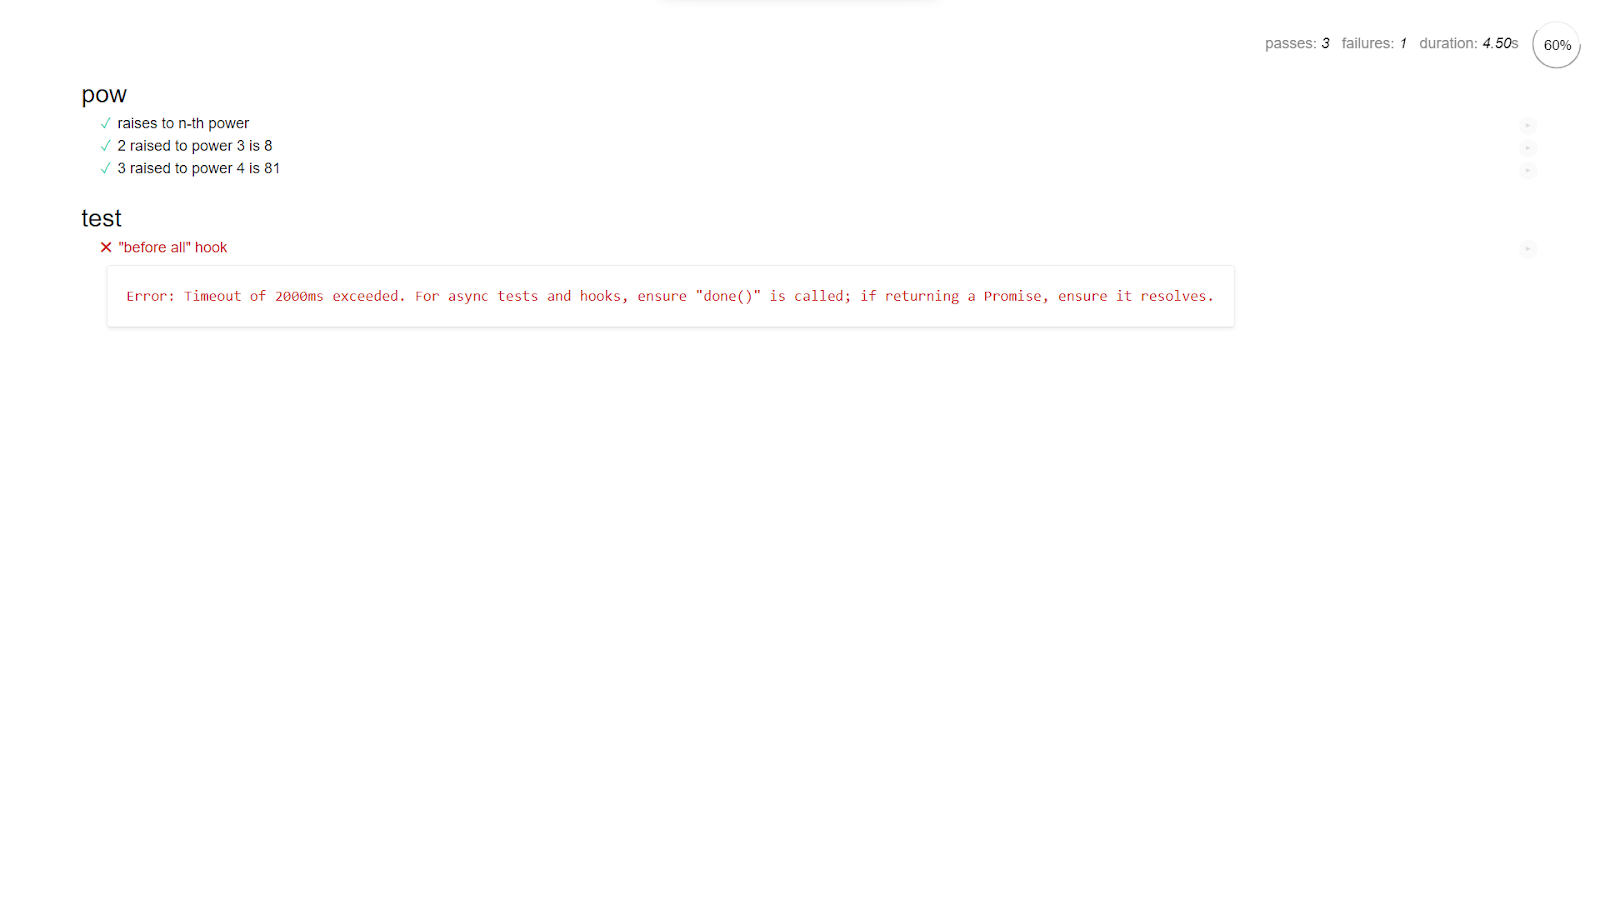
You will see that the before all hooks failed because of the timeout.
Now, the last hooks alert message will pop up. Hit ok.

You will see that both hooks failed since they were performing async operations and returning a promise without being resolved.

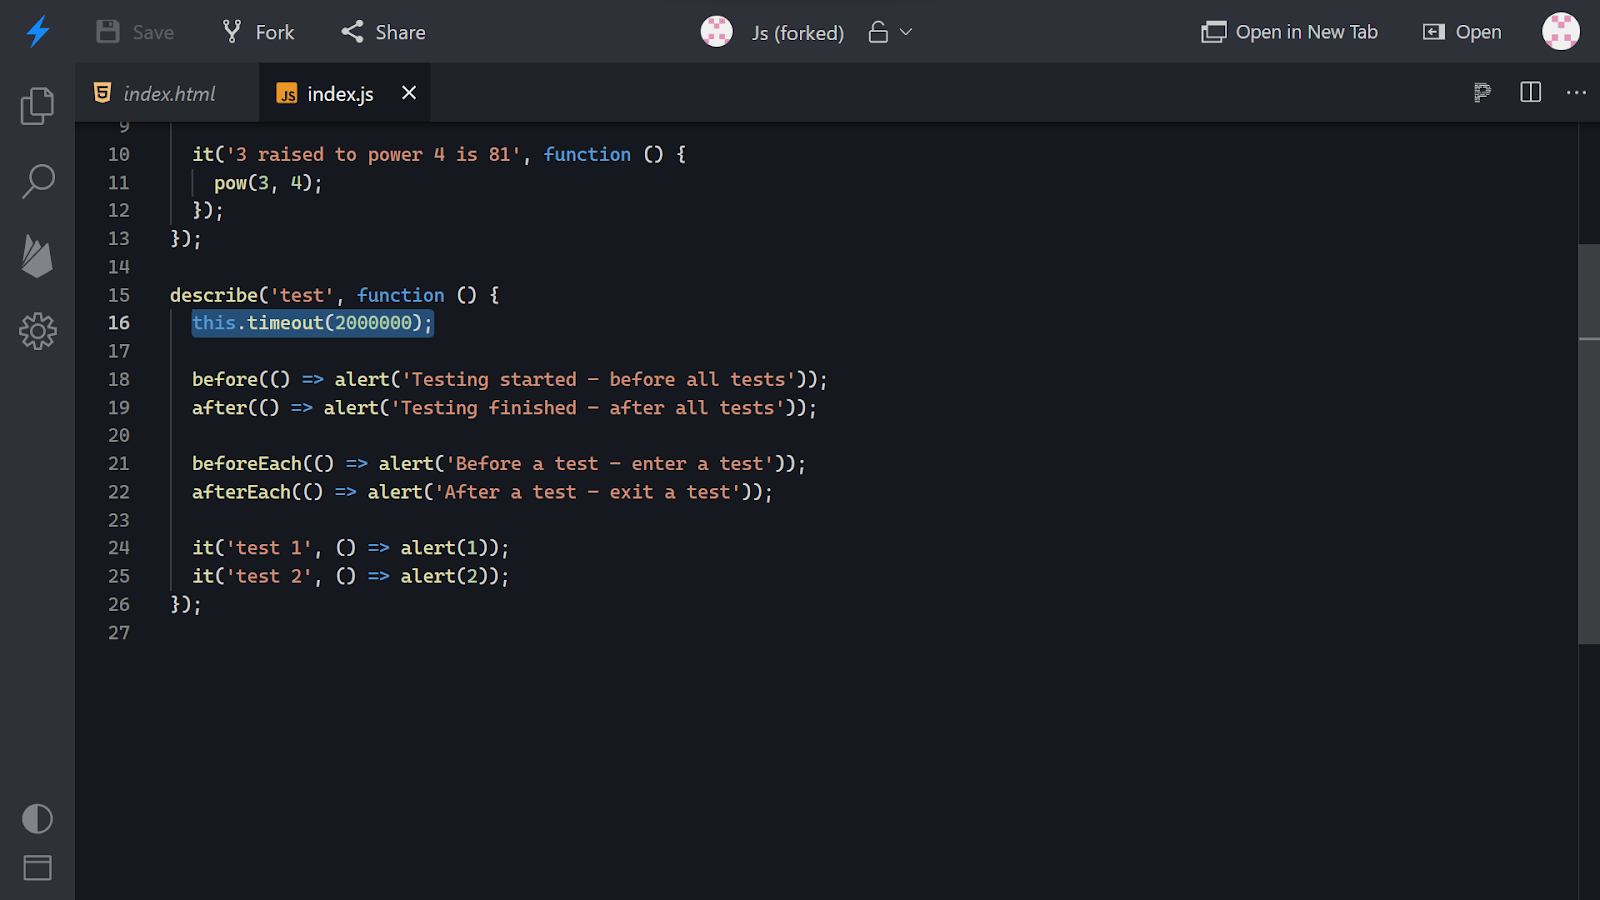
Now, in order to pass those tests, let’s make some code changes to add timeouts in order to run async operations. Navigate back to the code editor and open the index.js file.

Make the following changes in the code as shown in the image below and save the changes.
Now, refresh the UI. You’ll see the sequence of alerts popping up. Keep pressing Ok and the message on the alert boxes will take you through the sequence. The first test case will then pass.
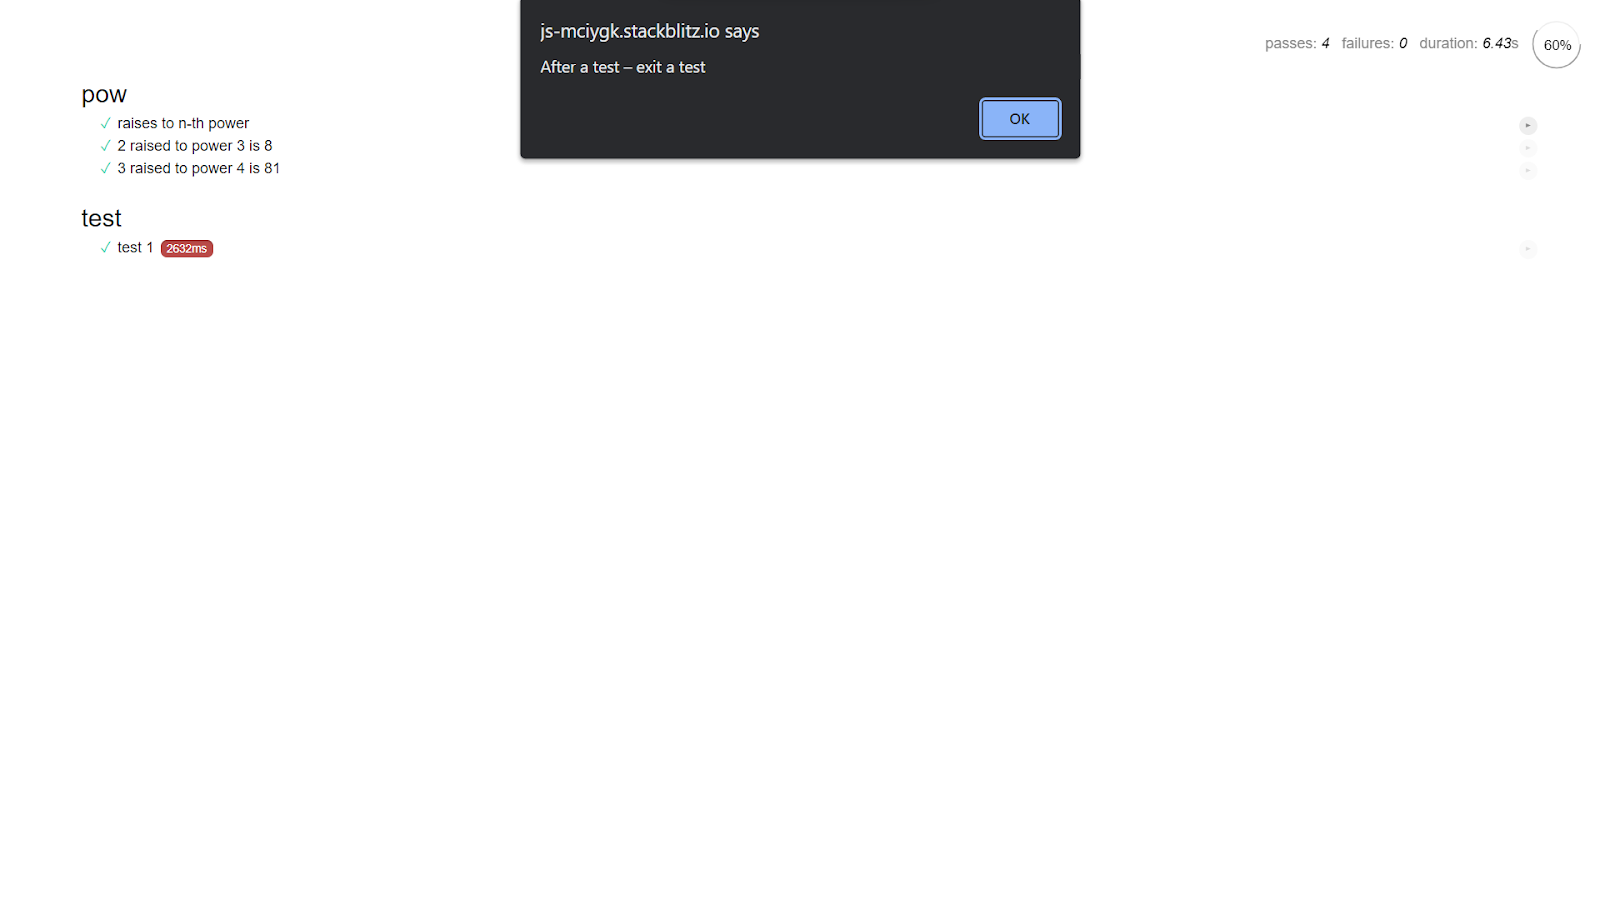
Similarly, for test 2, the second test case will pass too.

On the top right of the page, you will get to see the time it took overall to execute the same.

Conclusion
In this hands-on, we began with an online compiler for JavaScript called StackBlitz that gives us the flexibility of an already created folder and file structure. We used this compiler to create flexibility to write test cases and test the JavaScript code using an npm package called Mocha. We began by removing the default code from the already created files. We then imported the cdn’s of Mocha (its styling and its functionality) so that we could utilize the functionality to run and test our test cases. We then added some additional scripts to be able to use the functionality of Mocha to run the test cases.
Then, we added some more scripts in the body tag to create a new function that we used for our test cases. Post that, we imported a locally created js file in the same code base inside a script tag. Opening up the js file, we created a test case that utilized and tested the function created in the script tag. We then executed the different cases and checked out how Mocha passes and fails the test cases. On completion, we added new test cases to test the asynchronous functionality of a function with hooks. We first ran the test case synchronously and checked Mocha’s result. To clear the test case, since it was required to perform an async operation, we then added a timeout to utilize the async capability and ran the test case again which then returned the positive results of the test cases for all the hooks added in the function. We will come up with more such use cases in our upcoming blogs.
Meanwhile…
If you are an aspiring Frontend Developer and want to explore more about the above topics, here are a few of our blogs for your reference:
- How to make use of an npm package Highcharts to plot Network Graphs in Angular?
- How to Build a Hybrid App using React Native?
Keep Exploring -> Keep Learning -> Keep Mastering
At Workfall, we strive to provide the best tech and pay opportunities to kickass coders around the world. If you’re looking to work with global clients, build cutting-edge products and make big bucks doing so, give it a shot at workfall.com/partner today!