
What is Socket.io?
Socket.io, a widely-used JavaScript library, offers a framework for facilitating real-time, two-way communication between web clients (like browsers) and servers. It uses WebSockets as the primary communication method but also offers fallback options such as long polling for environments where WebSockets may not be supported. This makes it a powerful tool for building interactive and dynamic web applications that require instant data exchange between clients and servers, such as chat applications, online gaming, collaborative tools, and more.
Why Socket.io?
Socket.io is a JavaScript library preferred for real-time communication in web applications due to its seamless bidirectional data exchange between clients and servers, utilizing WebSockets with fallback mechanisms like long polling for broader compatibility. Its user-friendly API simplifies development, embracing an event-driven structure for custom interactions. Scalable and versatile, Socket.IO enables both small-scale projects and large-scale applications to manage concurrent connections efficiently. Its extensive community and documentation resources further enhance its appeal, making it an ideal choice for creating dynamic and interactive web experiences.
Hands-On

Required installations:
To perform the demo, you require the following installations:
- Node js: It offers an efficient runtime environment for developing server-side and networking applications using JavaScript.
- Socket.io: Socket.io is a JavaScript library that enables real-time, bidirectional communication between web clients and servers.
- VS Code: It is a feature-rich source code editor designed to enhance coding speed and efficiency by offering a wide range of useful tools.
- Live Server: It is a VS Code extension that enables real-time preview and live reloading for web development.
In this hands-on, we will learn how to leverage Web Sockets and Node.js in order to develop a chat web application using the Socket.io library. We will begin by setting up a dedicated project directory and then proceed to install the socket.io library.
Following that, we will write the backend logic for our application and move on to designing the application’s front-end using HTML and CSS.
Additionally, we will craft the client-side code logic using the socket.io library. Throughout the process, we will conduct regular testing to ensure the application functions smoothly both in terms of user interface and backend functionality. By following these steps, you are about to embark on an enjoyable and rewarding journey of building your own chat application.
The principles covered in this tutorial will be applicable to programming languages or technologies that support Web Sockets.
Create a new directory on your local machine.
Open VS Code and click on open, to open the directory you just created.
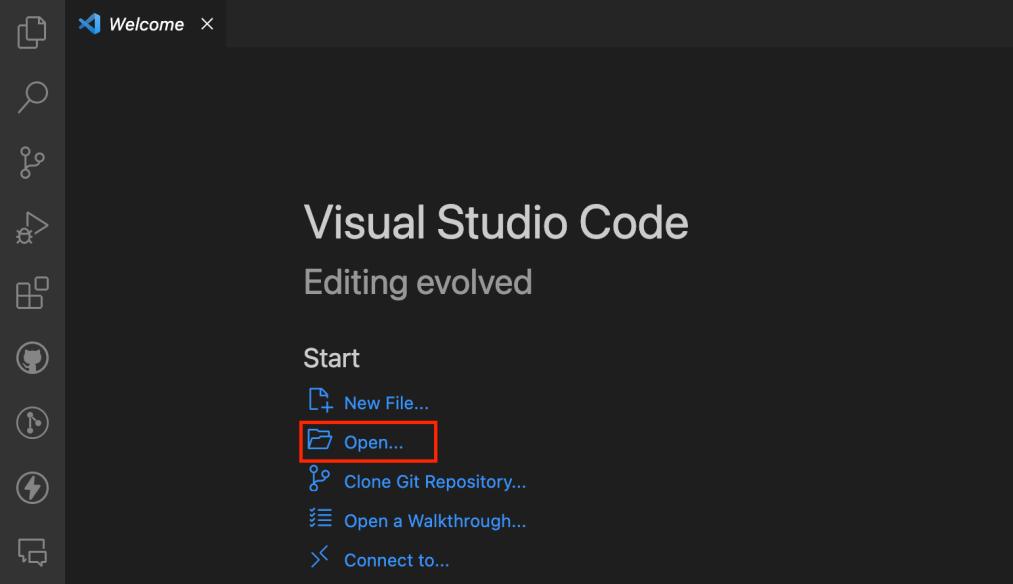
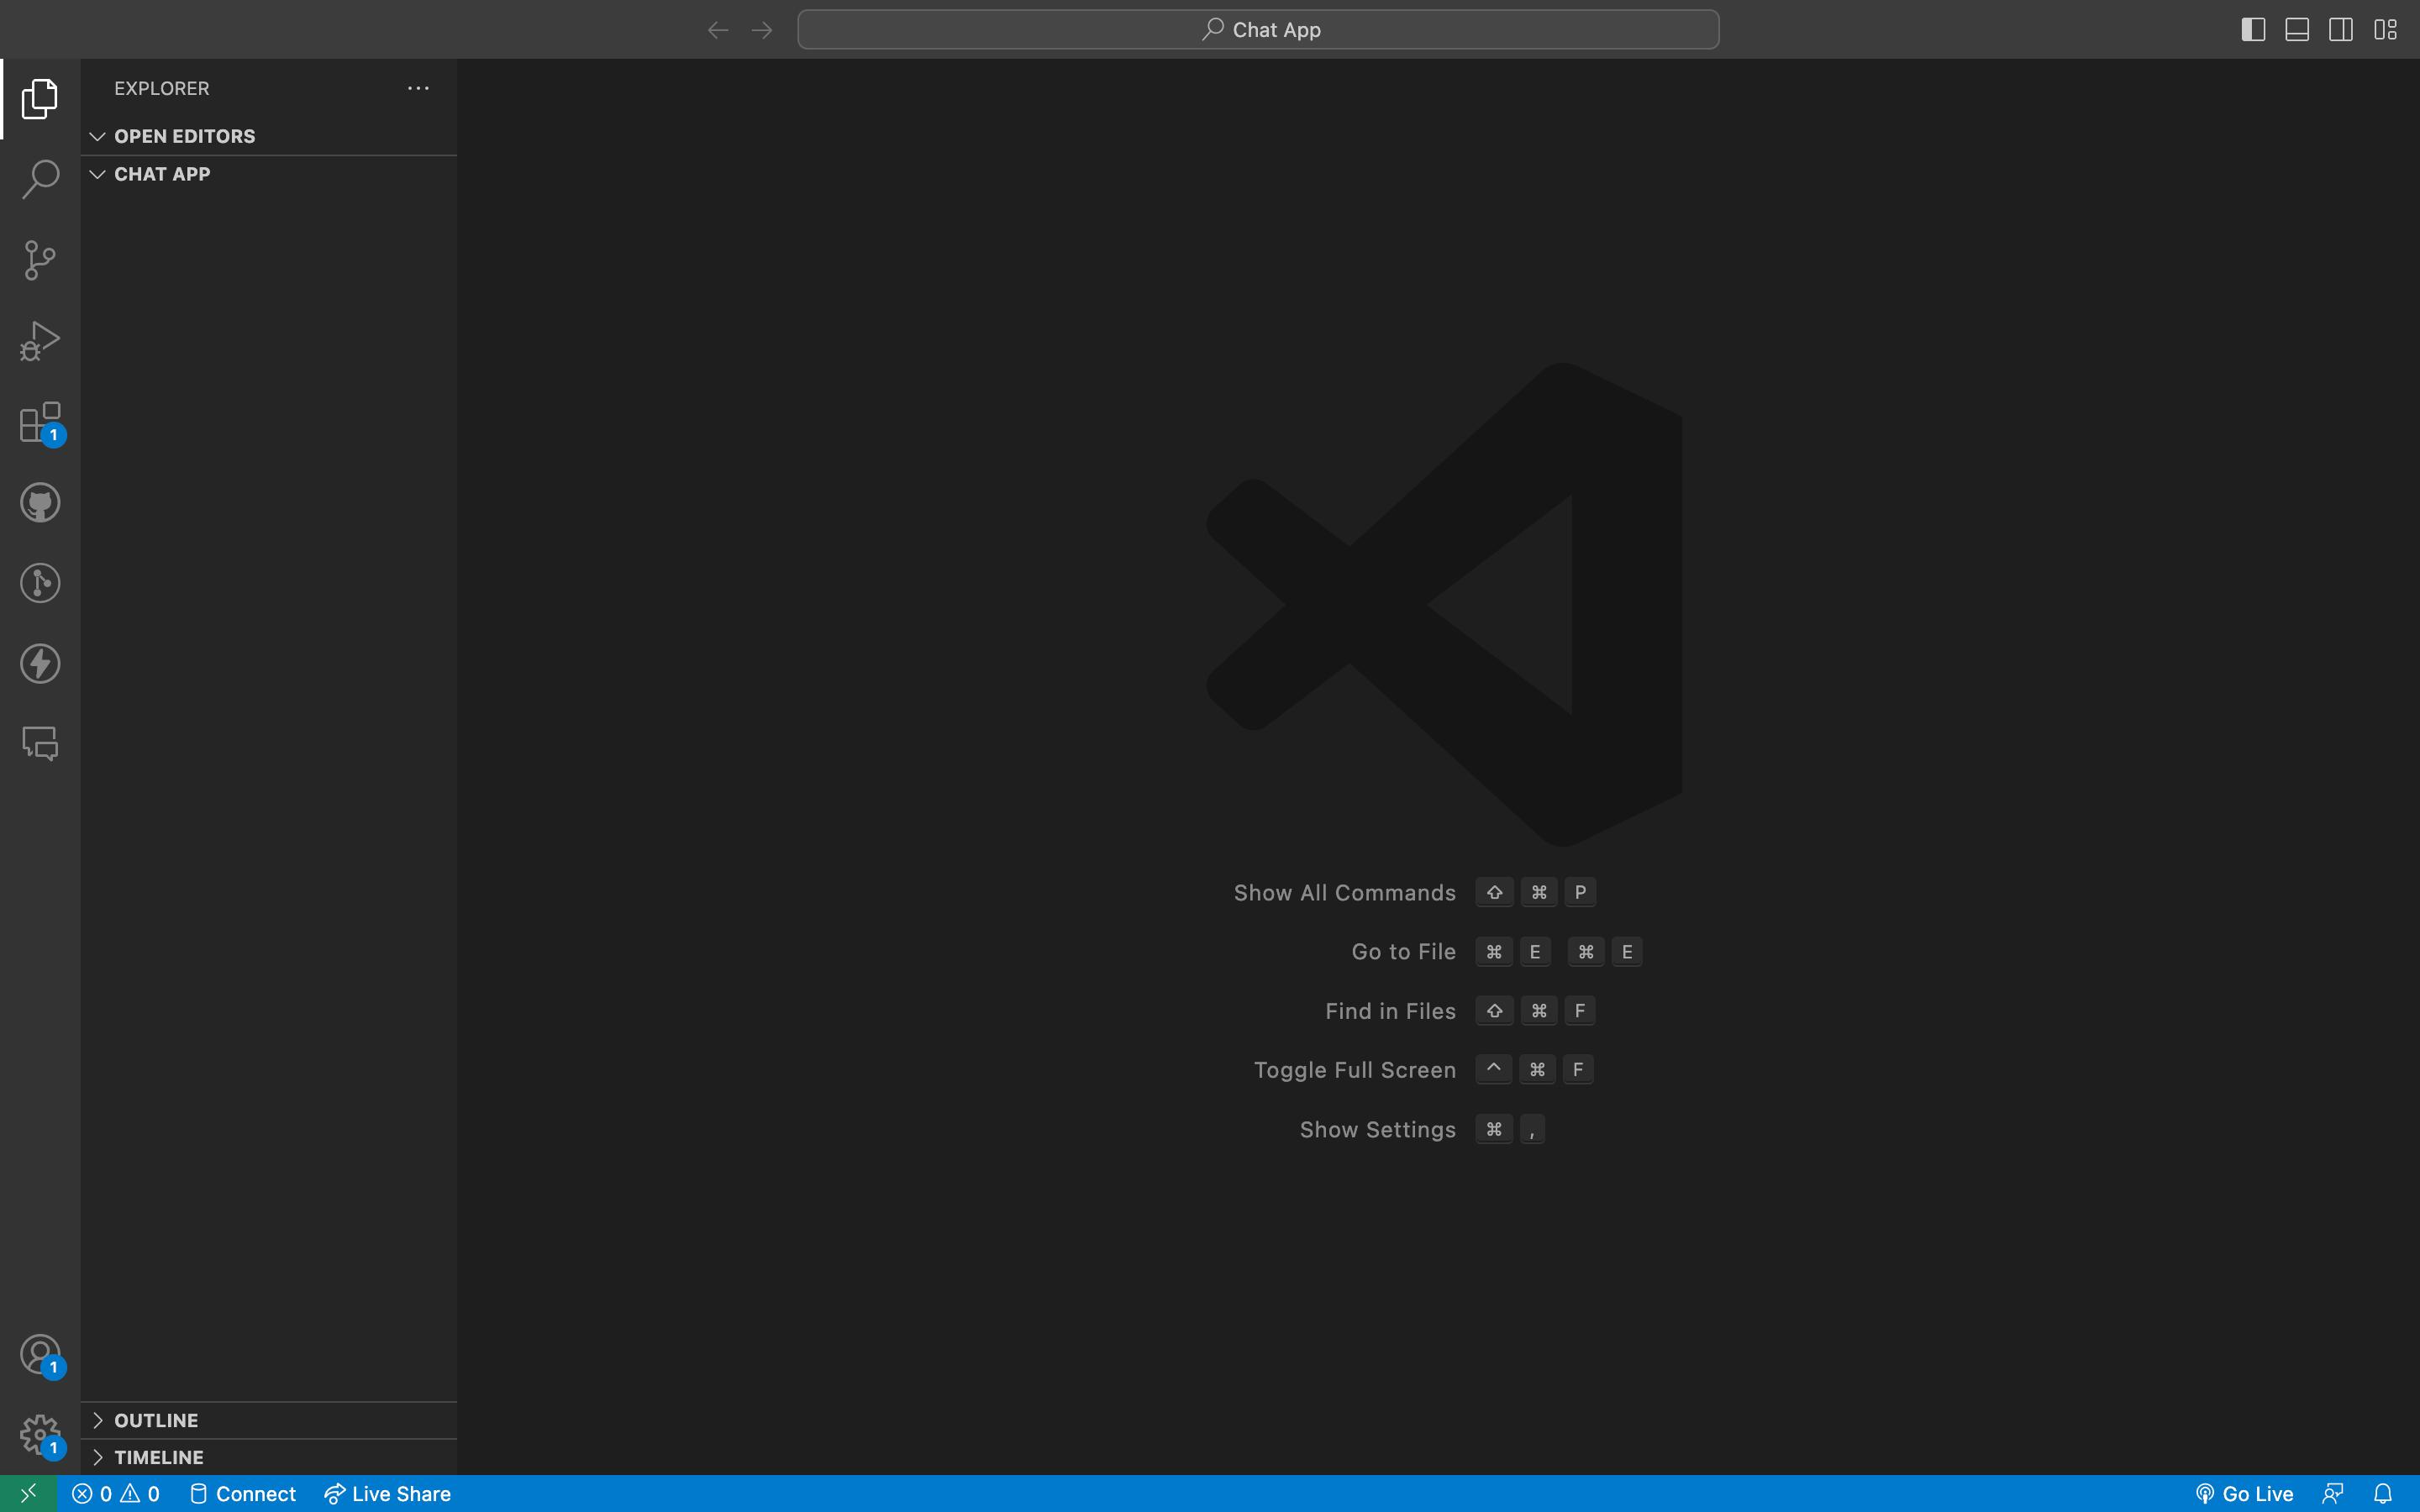
After opening the newly created directory, you will see a welcome screen like this.
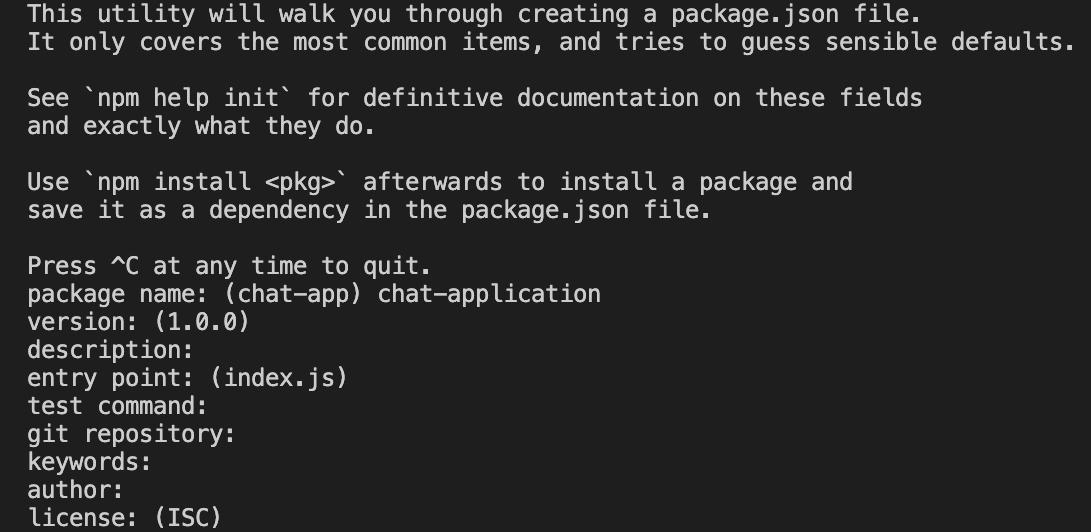
Open the command prompt and run the command npm init.

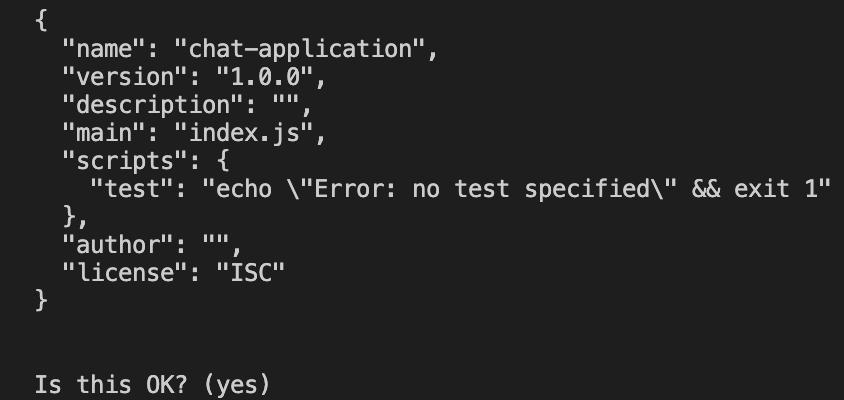
If Node is properly installed on your machine, then you will see the screen below. Enter a name for the project. Press enter.
Enter yes and press the enter key or else just press the enter key to initialize the folder creation.
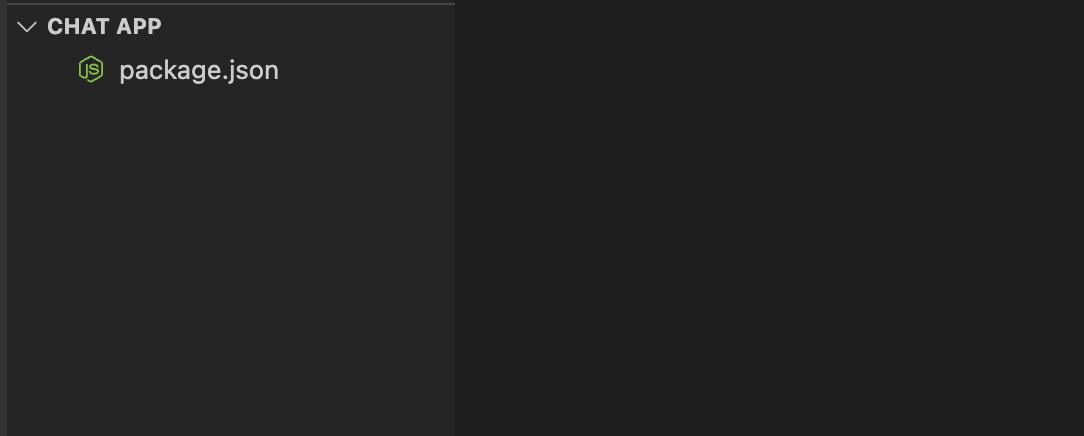
Now, in the folder structure on the left side, you will see a new file with the name package.json.
Open your command prompt and run the command as shown in the image below.
npm install socket.io

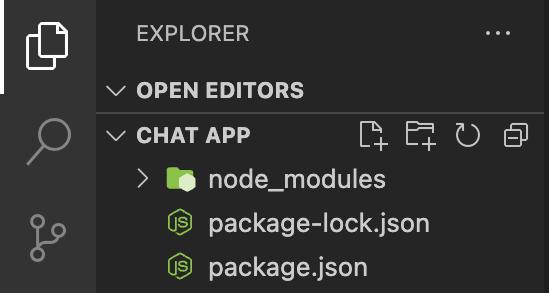
On successful installation, you will see the screen as shown in the image below.

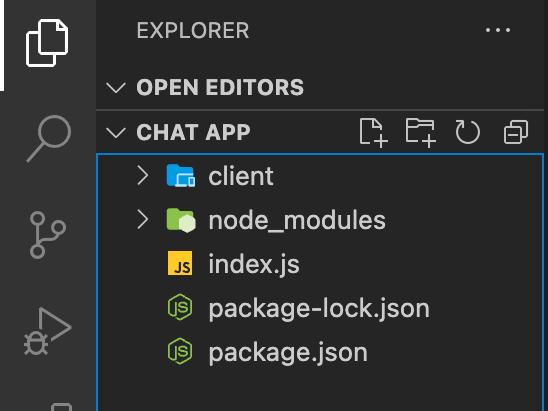
In the file structure, you will get to see the new folders and files created based on the packages you install.
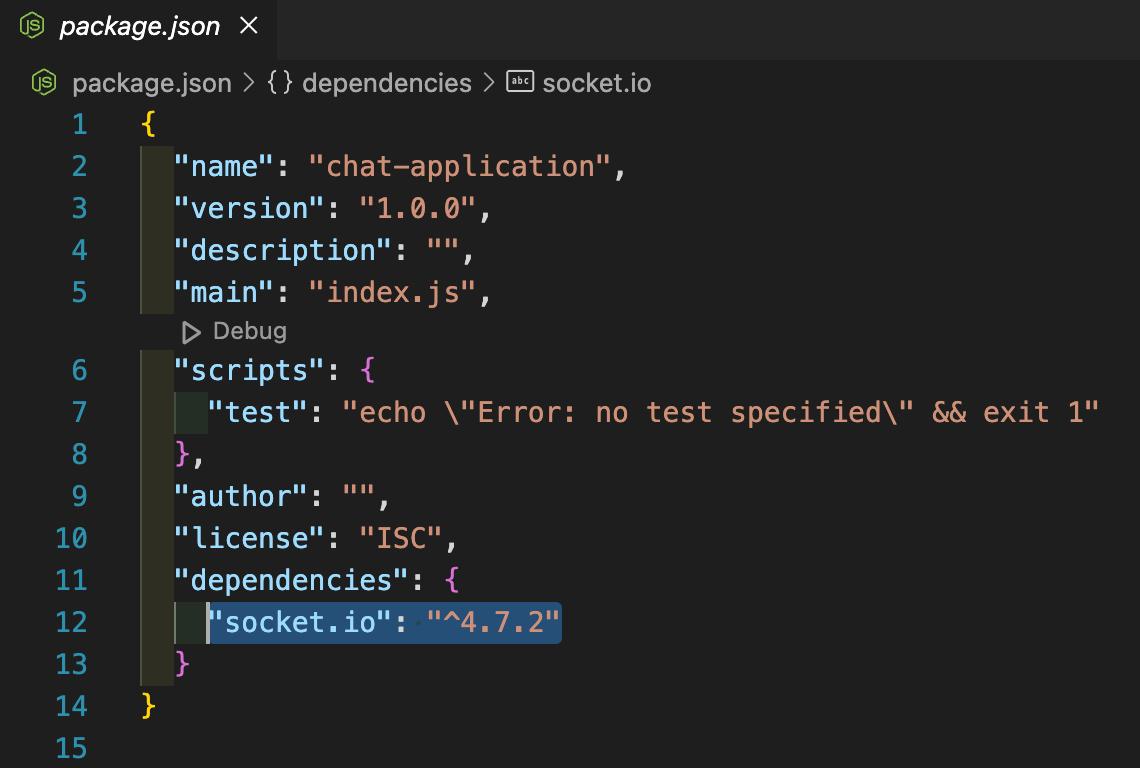
Now, post-installation if you open the package JSON file, you will see the socket.io package installed.
Now, right-click on the folder structure and click on Create a new file.
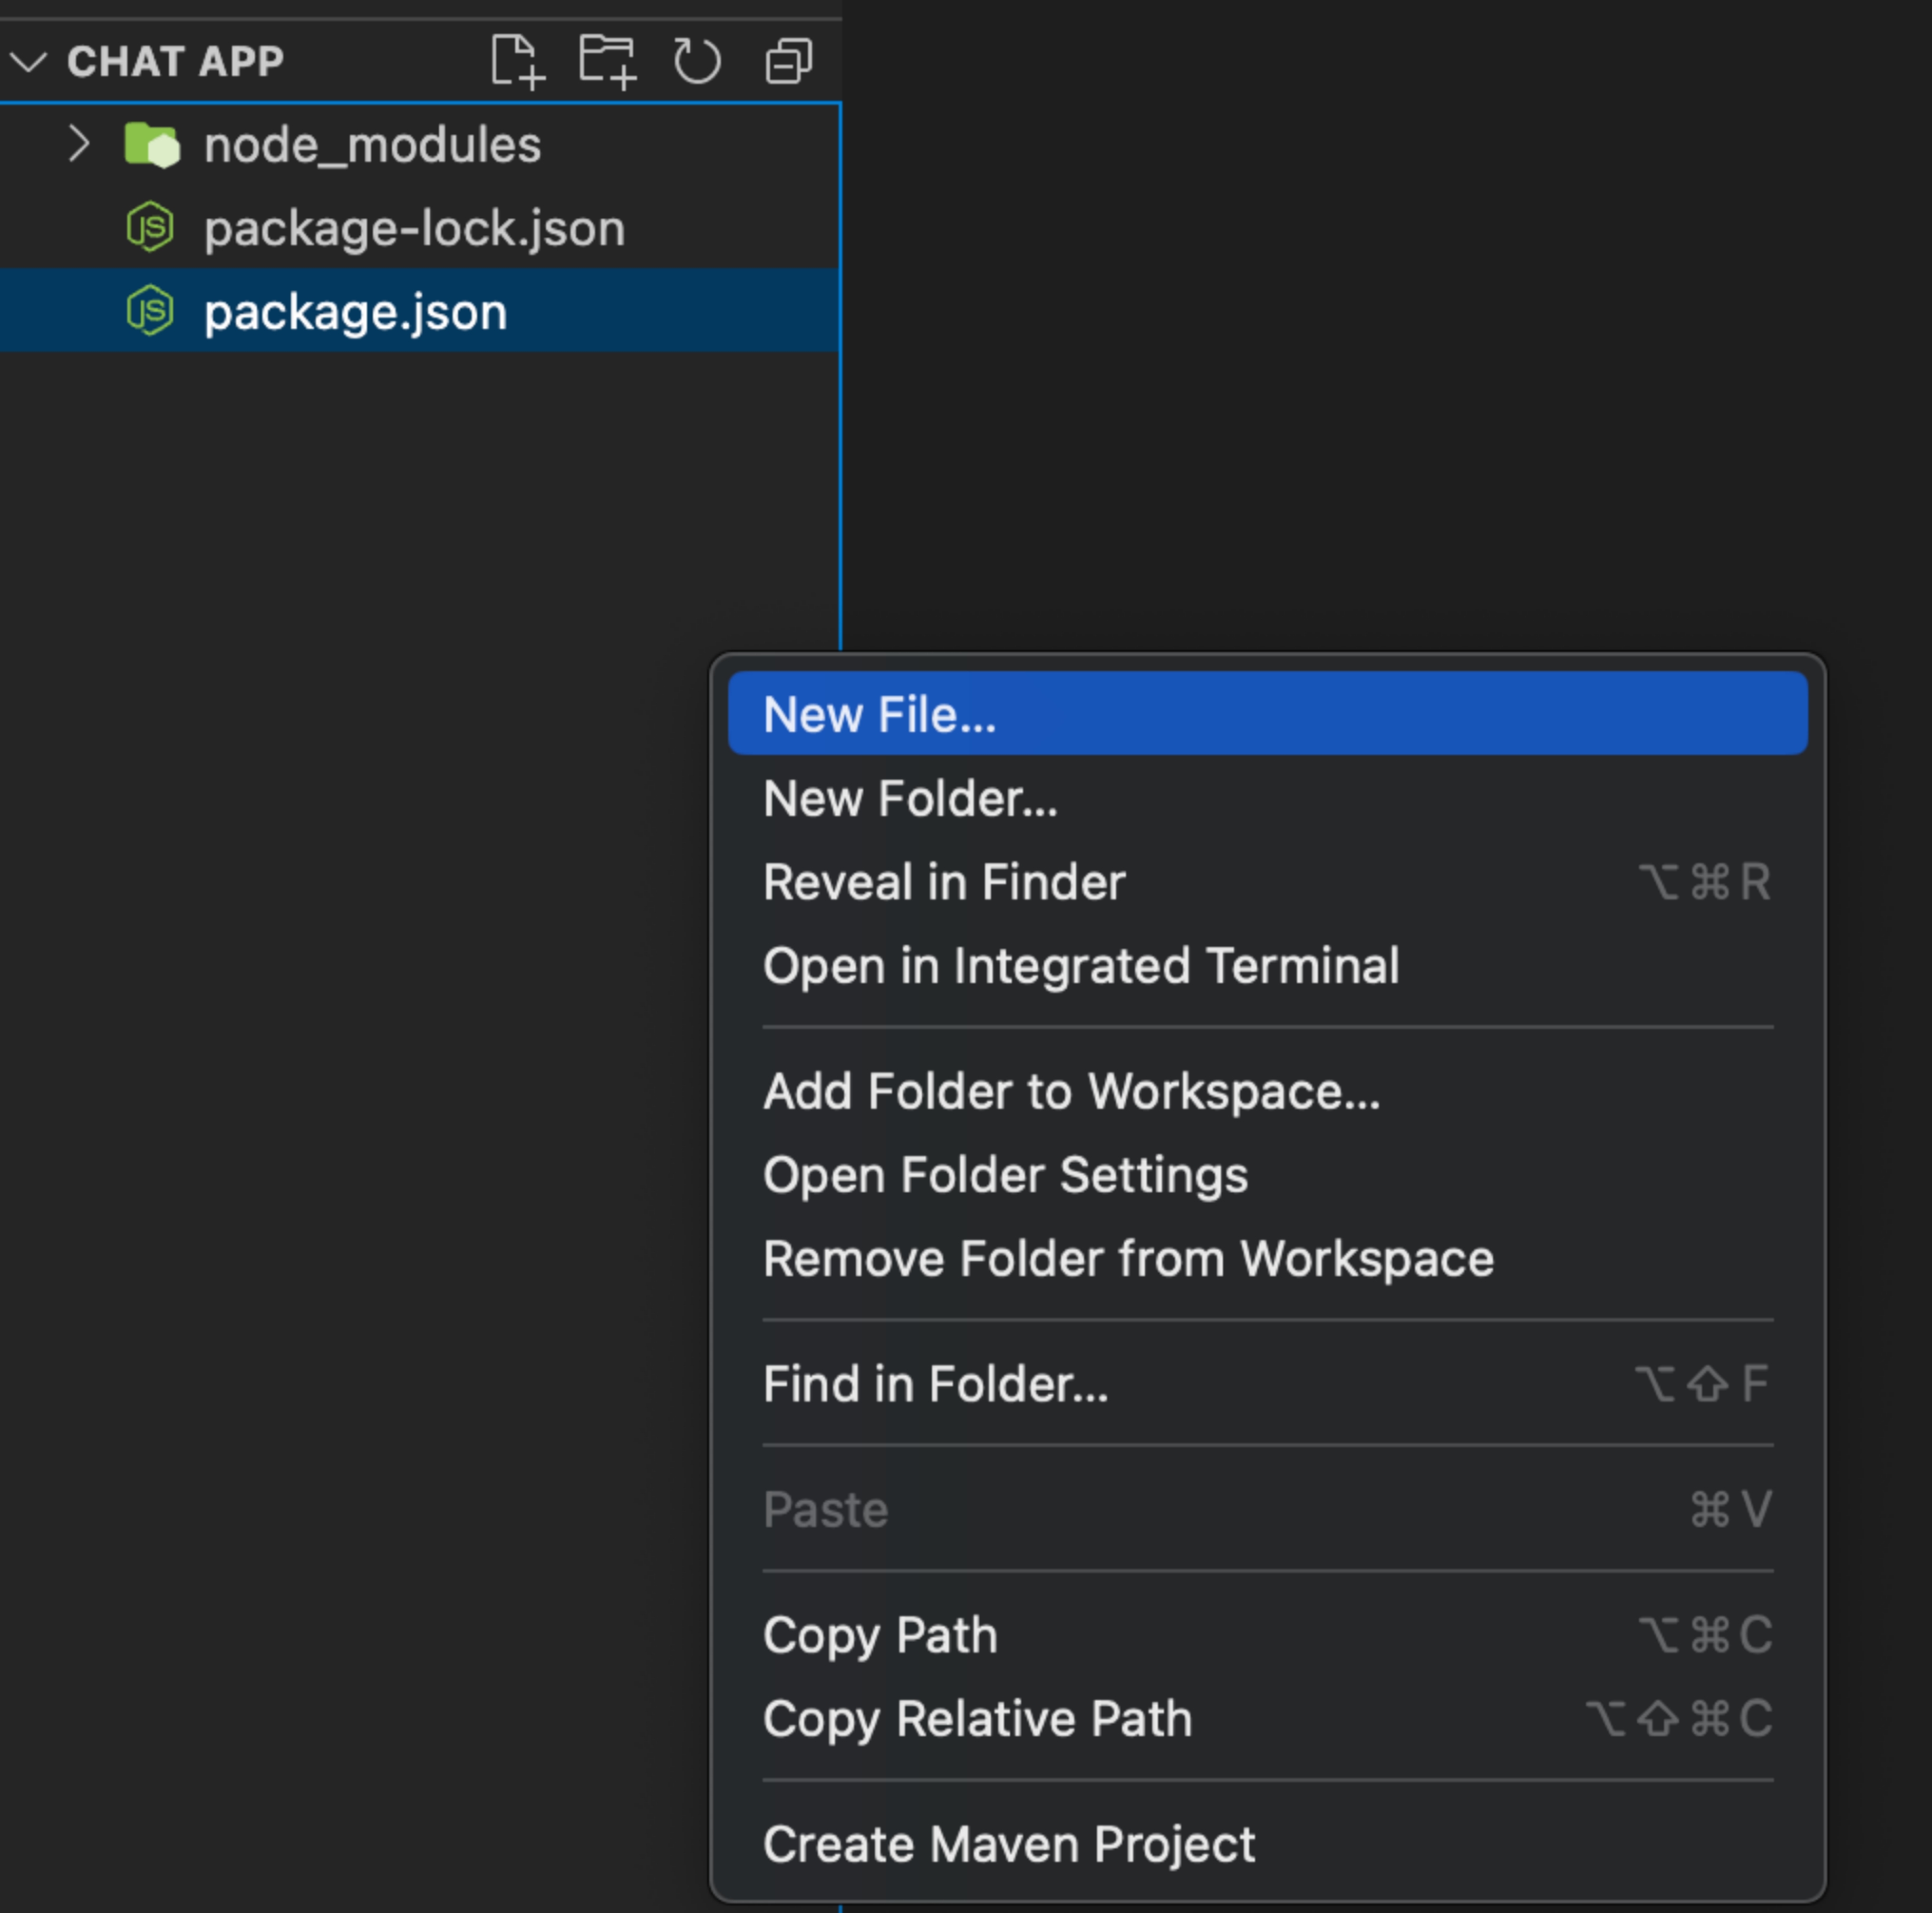
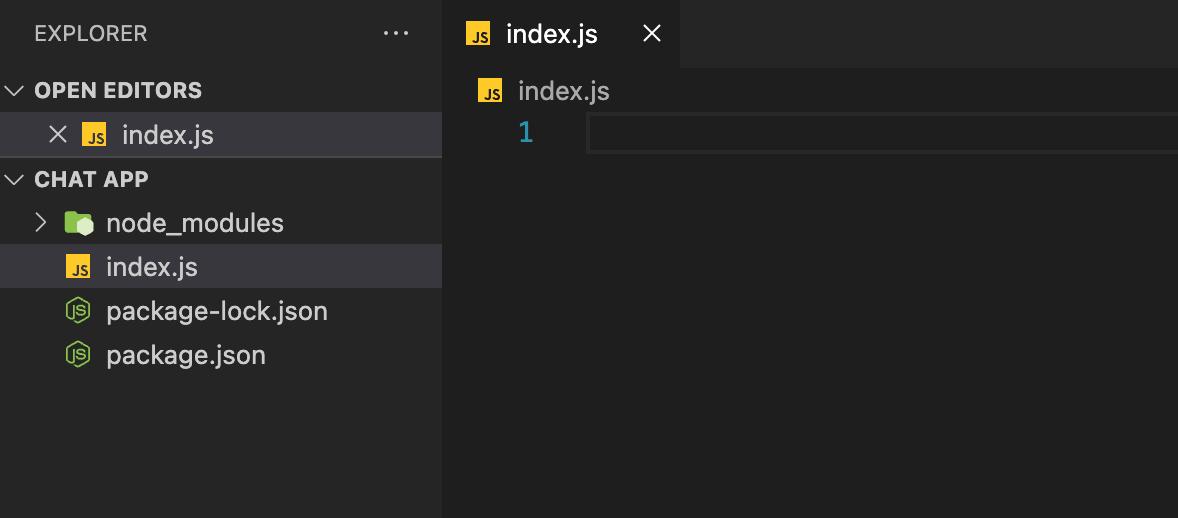
Enter a file name and save the file as index.js.
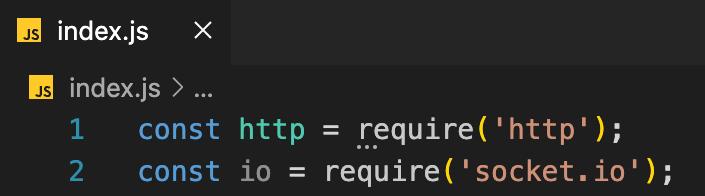
In index.js, we first need to require the HTTP and socket.io modules:
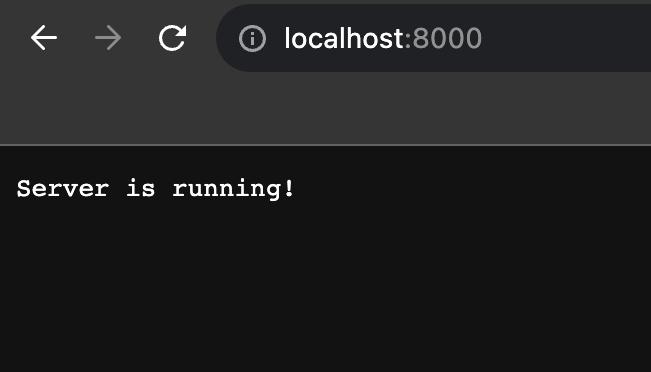
Now, we’ll make a web server and connect it to a port number. For this demonstration, we’ll go with port 8000, but you’re free to pick any open port number on your computer.
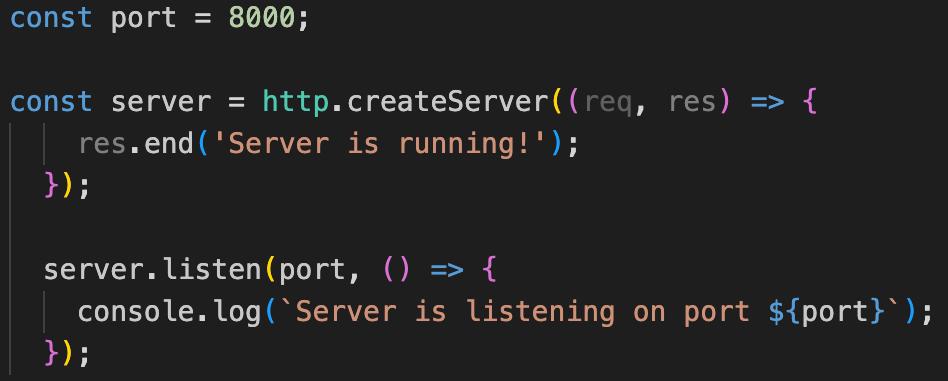
Now if we start the server by typing “node index.js” in the terminal and then go to “http://localhost:8000” in our web browser, we should be able to see the message “Server is running!” displayed on the webpage.
Afterward, our next step involves connecting the Socket.IO server to our HTTP server. We achieve this by using the ‘listen’ method on the ‘io’ object and providing our HTTP server as a parameter to this method.

We will store all the users that will be joining the chat in a variable called “users”. It will be an object with no value initially as shown in the image below.

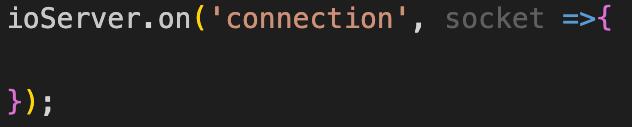
Moving forward, we’re going to work on the logic for our chat application. We’ll start by creating an Event Listener that pays attention whenever a new person joins our Socket.IO server. Then, all the other codes we need will be placed inside this Event Listener.
Now, we will handle the scenario when a new user joins the application. We will record the user’s name in the user’s object and then notify all other connected users about the arrival of the new user by emitting a ‘user-joined’ event along with the user’s name. This way, users are informed in real-time when someone new joins the chat or application.

Next, let’s tackle what happens when a user wants to send a message. In this case, our program pays attention to a special ‘send’ event. When this event happens, the program grabs the content of the message and the sender’s name. The sender’s name is saved in the ‘users’ object, and each sender has a unique ID. Once the program has the message and sender’s name, it spreads this message to all the other users who are currently connected, except the sender. We use another event called ‘receive’ for this purpose. This way, everyone in the group gets the message except the person who originally sent it.

Now, the final event will occur when a user leaves the chat. For this purpose, we will create another Event Listener that listens for the ‘disconnect’ event. Upon detecting this event, it informs all other connected users, except the departing user, by emitting a ‘left’ message. The user’s name, stored in the ‘users’ object using their unique socket ID, is included in the ‘left’ message. Subsequently, the user’s information is removed from the ‘users’ list to ensure its accuracy and to keep it up-to-date. This process guarantees that everyone is informed about the departure and that the user records remain precise.

With the server configuration in place, it’s time to proceed to the setup of the client-side code.
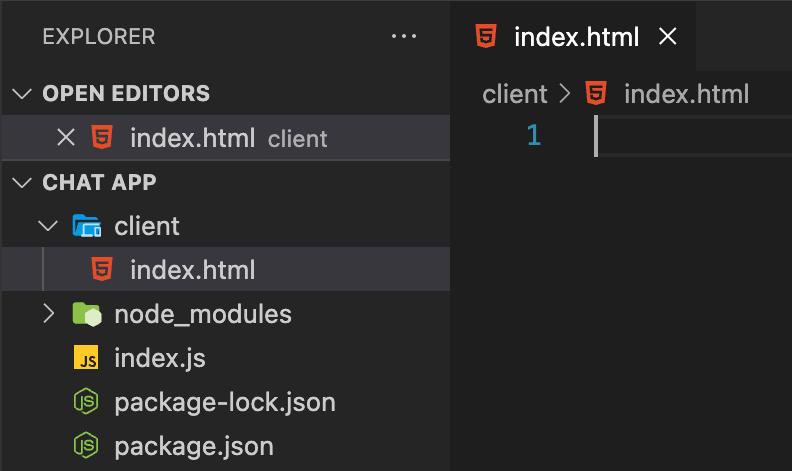
To begin, we’ll make a fresh directory named “client” in the main project directory. This directory will serve as the storage location for all the client-side code of our chat application.
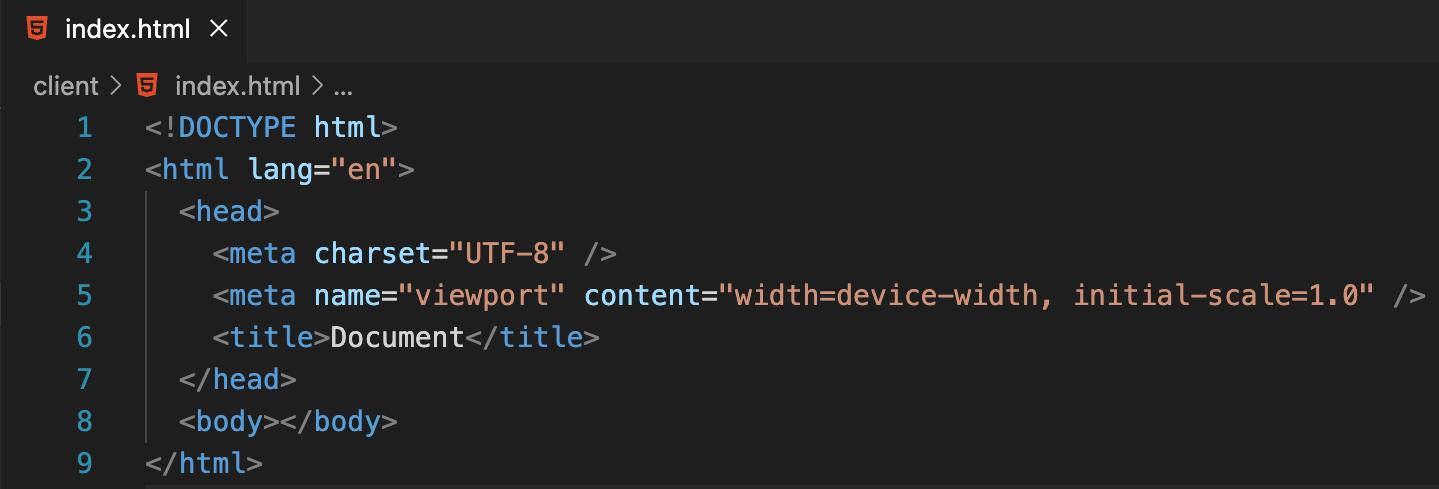
Create a new file inside the “client” directory and save it as “index.html”.
Add this boiler plate code to the index.html file.
Now, we will integrate Socket.IO into our client-side code by including the Socket.IO CDN in the <head> section of the “index.html” file.

We will be using Font Awesome icons in our application.
To incorporate Font Awesome icons into our application, we’ll need to include the provided code snippet within the <head> section of our “index.html” file. This will link the Font Awesome icons CDN to our application.

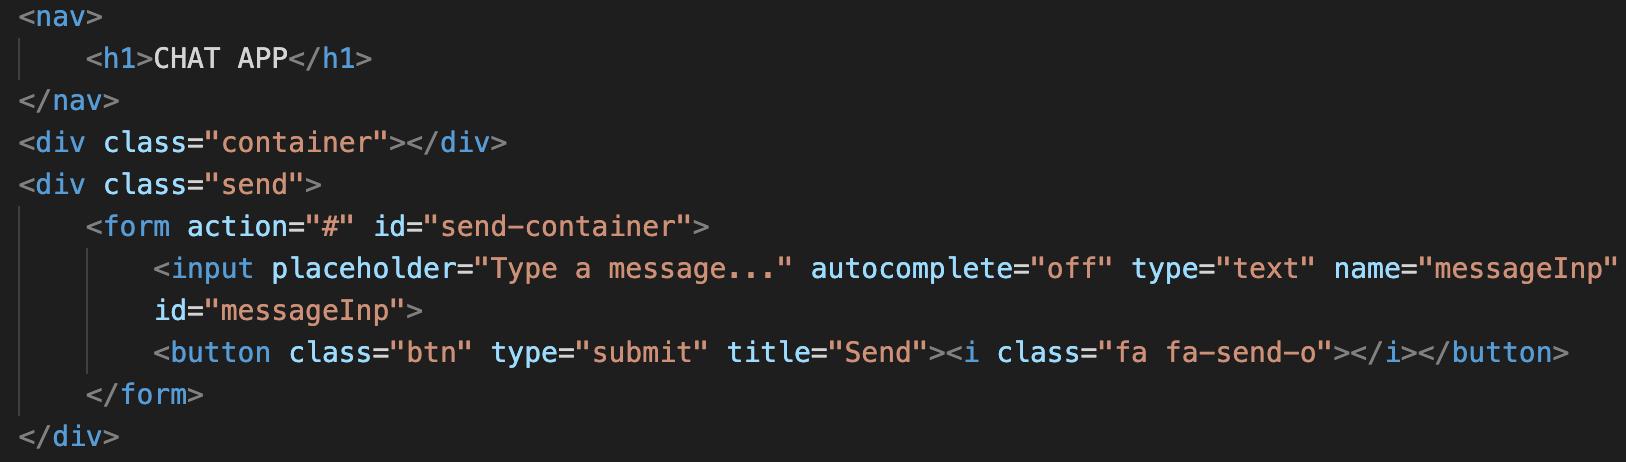
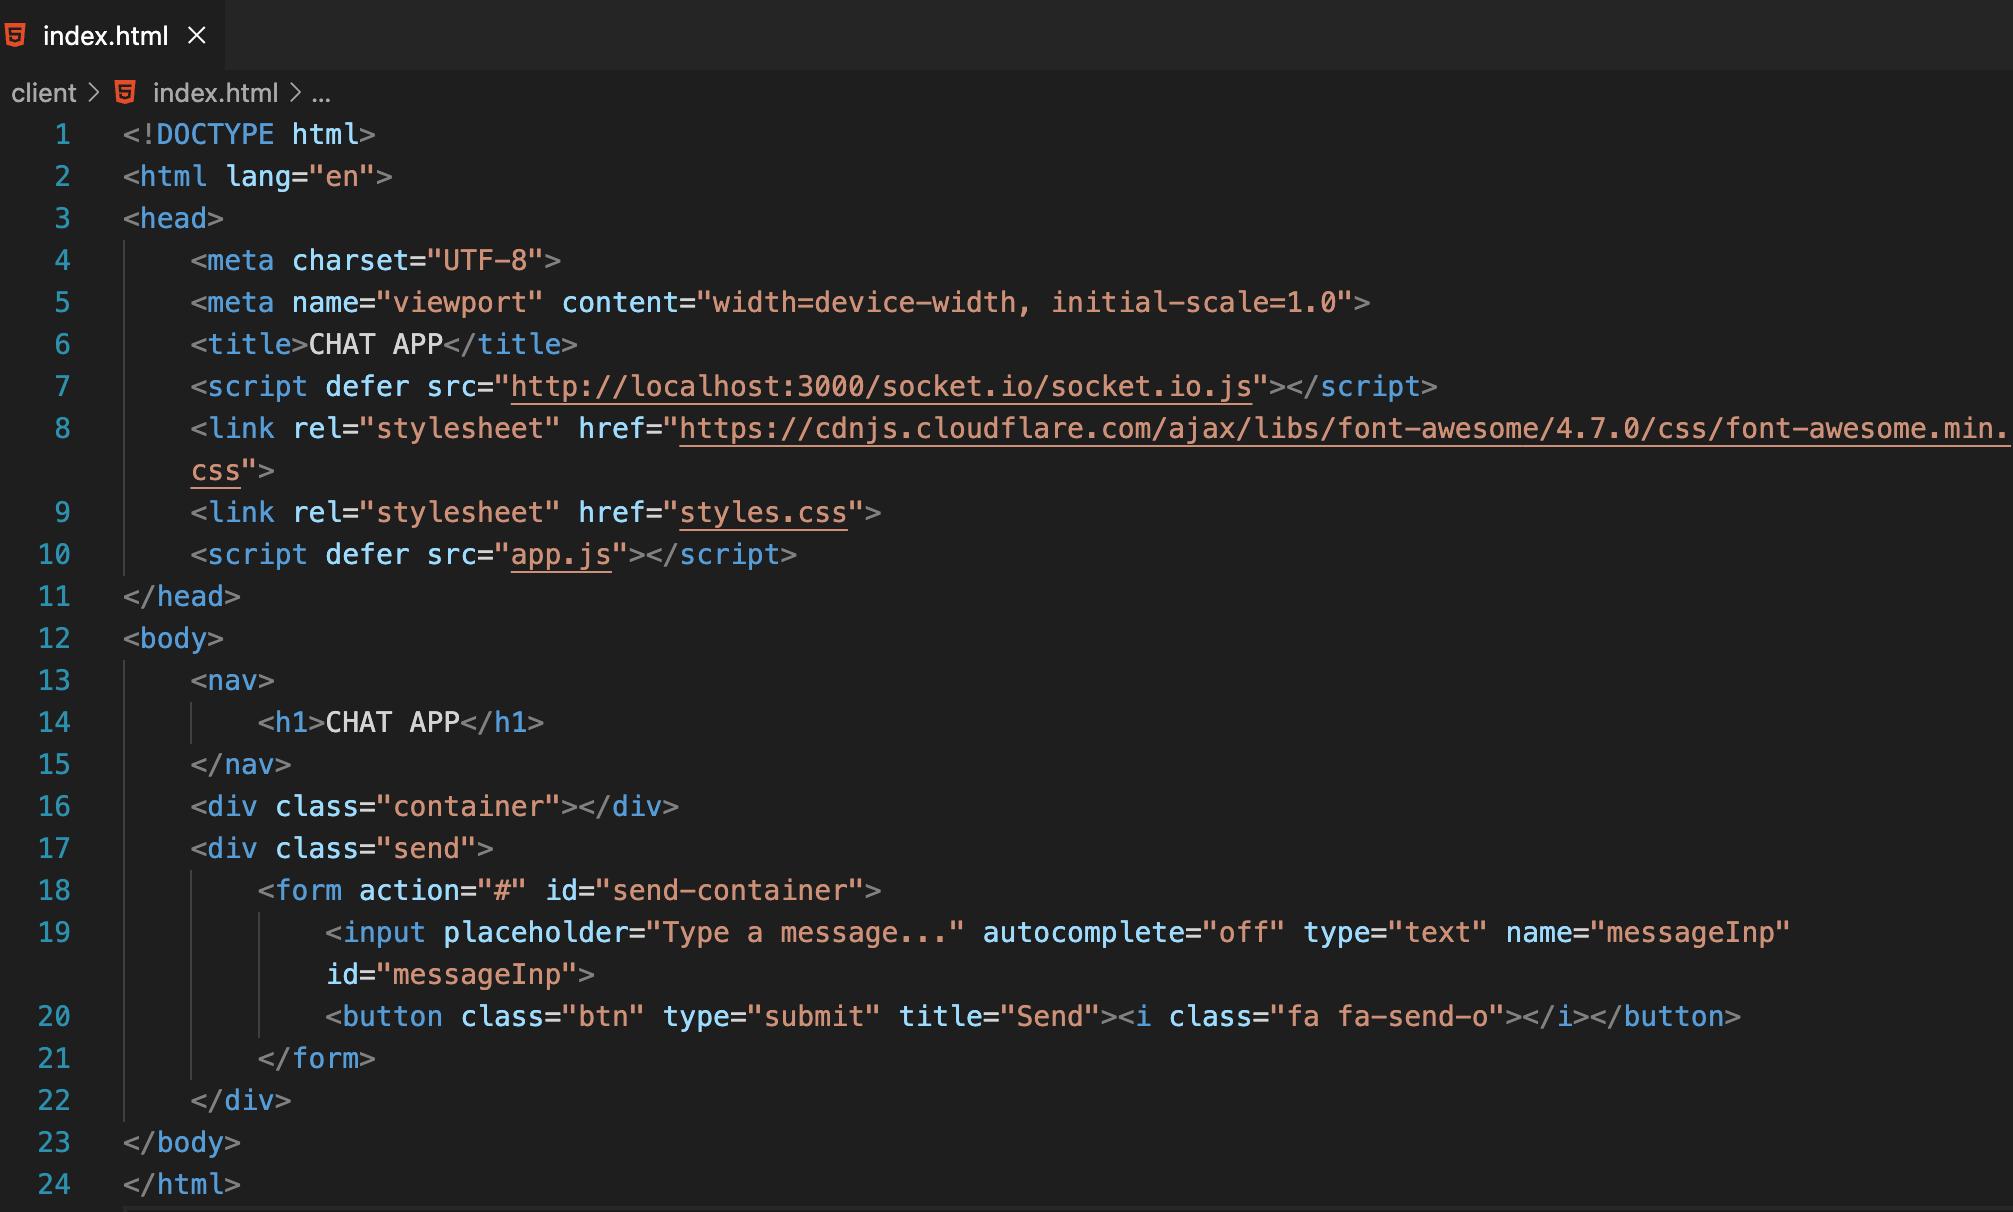
Next, we’ll write the HTML code to design the user interface of our chat app. Insert the provided code within the <body> tag in the index.html file.
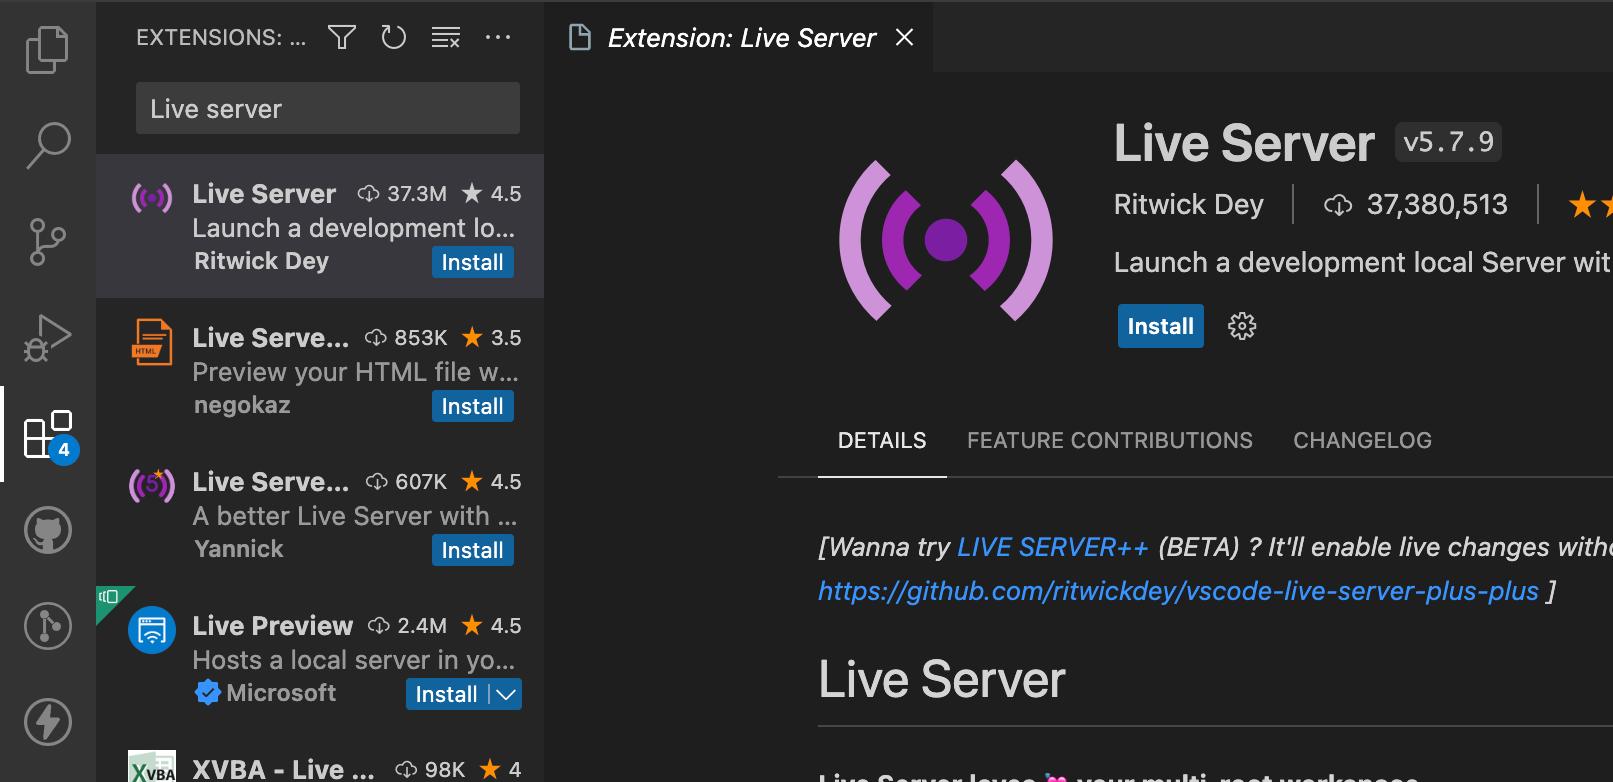
To get a glimpse of our UI’s appearance, we’ll set up a VS Code extension called Live Server. This extension lets us see real-time UI changes as we code, eliminating the need for constant page reloading.
Install the Live Server extension from VS Code extensions from the left side menu as shown in the image below.
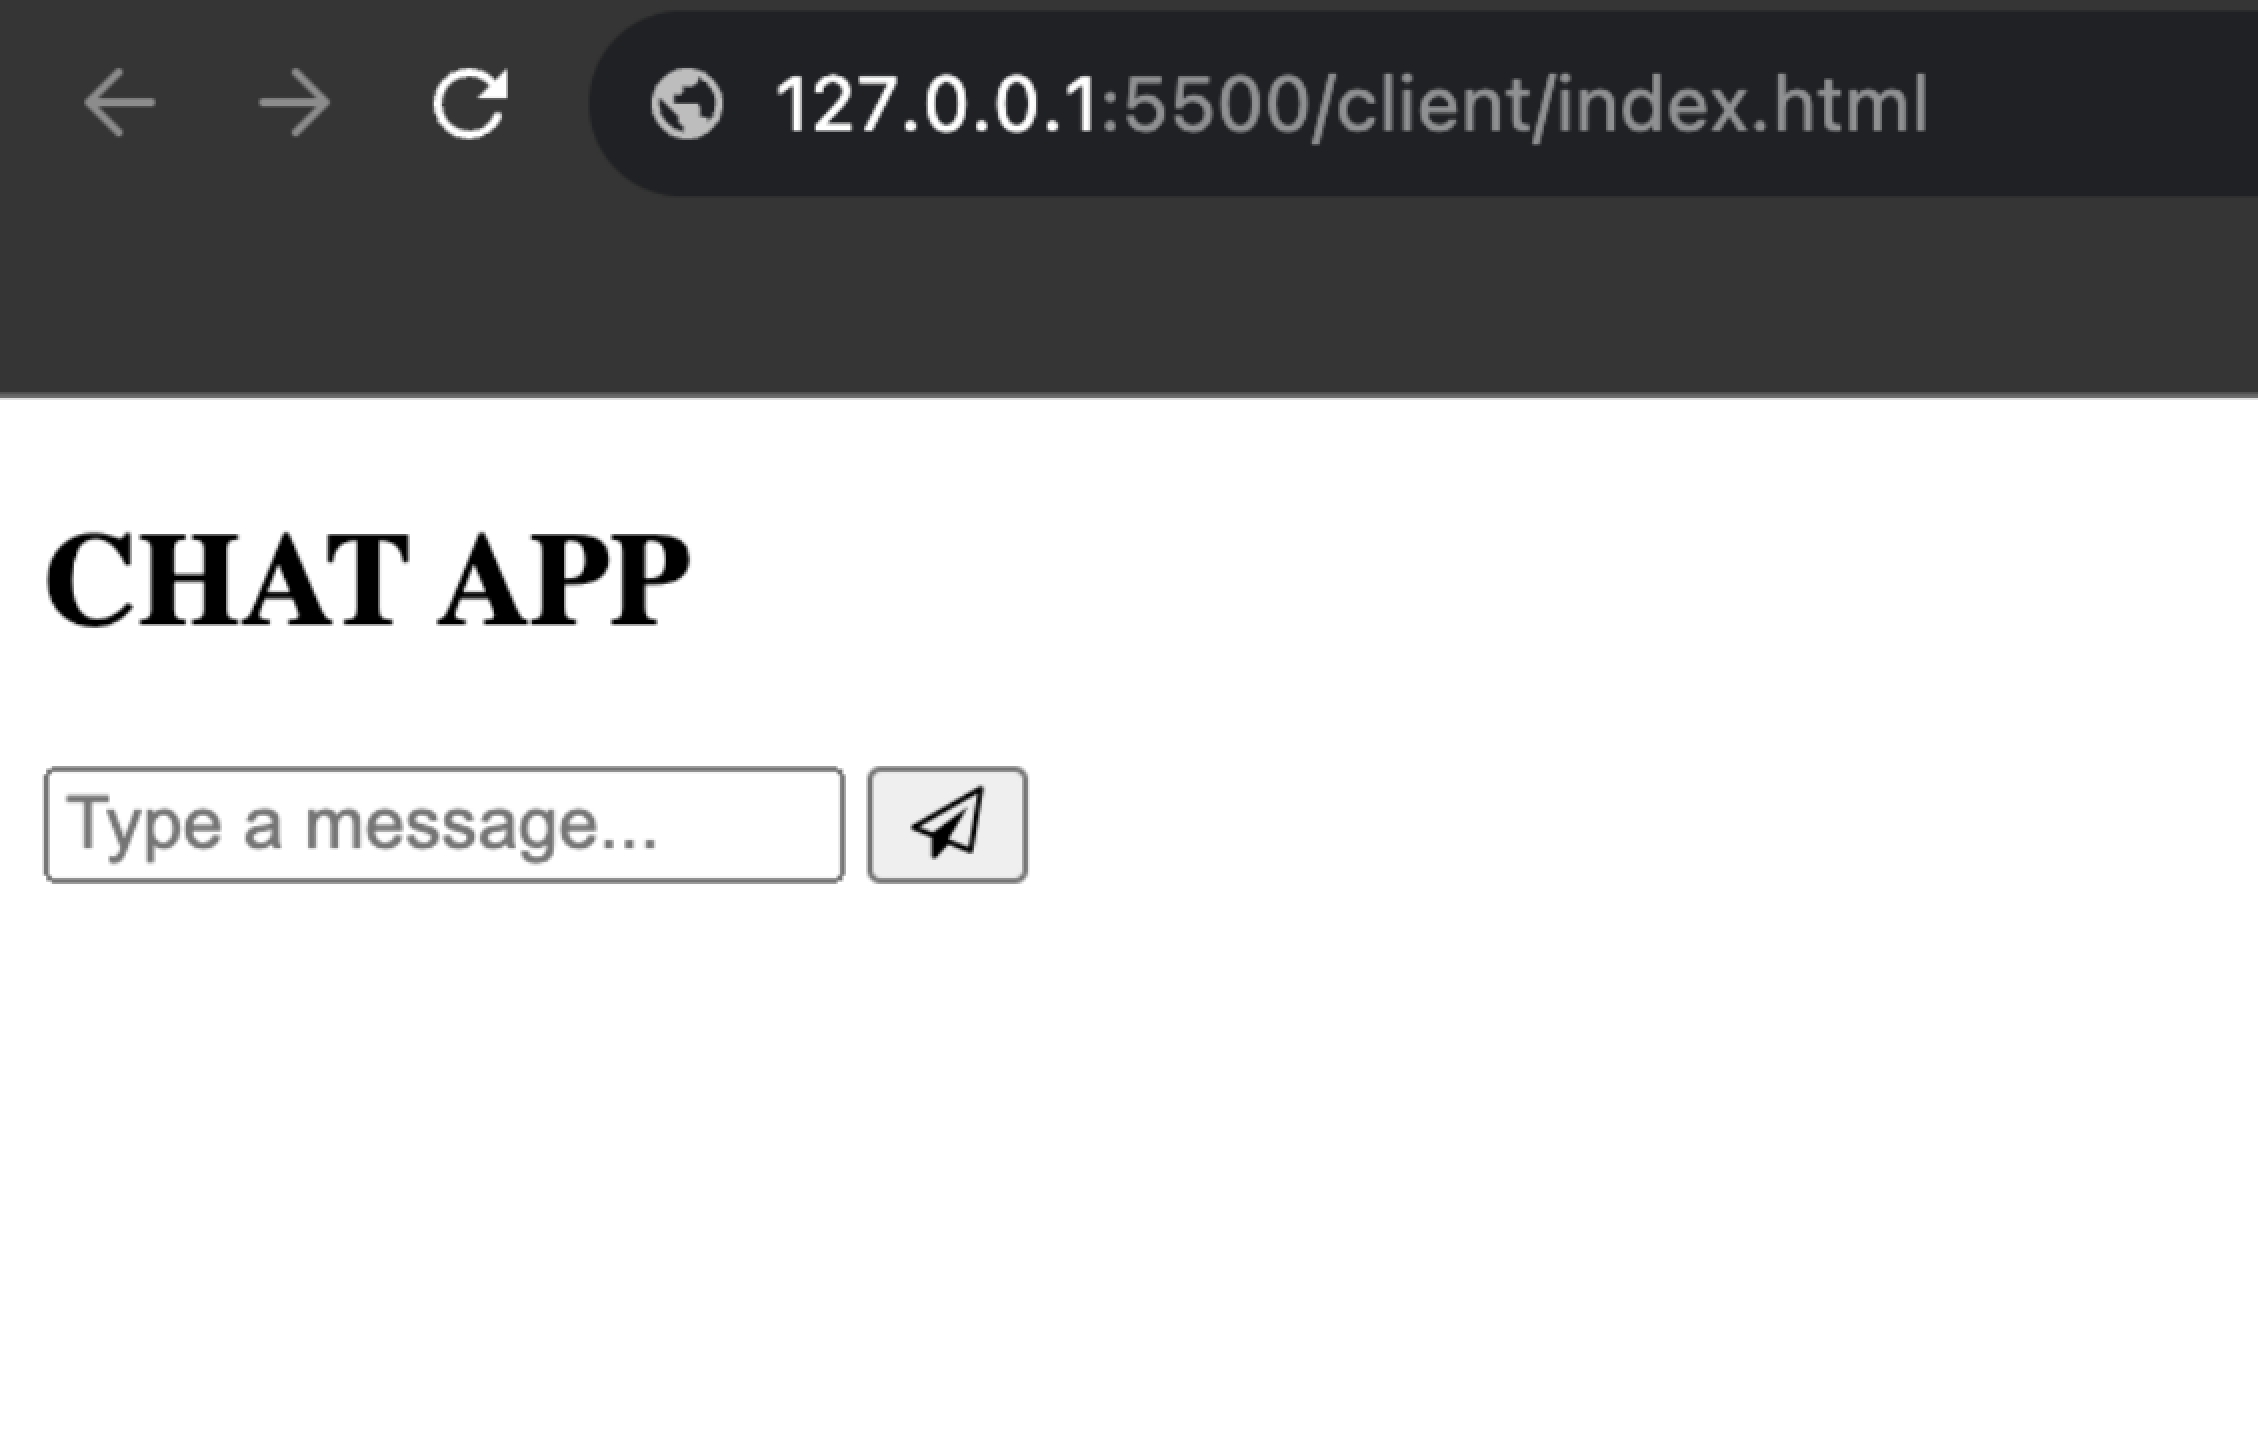
After installation is done, open the index.html file and click on “Go Live” from the bottom right corner of the VS Code window as shown in the image below.

We’ll be able to see our UI on the browser as shown in the image below.
We will make our UI look like a chat application by adding some styling. Simply right-click on the ‘client’ folder, create a new file, and name it ‘styles.css‘ as shown in the image below.

Now, let’s link our CSS file to our HTML code by placing the below-provided code to the <head> tag in the index.html file.

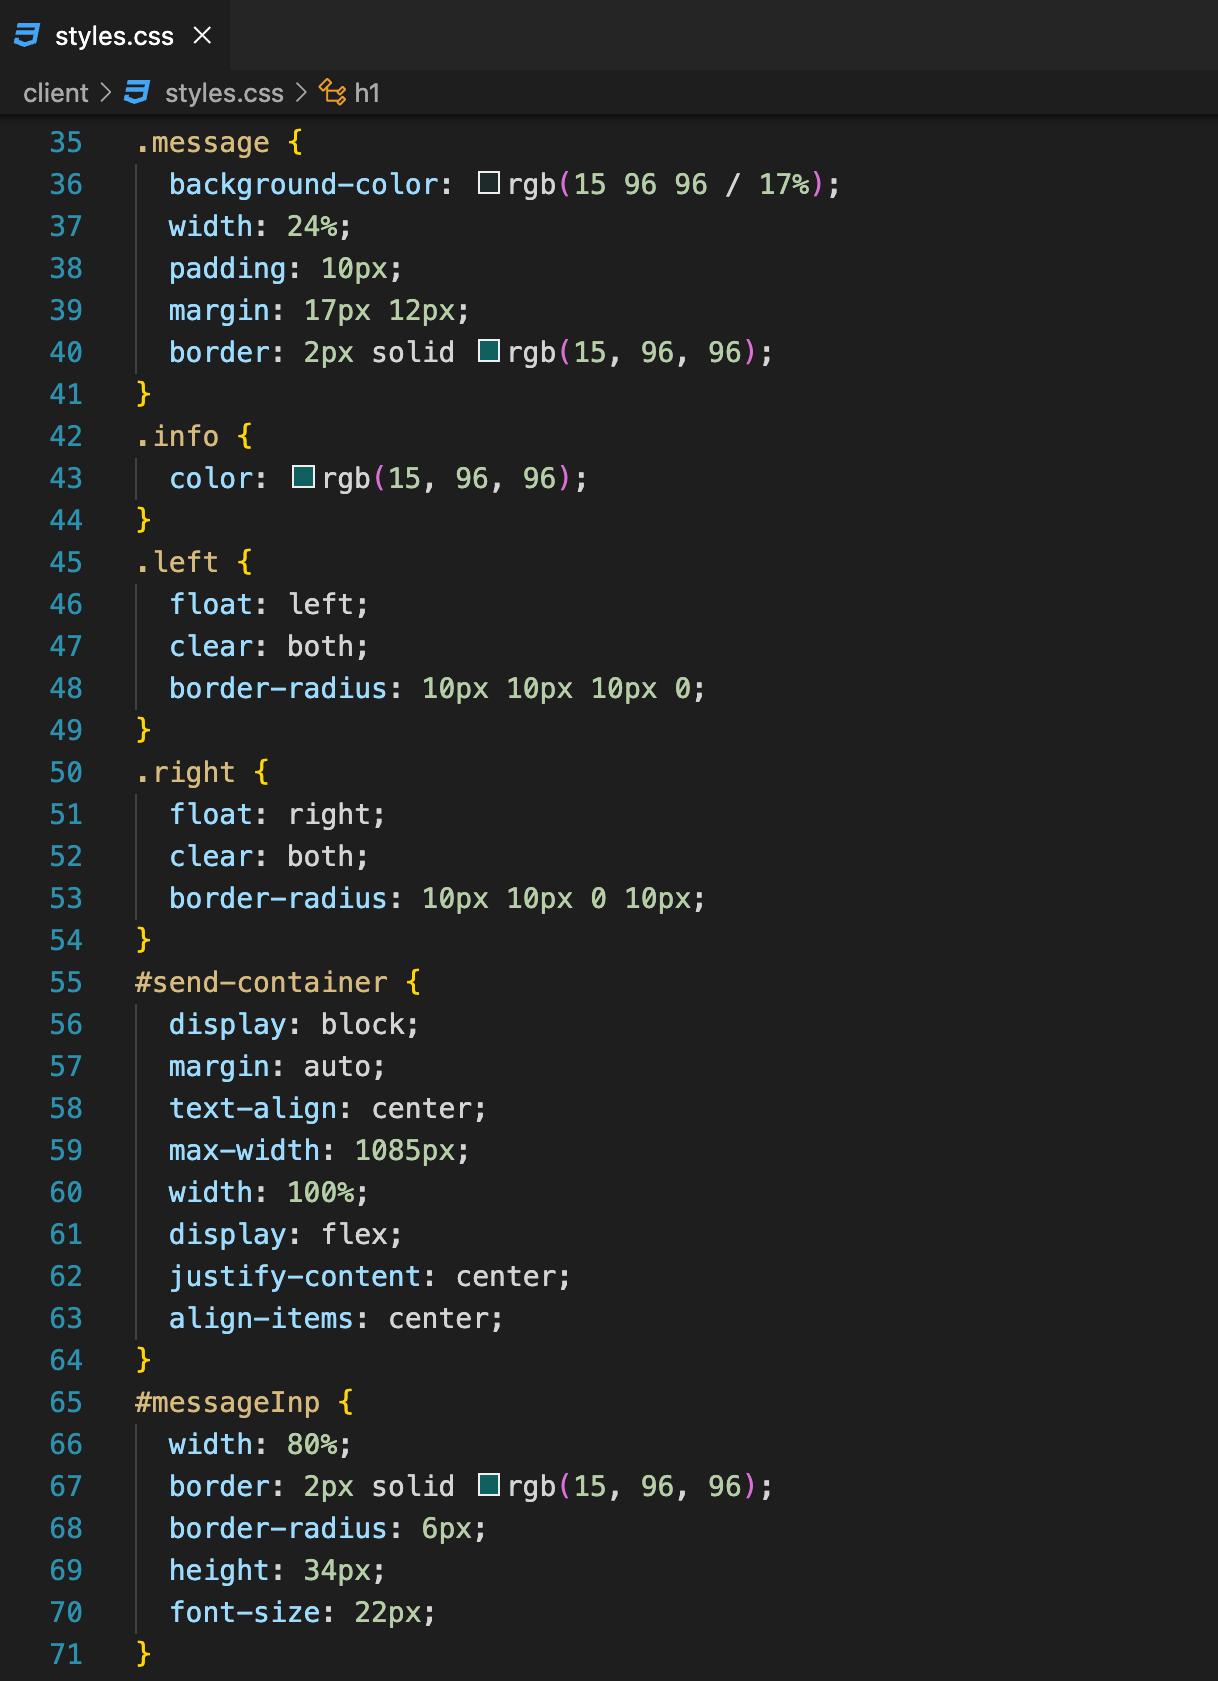
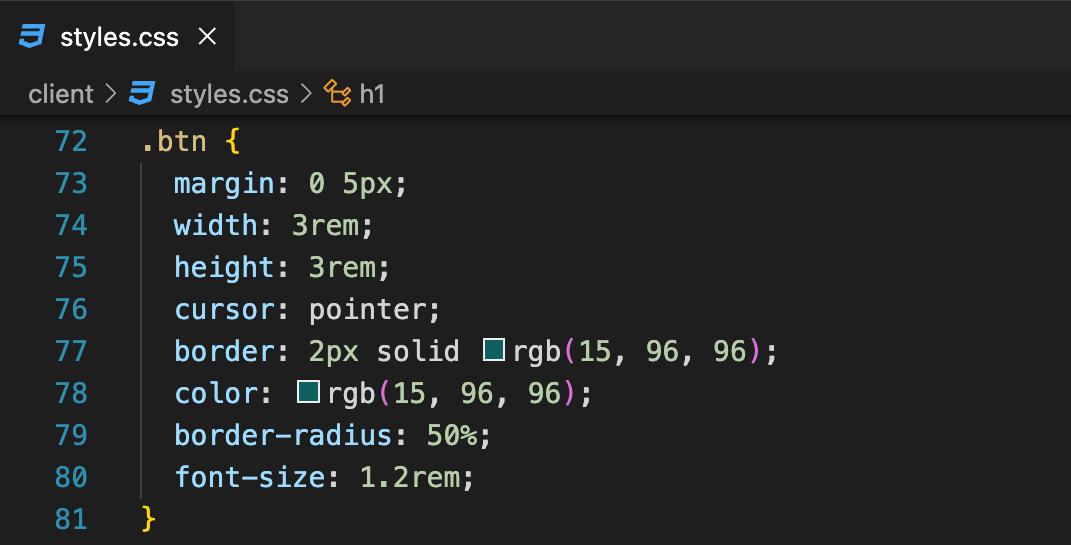
Next, let’s write some CSS code to style the UI.
Add the below-provided code to the styles.css file.

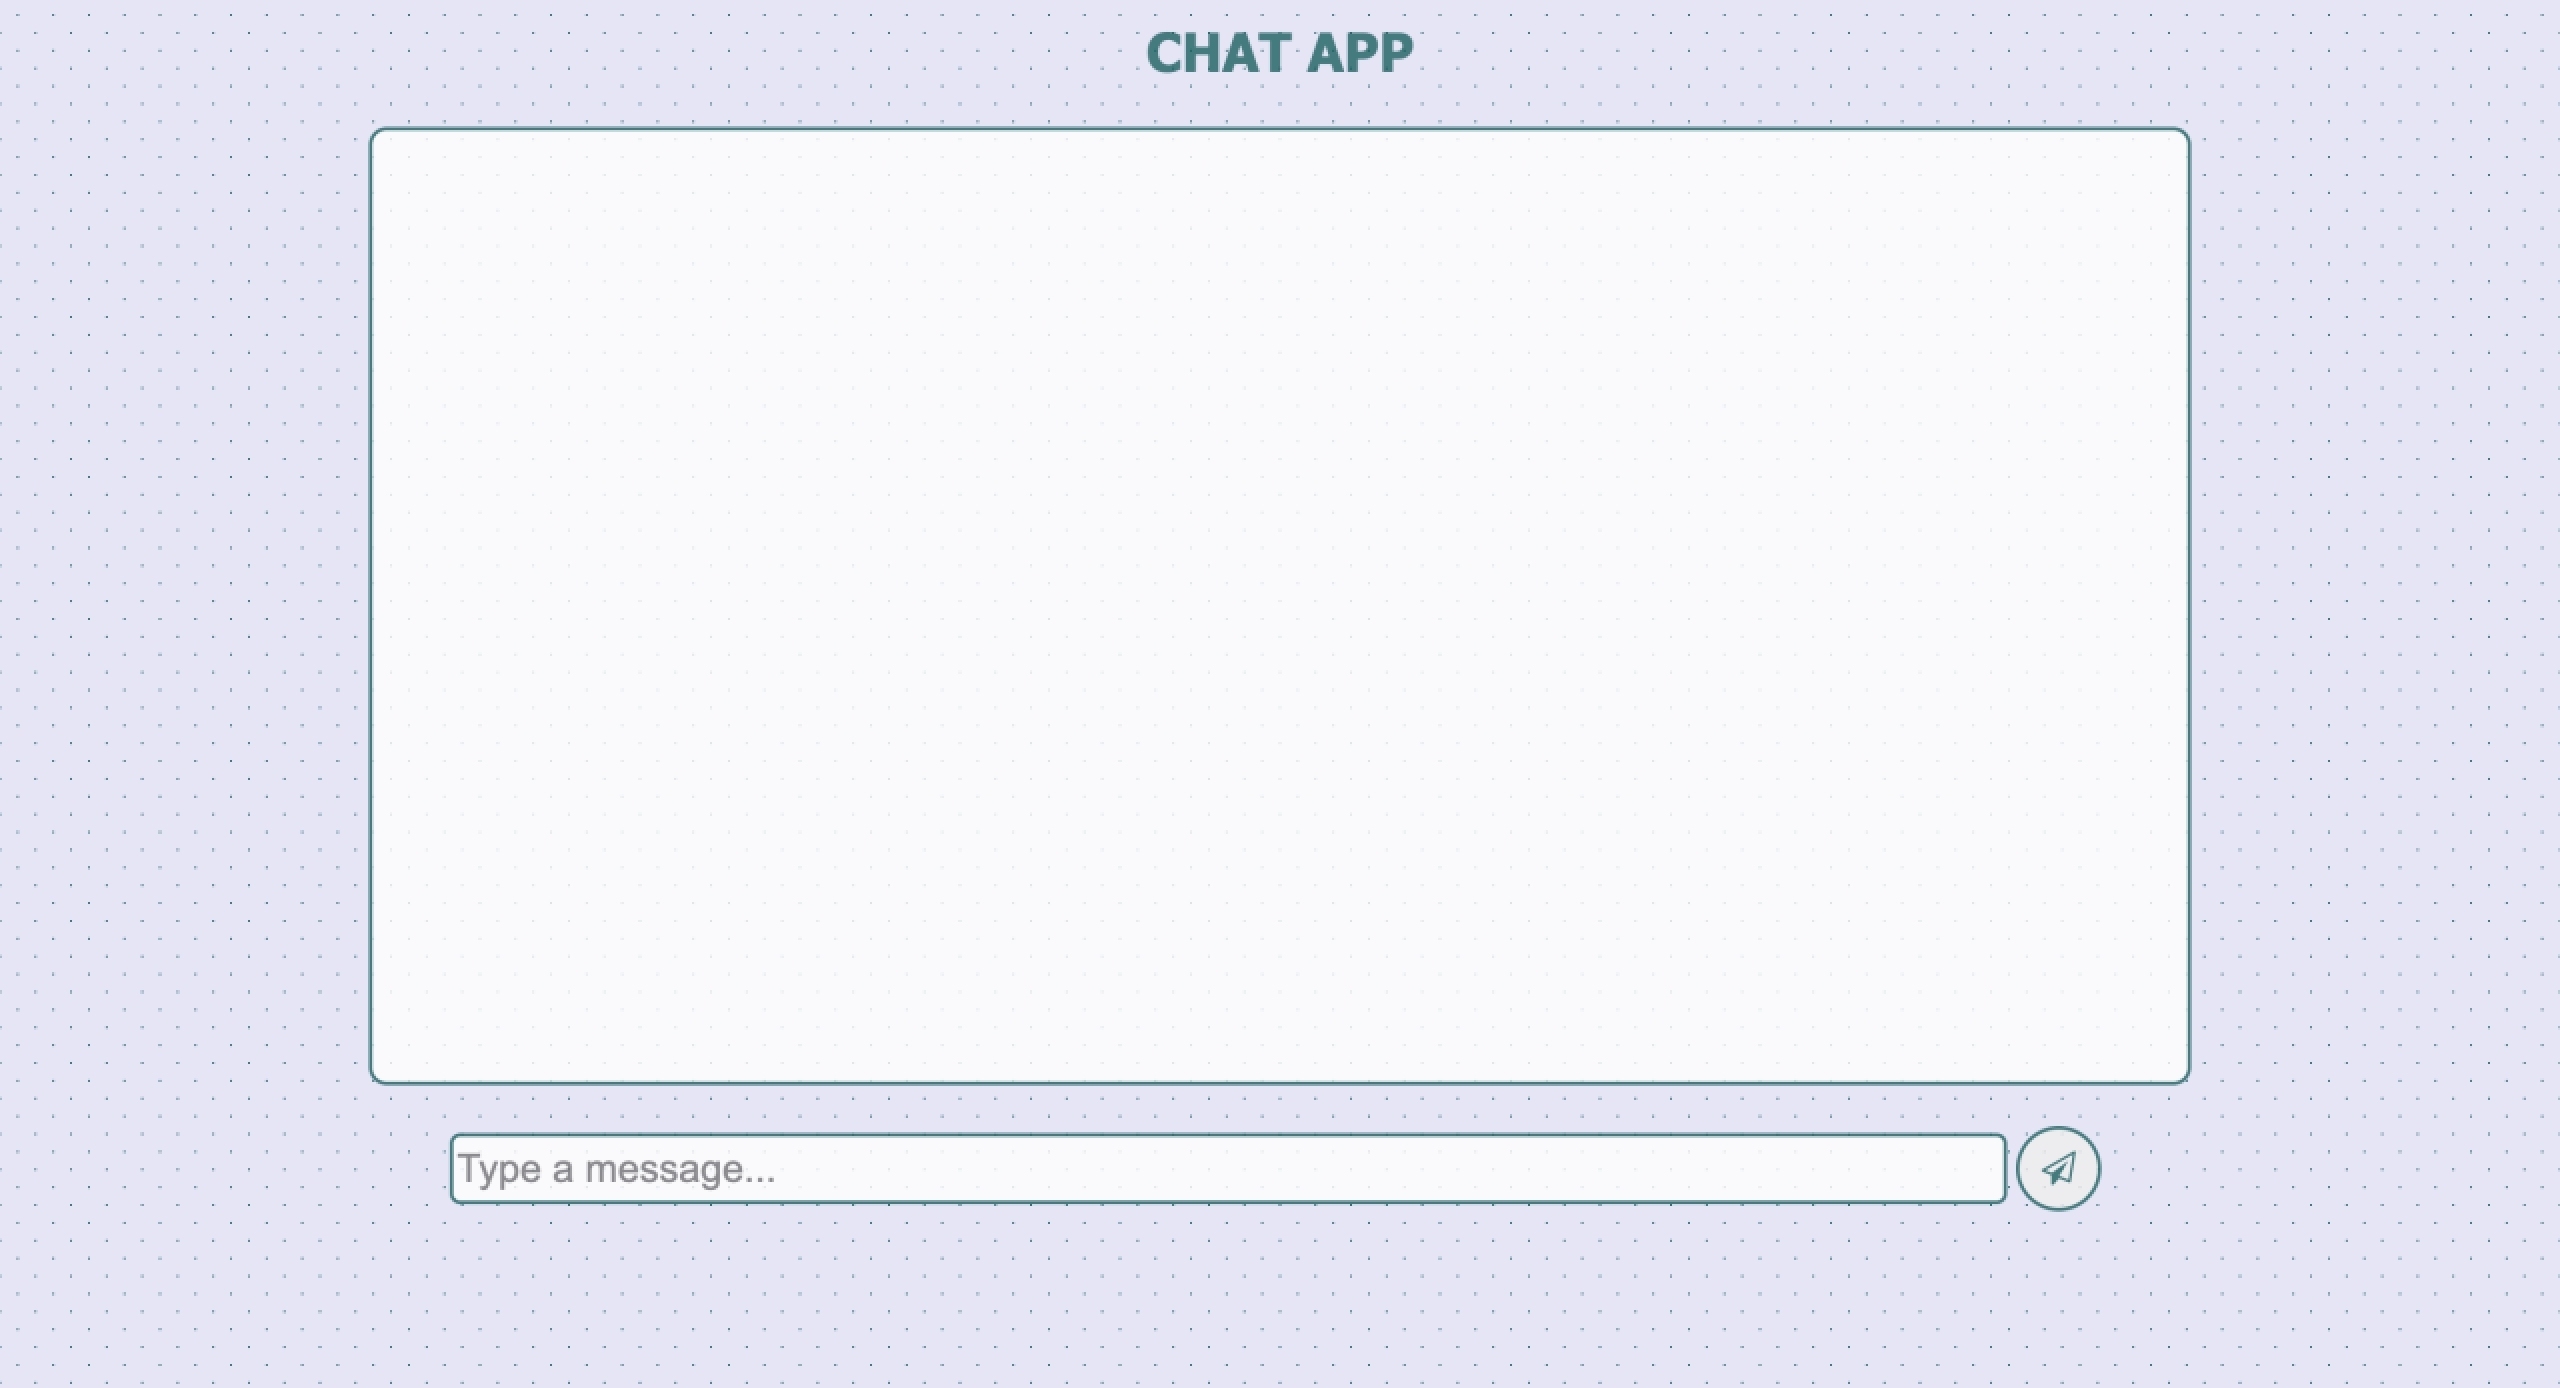
Open the browser to see the changes.
Now, we’ll write client-side logic for our application.
Create a file inside the ‘client’ folder and save it as ‘app.js’ as shown in the image below.

Link the Javascript file to the HTML code by adding the below-provided code to the <head> section of the index.html file.

The final HTML code will look as shown in the image below.
Now, open the app.js file and write the below-provided code to establish a connection to the WebSocket server using the Socket.IO library.

Write the below-provided code to get DOM elements in respective Js variables so that we can alter them later. For example: putting our messages on the right side and other’s messages on the left side.

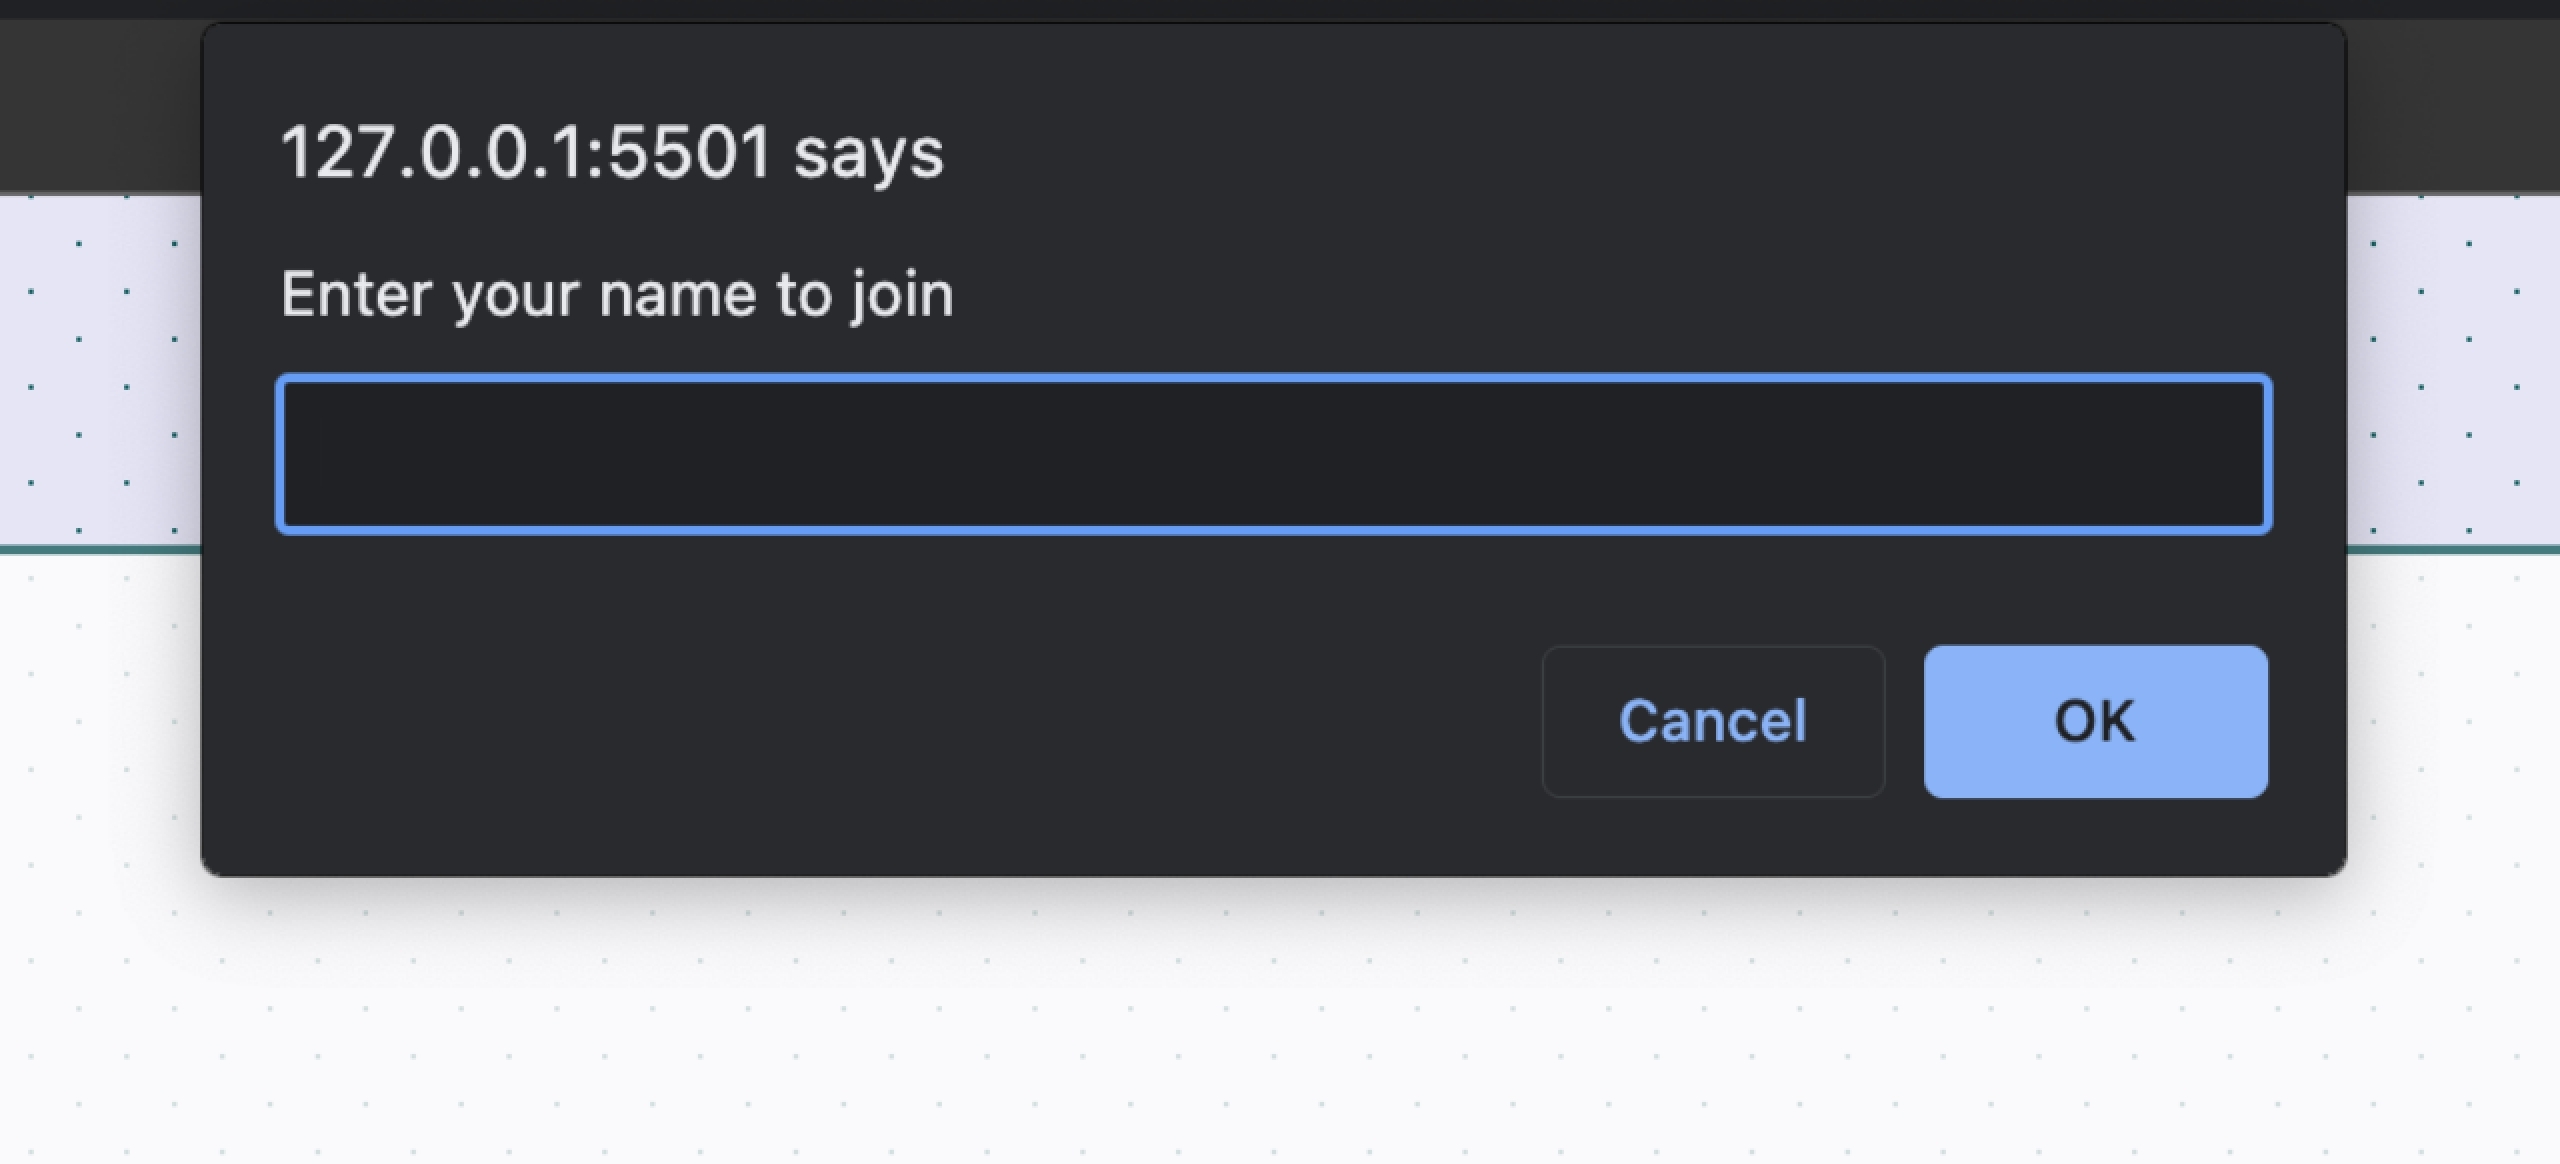
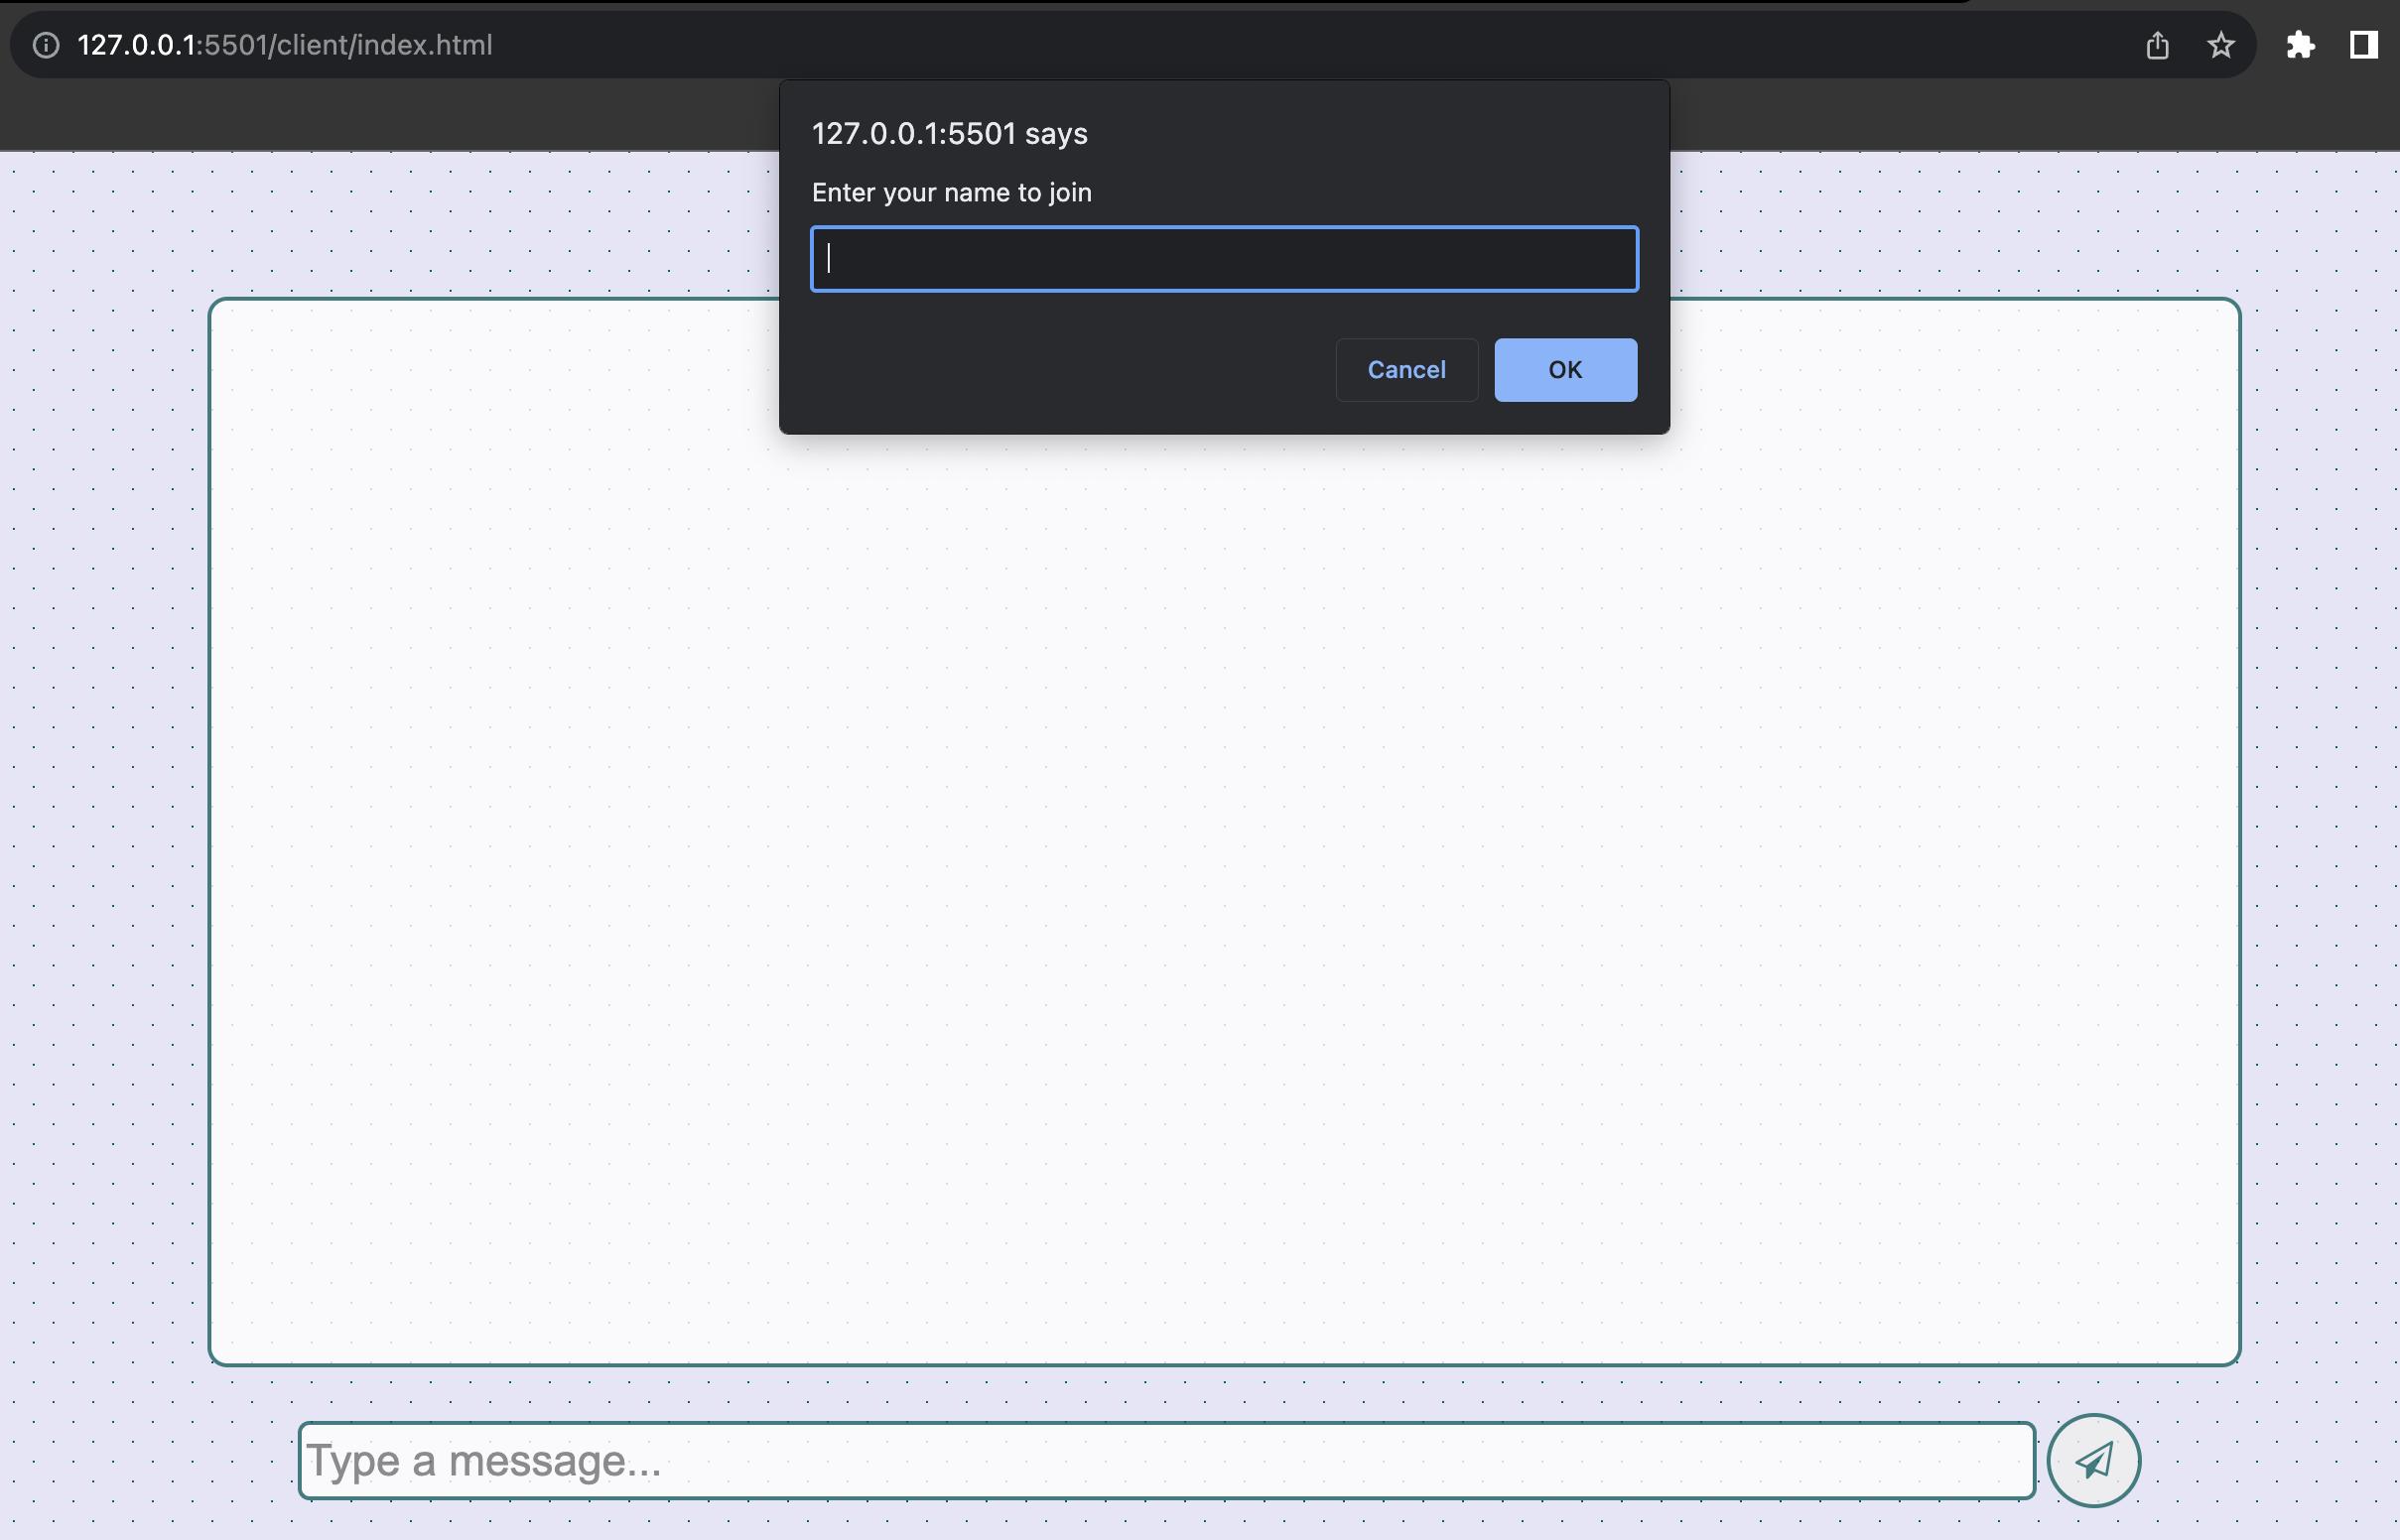
Include the code below in app.js. It’ll request the user’s name right at the start and inform the server.

Open the browser to test the code.
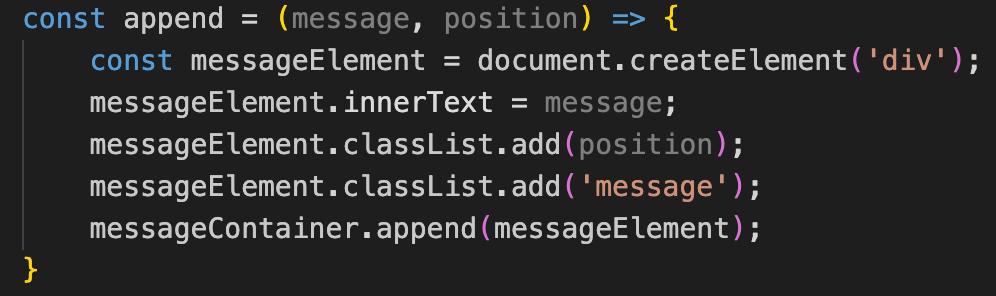
Now, we’ll create a function to add new event information to the UI container. It will also apply the ‘message’ class to the element.
The code below listens for the ‘user-joined’ event. When this event happens, it sticks a message onto the left side of the UI container. This message lets everyone else using the app know that a new user has joined. Add this code to your app.js file.

Include the following code in the app.js file. This code listens for the ‘receive’ event from the server. When this event occurs, it places the message on the left side of the container in the UI.

Next, we’ll listen for a ‘left’ event sent by the server. This event will be triggered when a user exits the chat. When this happens, we’ll display the information to the rest of the users by adding a message to the UI.

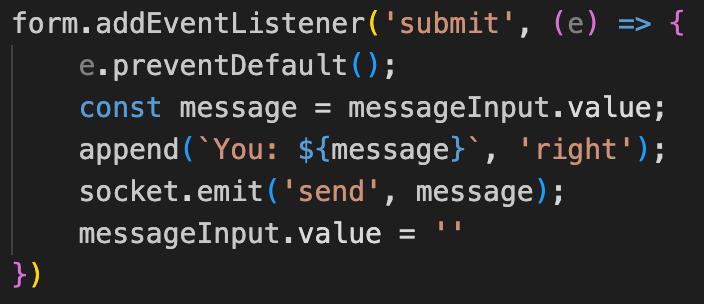
Finally, in the ‘send’ event, when the user hits the send button we have to show the message to the right side of the container on the UI and also send the message typed by the user to the server.
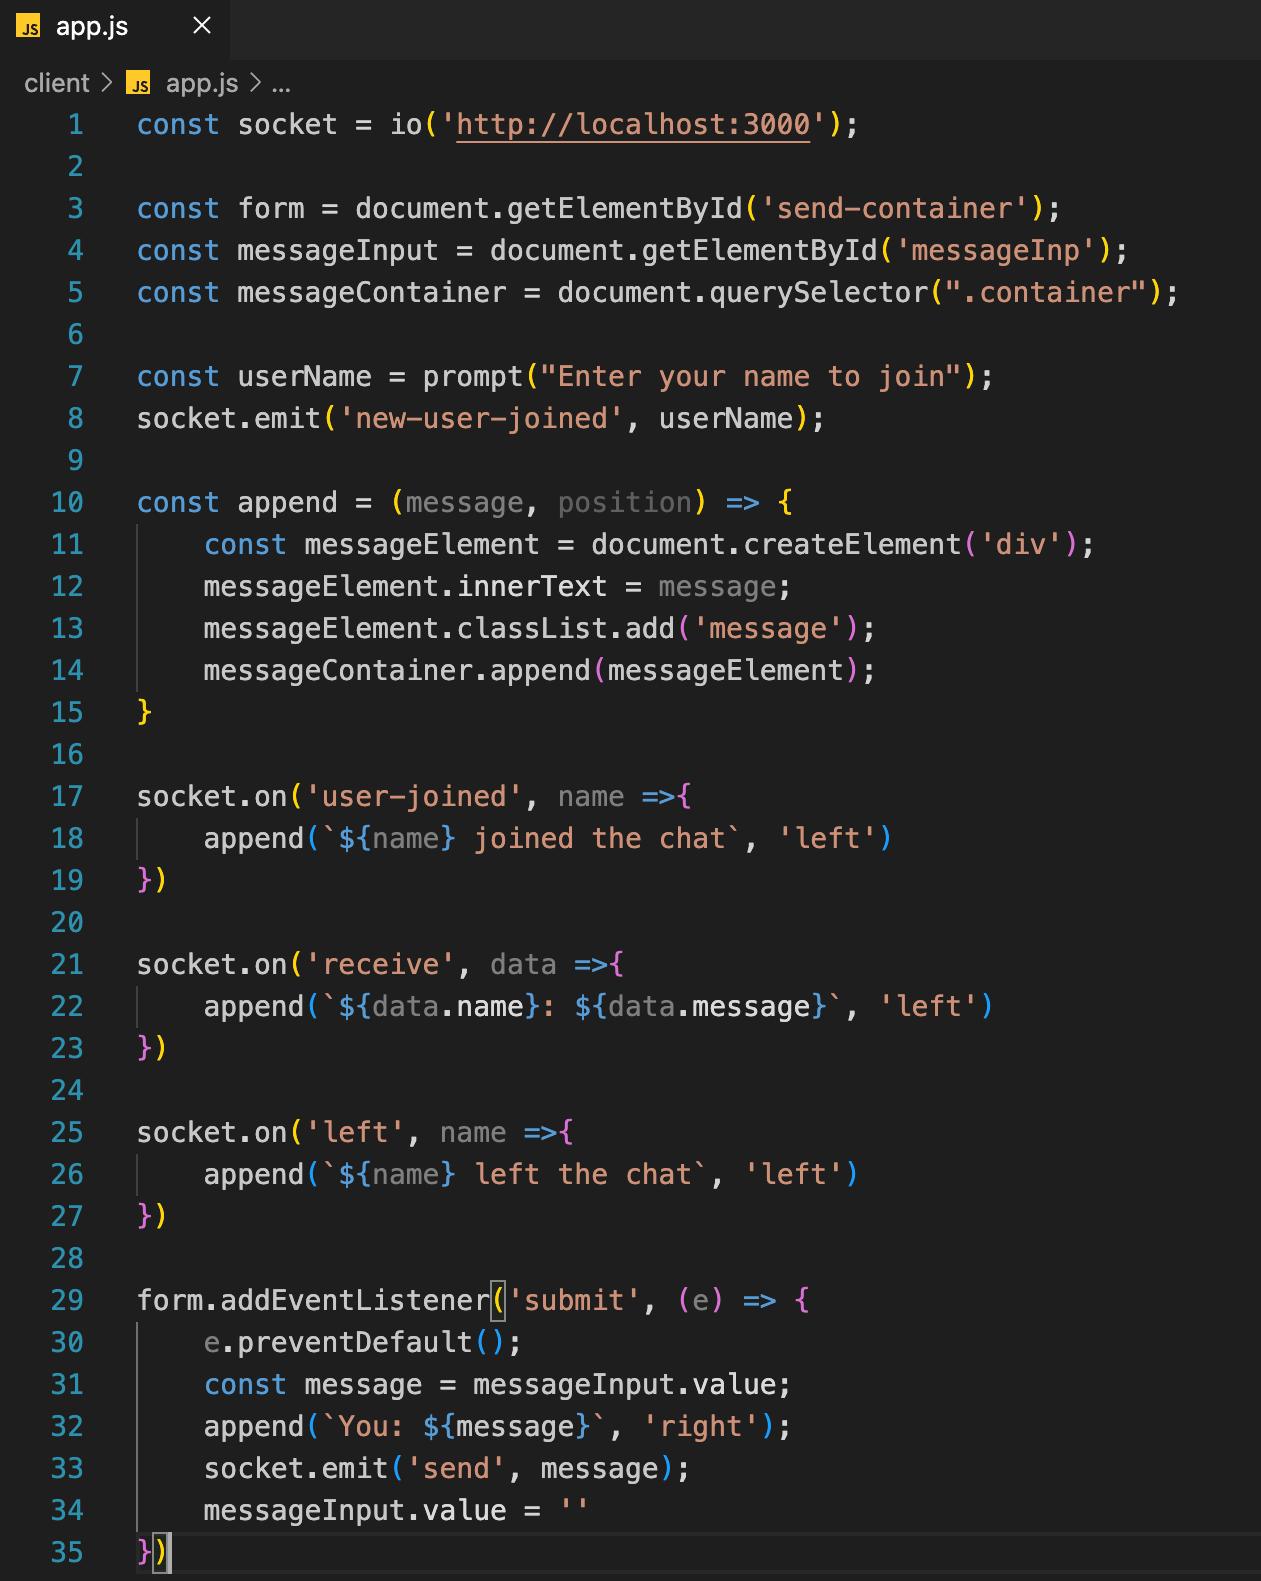
The final Javascript code will look as shown in the image below.
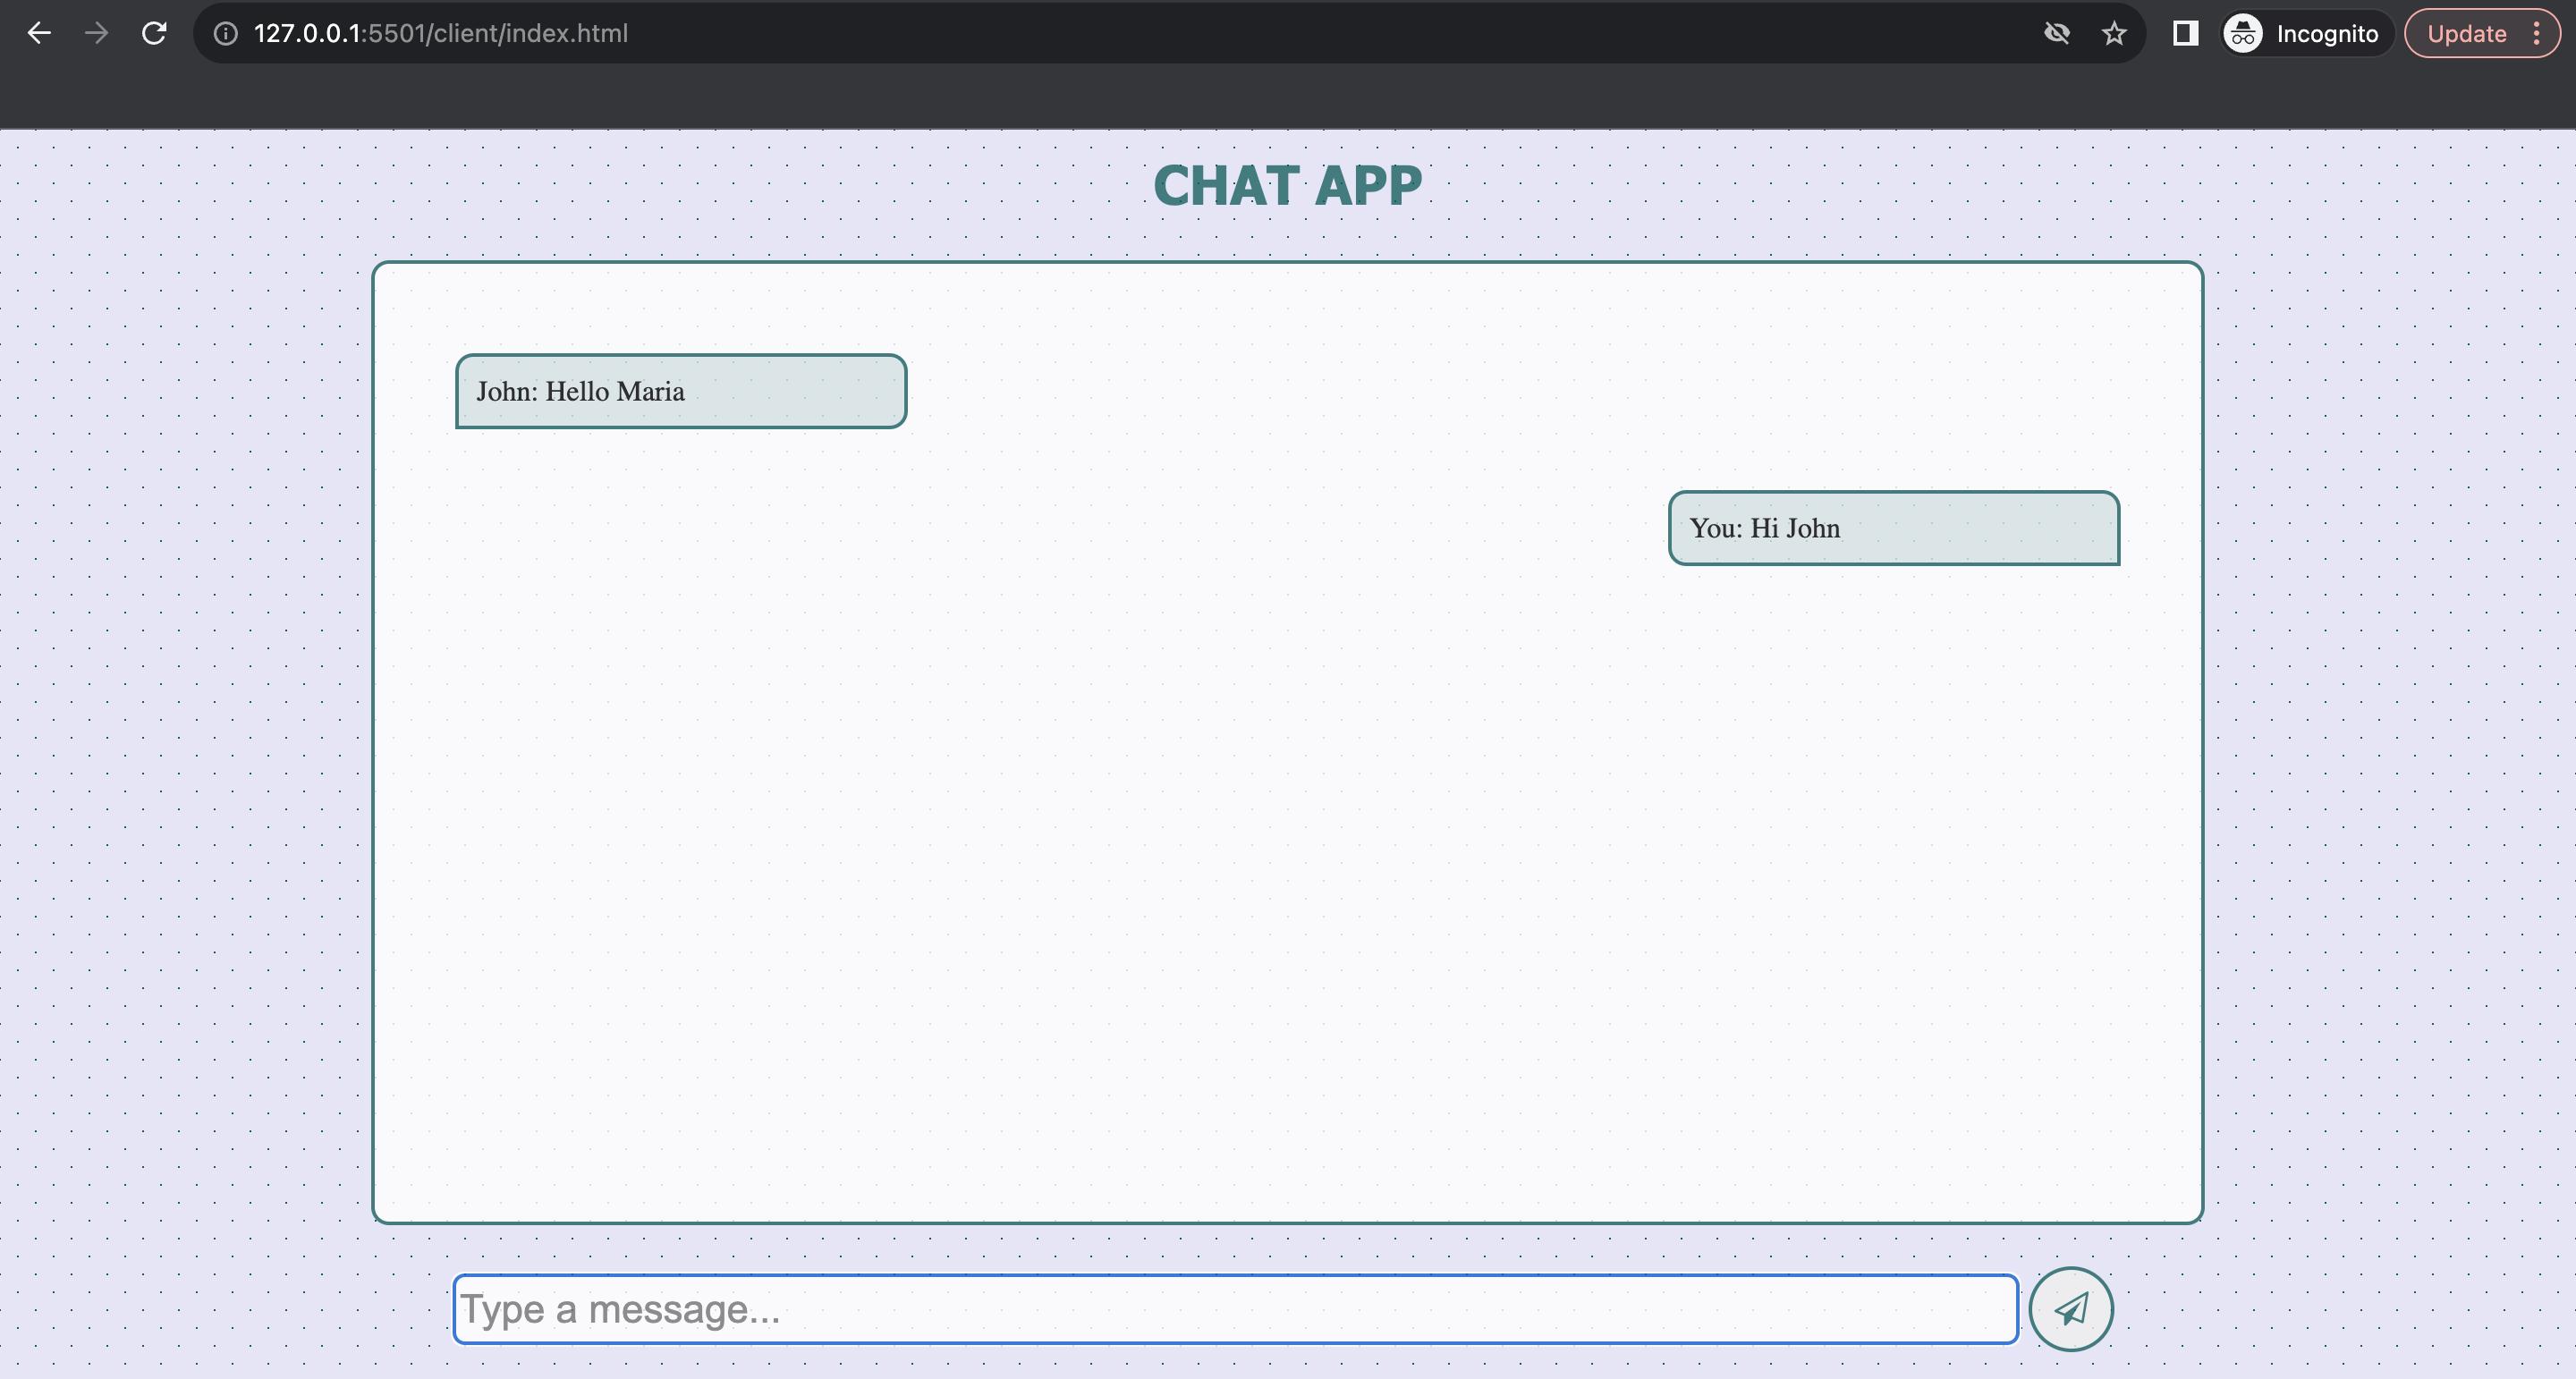
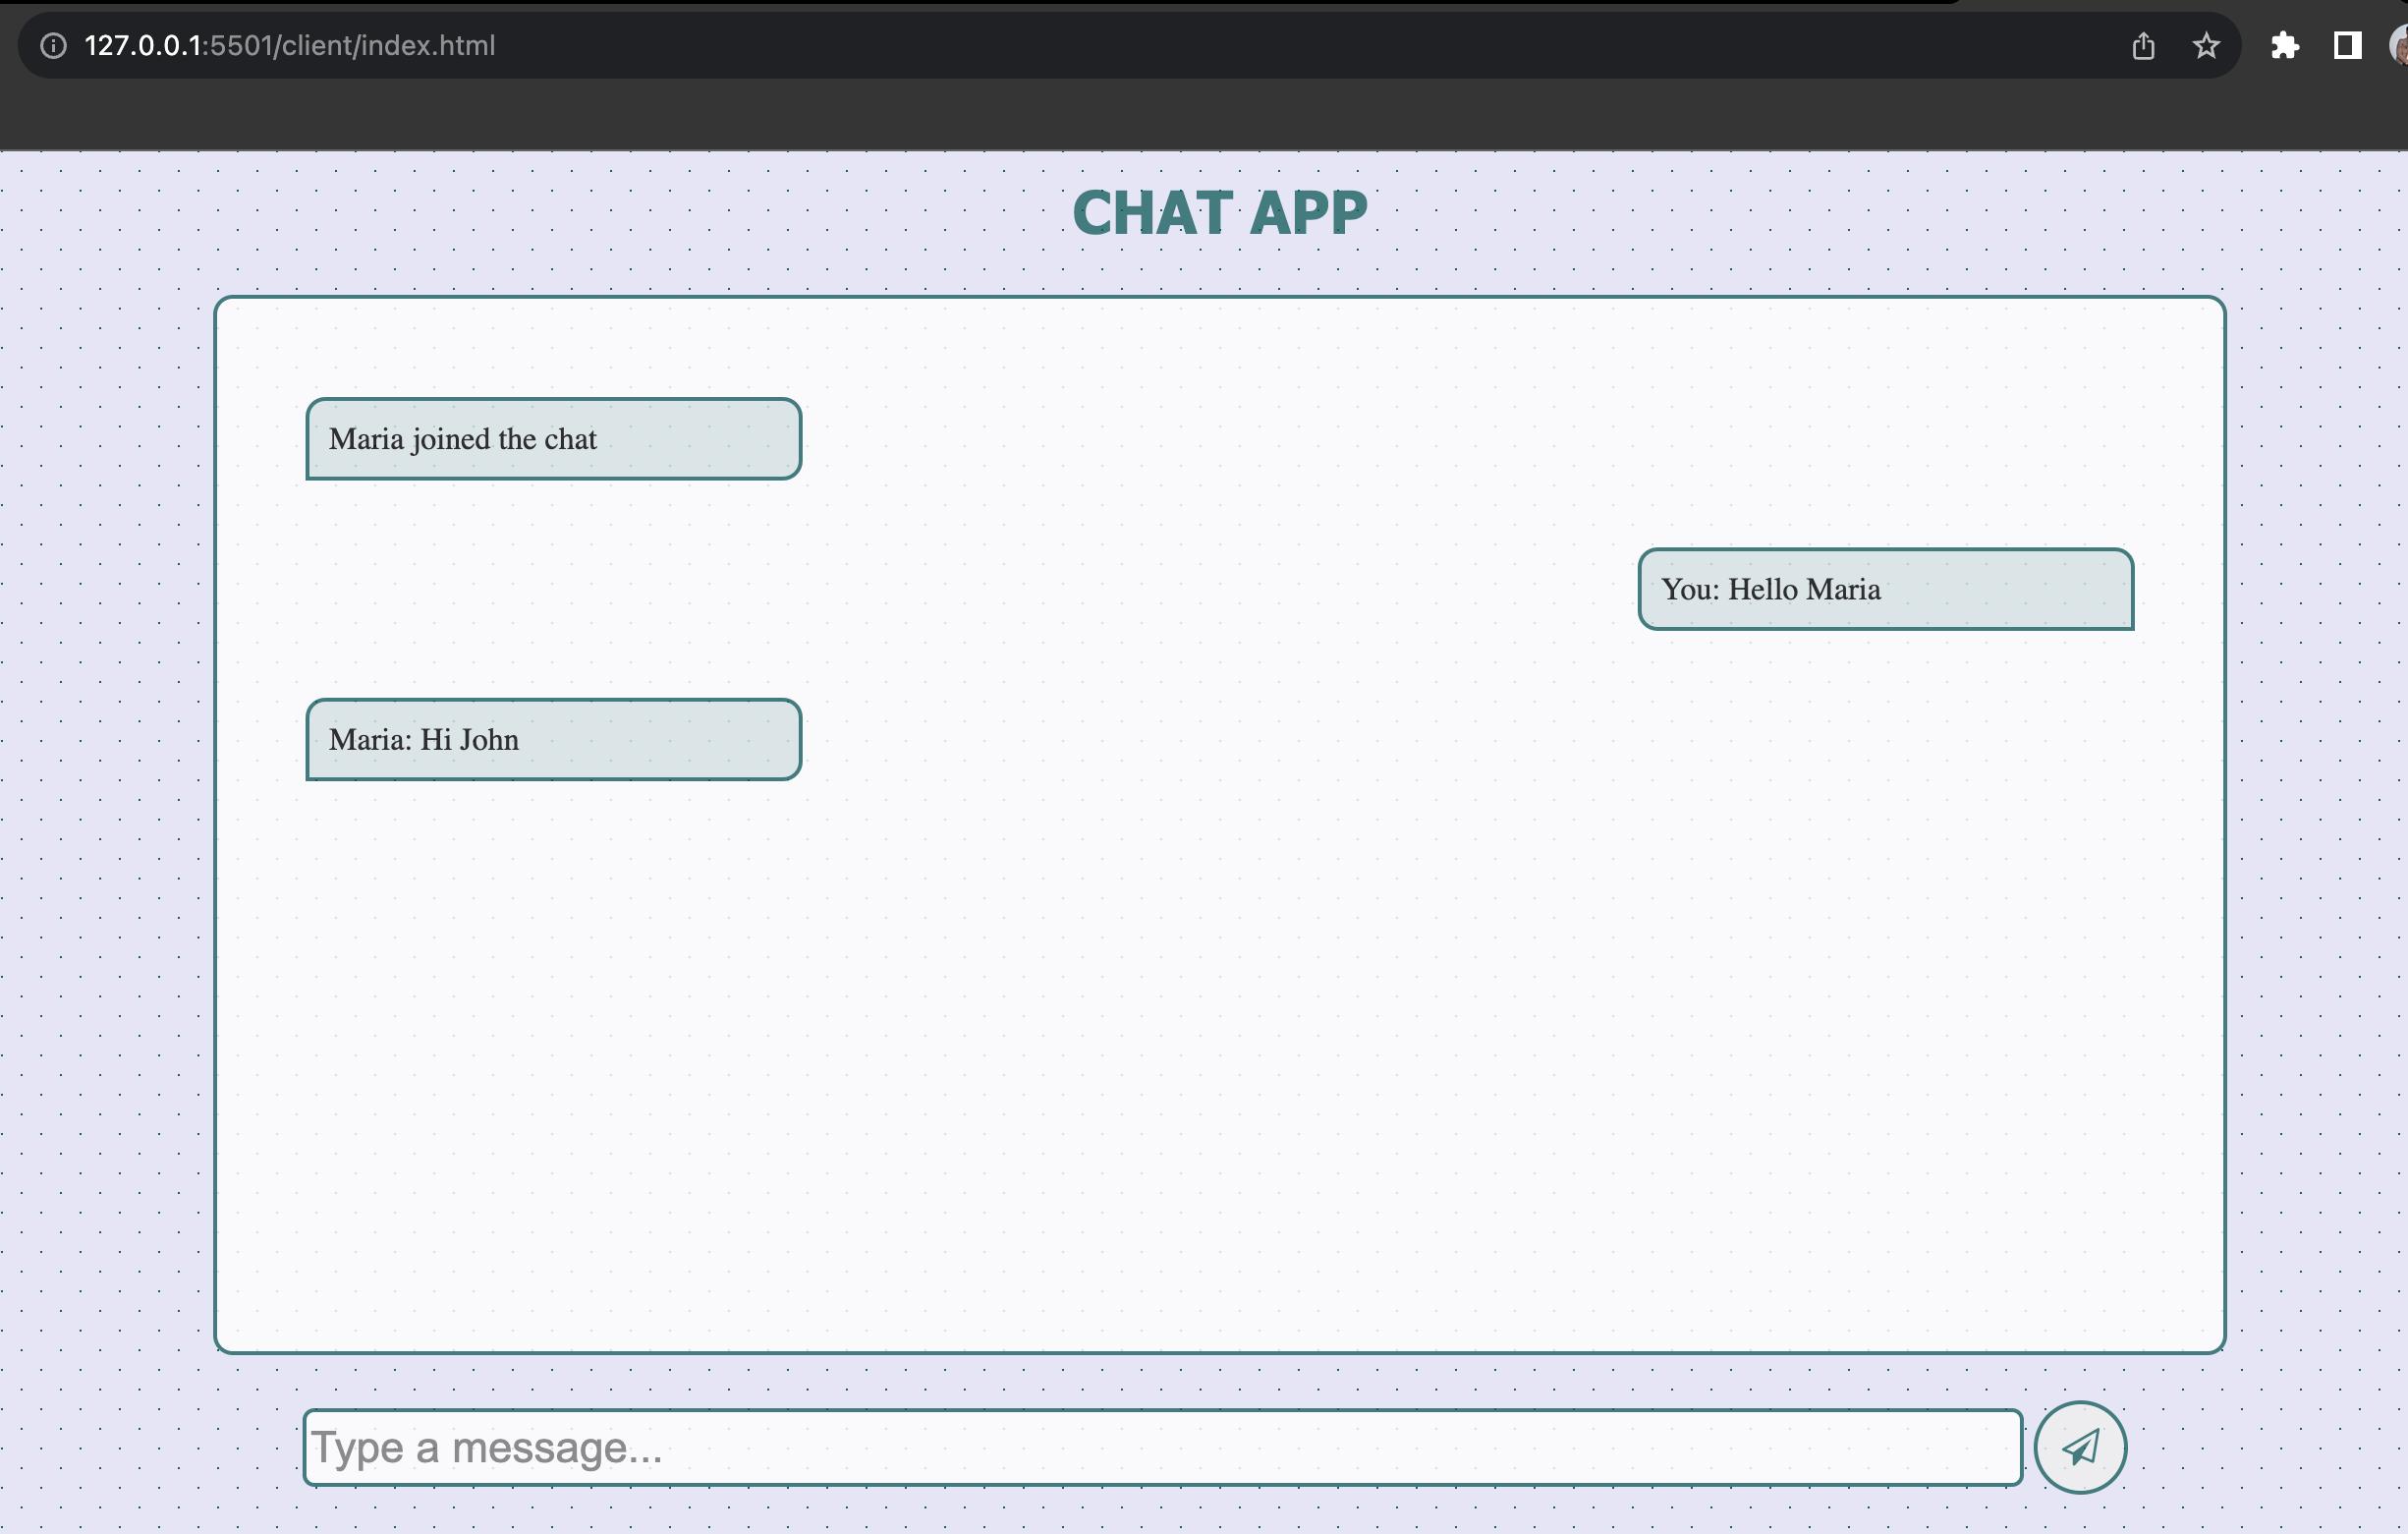
As we are done with the coding part, let’s test out our application by opening two browser windows, one in incognito mode and the other in normal mode as shown in the image below.
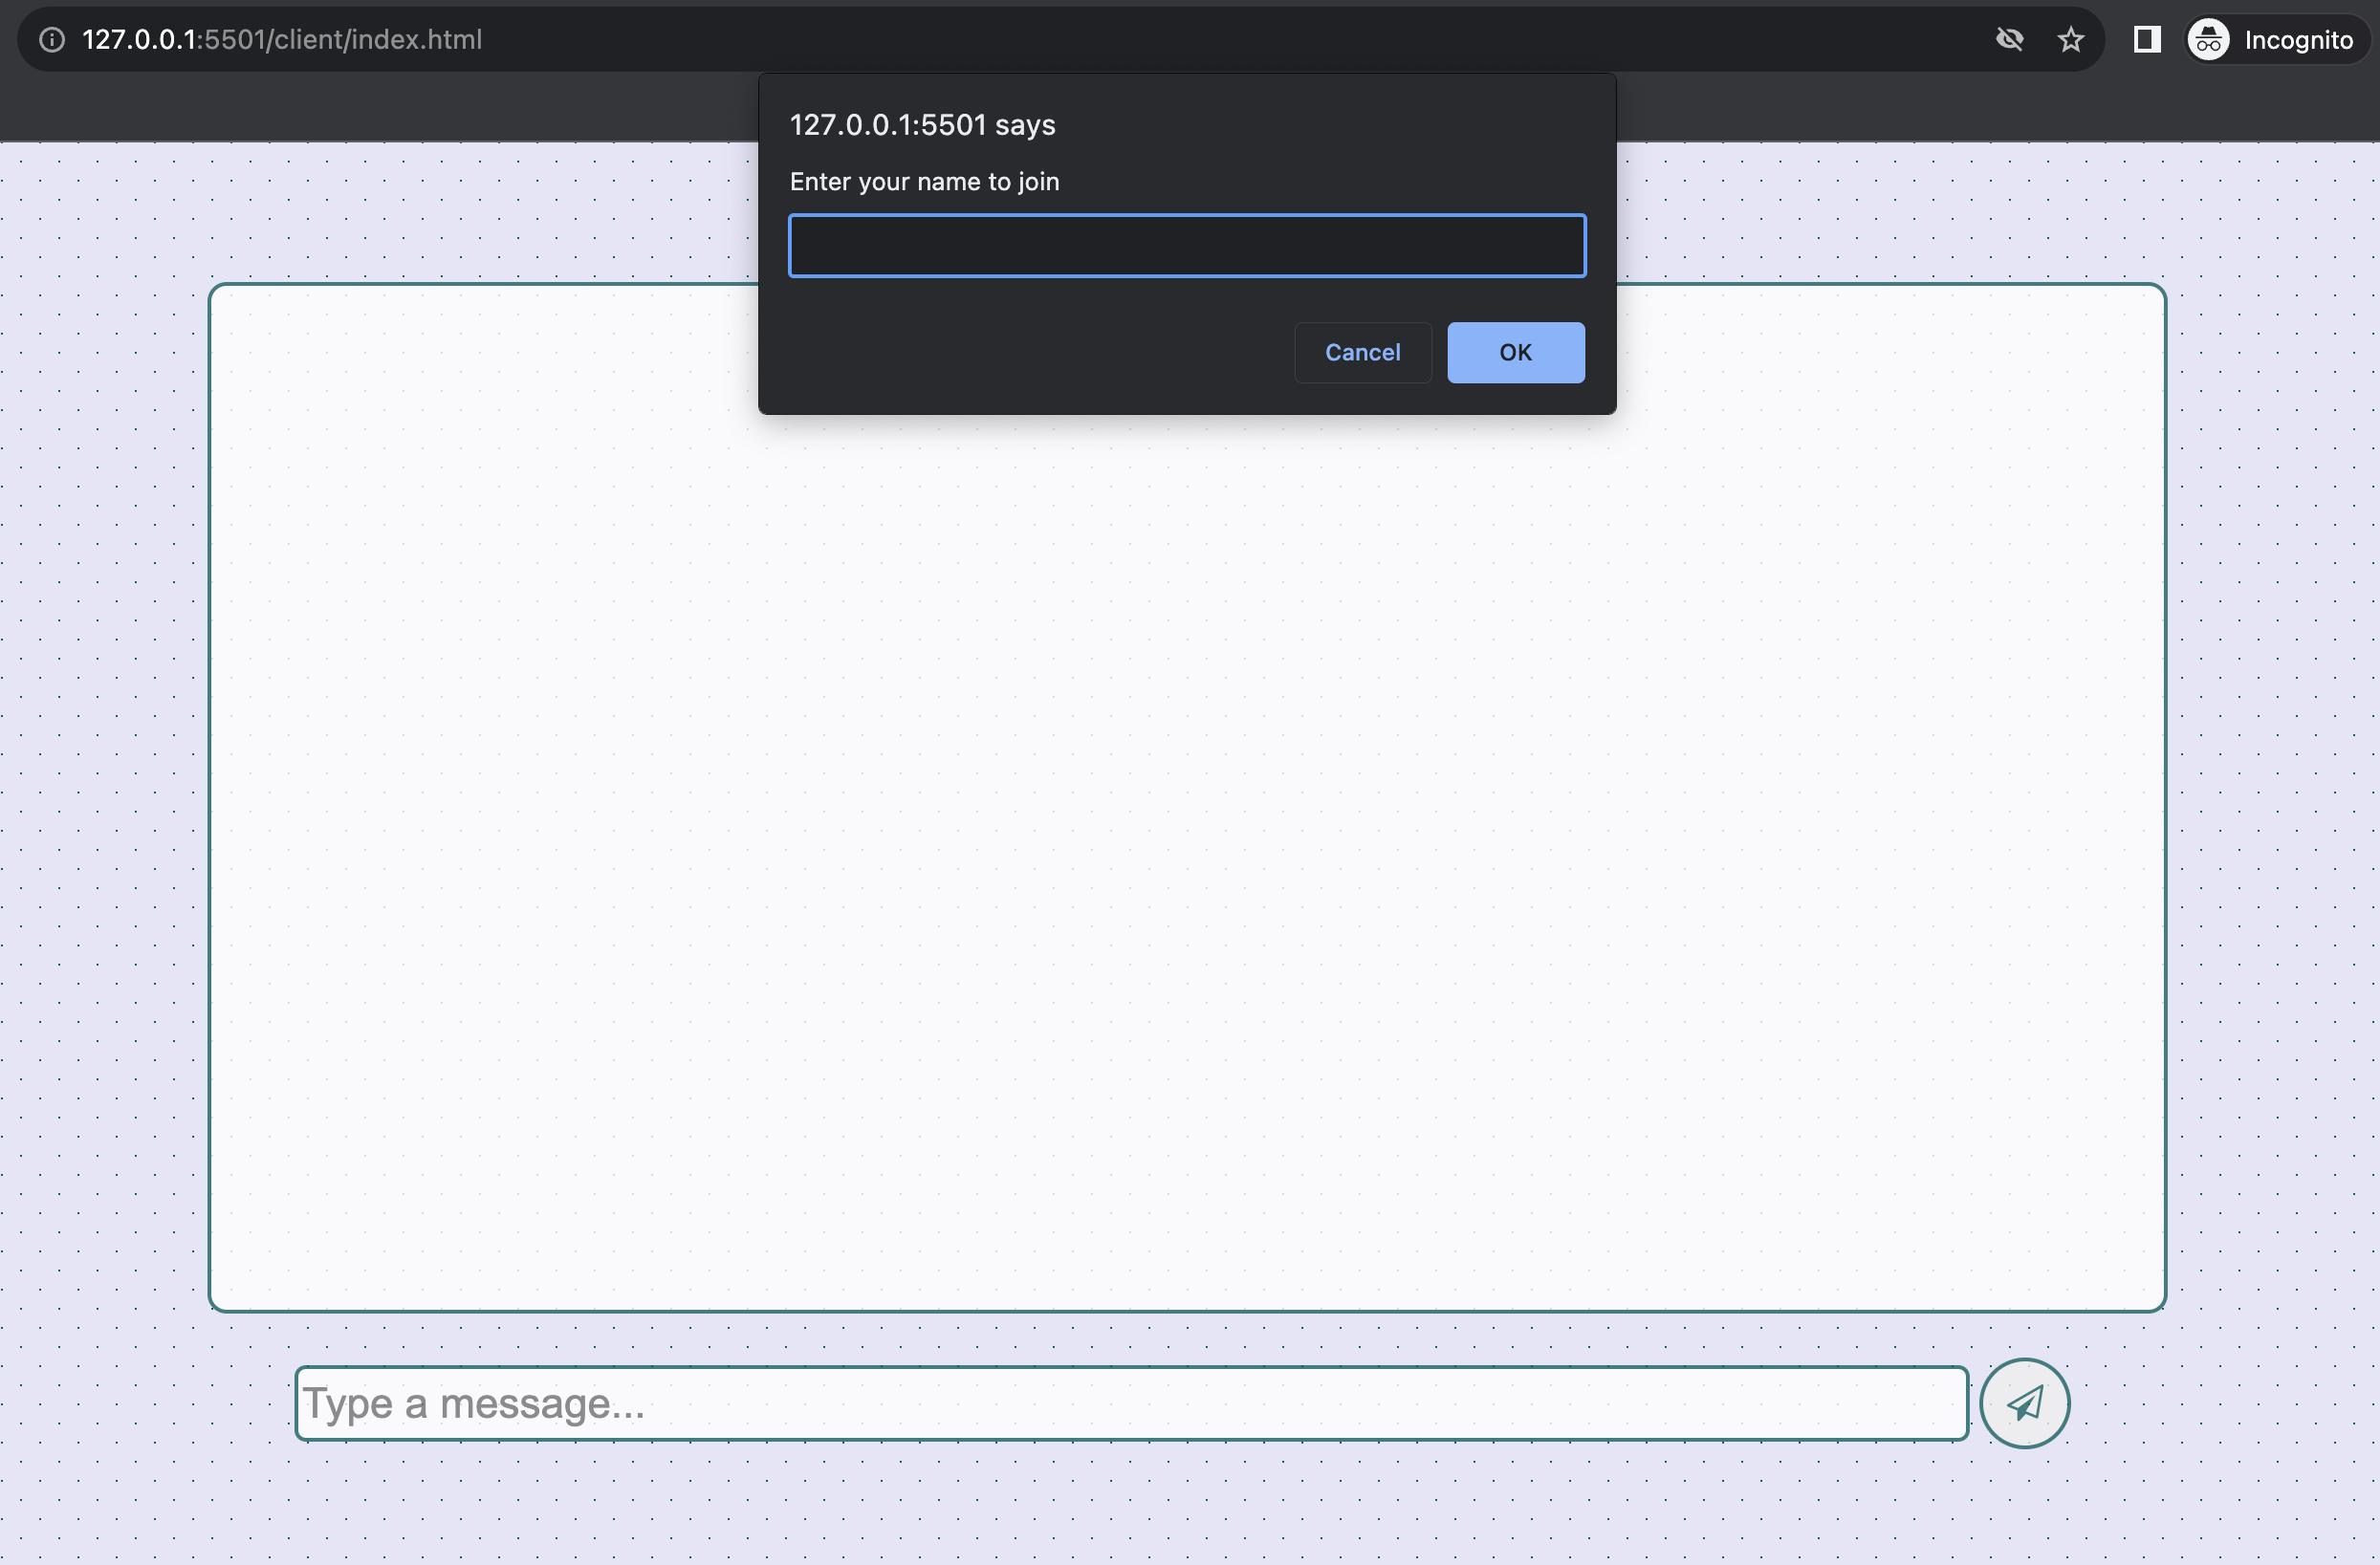
Enter the names and start sending and receiving messages in real-time.
Conclusion
In this hands-on, we have learned how to utilize Web Sockets and Node.js to create a chat web application with the Socket.io library. We started by creating a dedicated project directory and then installed the socket.io library. After that, we wrote the backend login of our application and proceeded to design the application using HTML and CSS as well as write the logic for client-side code using the socket.io library. We continuously tested our application to ensure its appearance on the UI and the functionality on the backend. By following this process, you’ve had an enjoyable and rewarding experience in building your own chat application. The principles covered in this tutorial can be applied to any programming language or technology that supports Web Sockets. We will come up with more such use cases in our upcoming blogs.
Meanwhile…
If you are an aspiring Backend developer and want to explore more about the above topics, here are a few of our blogs for your reference:
- How to perform encryption and decryption of messages using Crypto in Node.js?
- How to Configure CORS in Node.js With Express?
- How to connect to MongoDB using Mongoose and MongoDB Atlas in Node.js?
Stay tuned to get all the updates about our upcoming blogs on the cloud and the latest technologies.
Keep Exploring -> Keep Learning -> Keep Mastering
At Workfall, we strive to provide the best tech and pay opportunities to kickass coders around the world. If you’re looking to work with global clients, build cutting-edge products, and make big bucks doing so, give it a shot at workfall.com/partner today!